 ✈️ FREE AIRPLANE DRAWING
Airplane Drawing for Kids How to Draw An Airplane in 6 Easy Steps
Quick Answer
Draw an airplane in six easy steps: a long rounded body, a tail fin on top, one big wing underneath and a smaller one behind, four round windows, and a flat tail wing. Color it silver grey with a red fin. For ages 3 and up — free, no signup needed.
At a Glance
- Subject: How to draw an airplane
- Ages: 3+
- Steps: 6 steps
- Time: ~15 min
- Difficulty: Easy
- Supplies: Paper, crayons
Airplanes look tricky with all those wings, but this one is secretly simple — it's built from one long rounded body, a triangle fin, slanted bands for wings, and a row of circle windows. If your child can draw a long oval and a slant, they can draw this cool airplane.
✏️ Draw Your Airplane in 6 Easy Steps
One step per box — this step by step airplane drawing shows each new part in a different color so kids can see exactly what changed.
Step 1: The Body
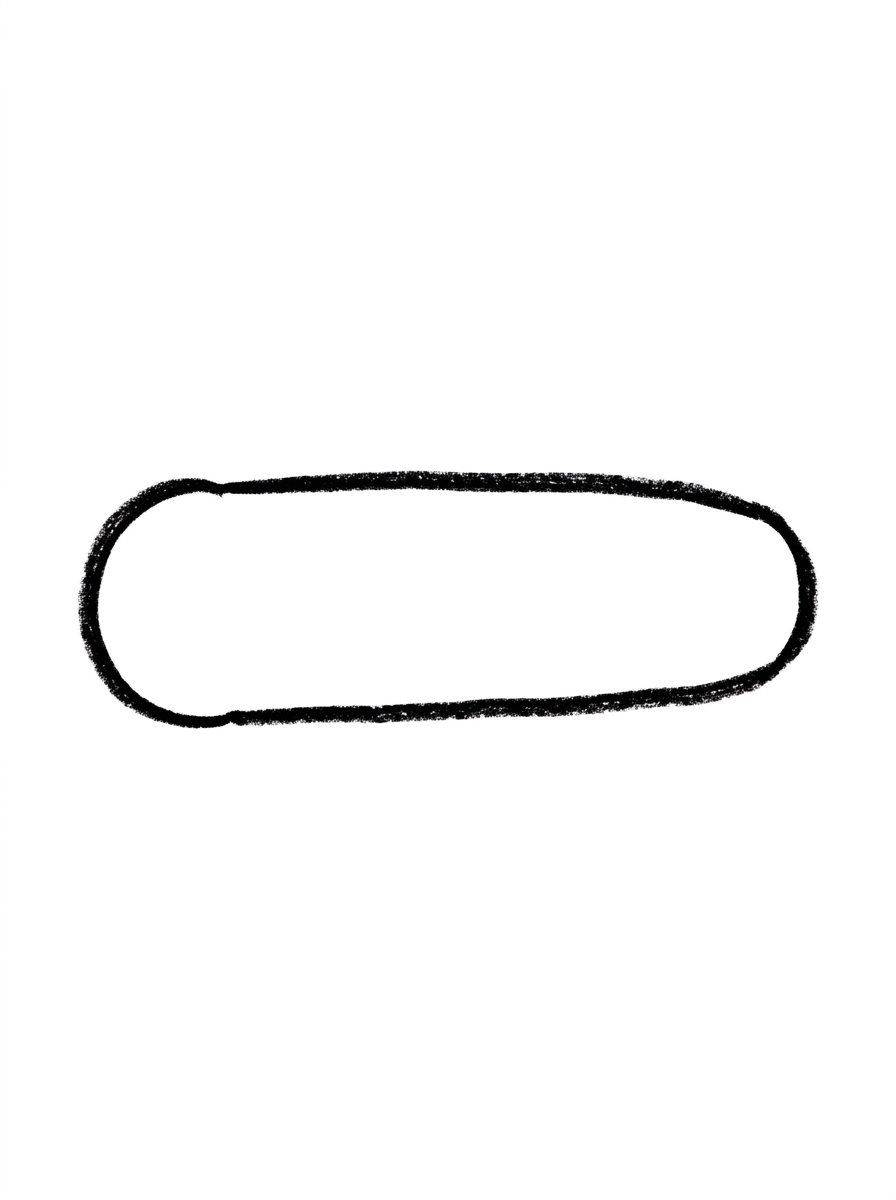
Draw one long shape lying across the page, rounded at both ends and a little thicker at the front. That is the airplane's body.
Step 2: The Tail Fin
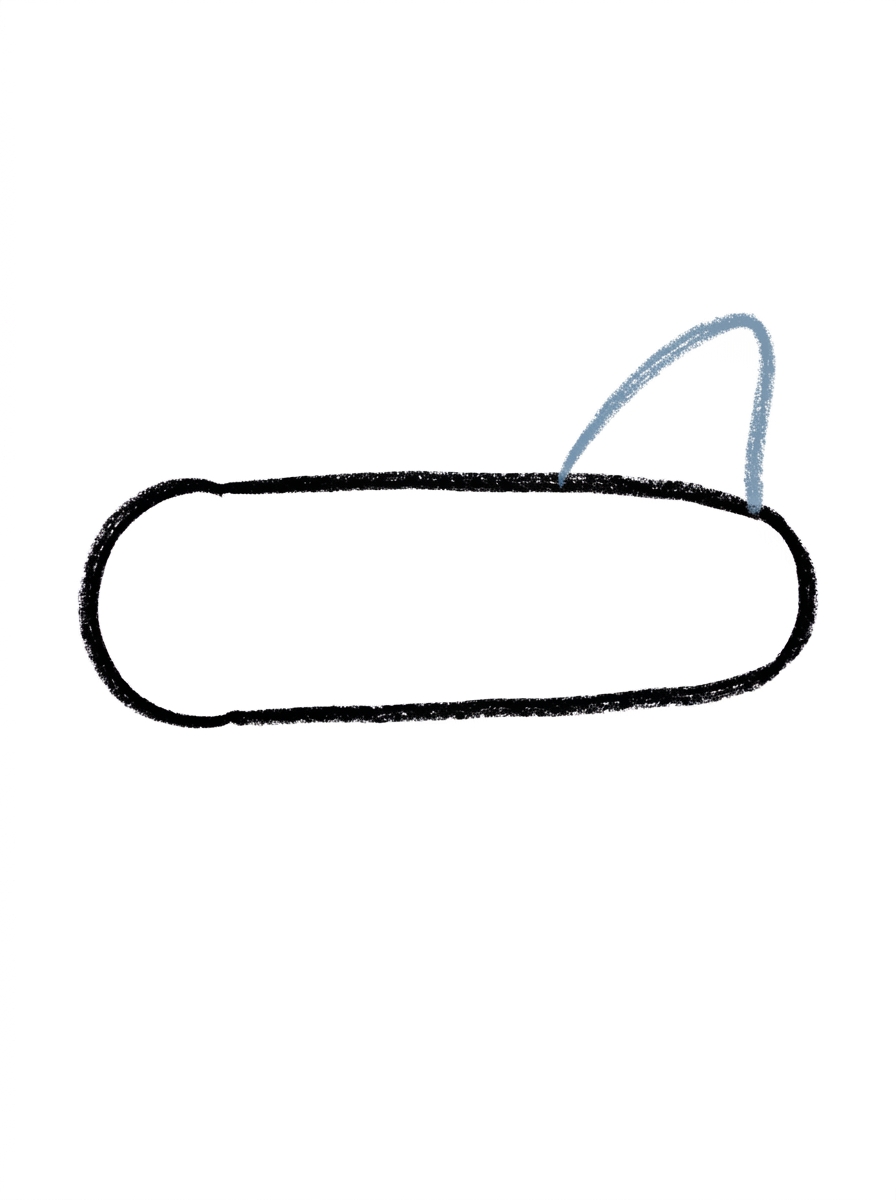
Draw one rounded triangle standing on top of the back end of the body. That is the tail fin.
Step 3: The Wings
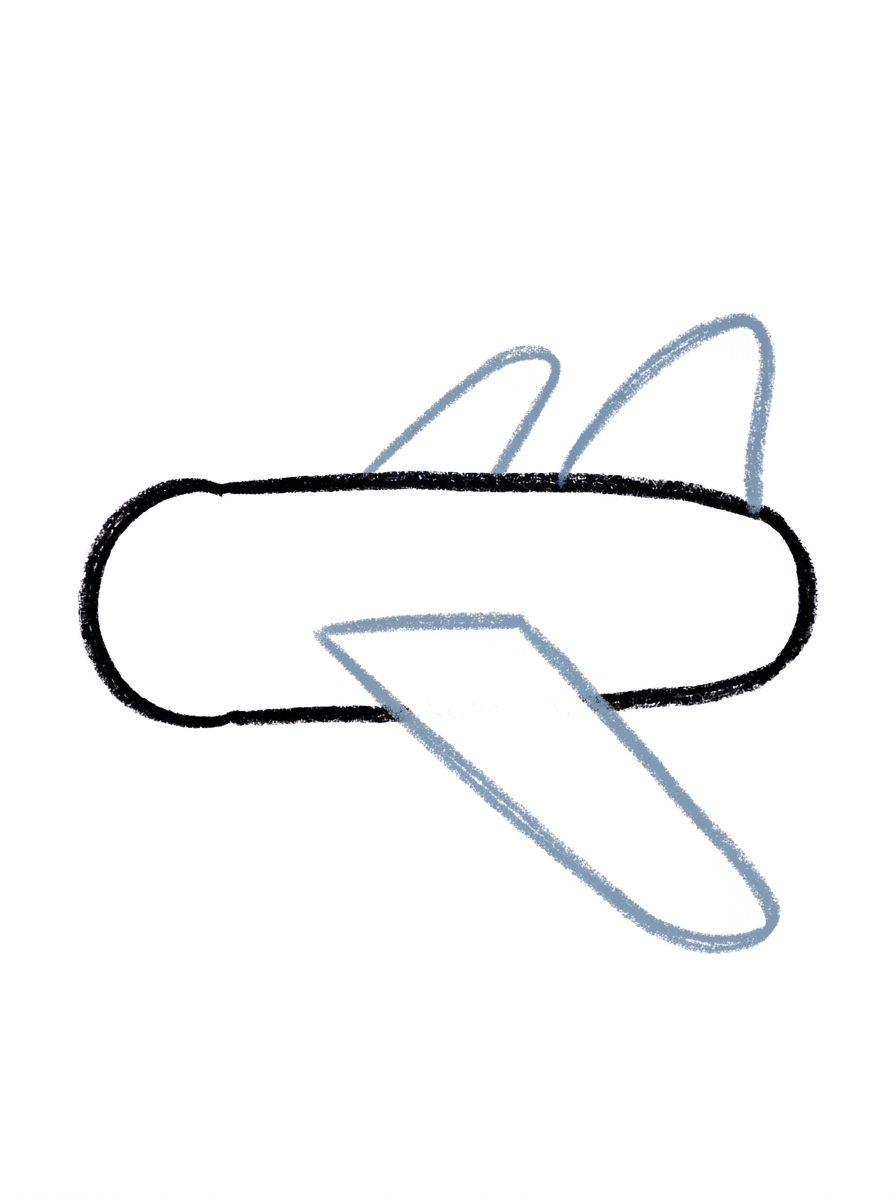
Draw one long slanted band crossing under the middle of the body, sticking out below it — that is the near wing. Then draw a smaller slanted band behind the middle of the body, its tip poking up above the body's top line — that is the wing on the other side.
Step 4: The Windows
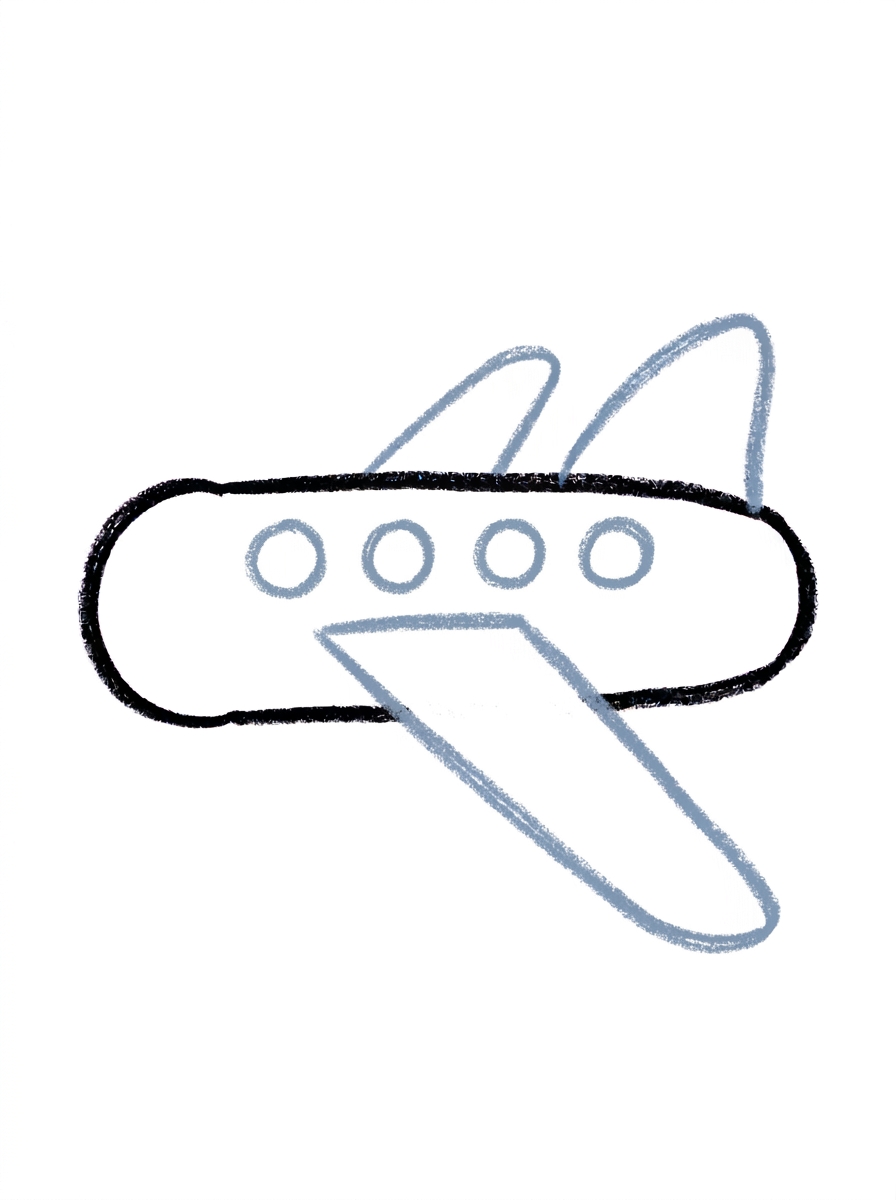
Draw four small circles in a row along the middle of the body. Those are the windows.
Step 5: The Back Wing
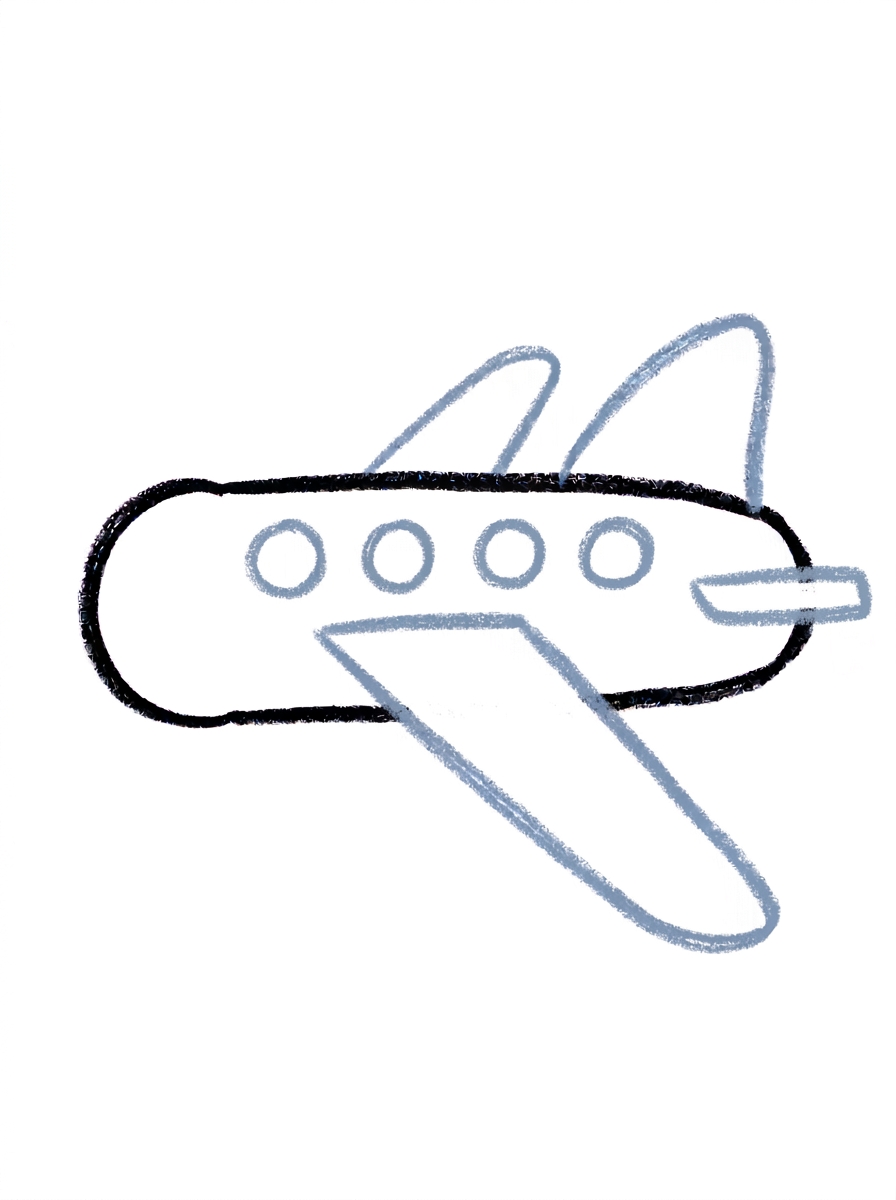
Draw one short flat band sticking straight out at the very back end of the body, below the tail fin — flat like a little shelf, not slanted like the big wing. That is the tail wing.
Step 6: Color It In
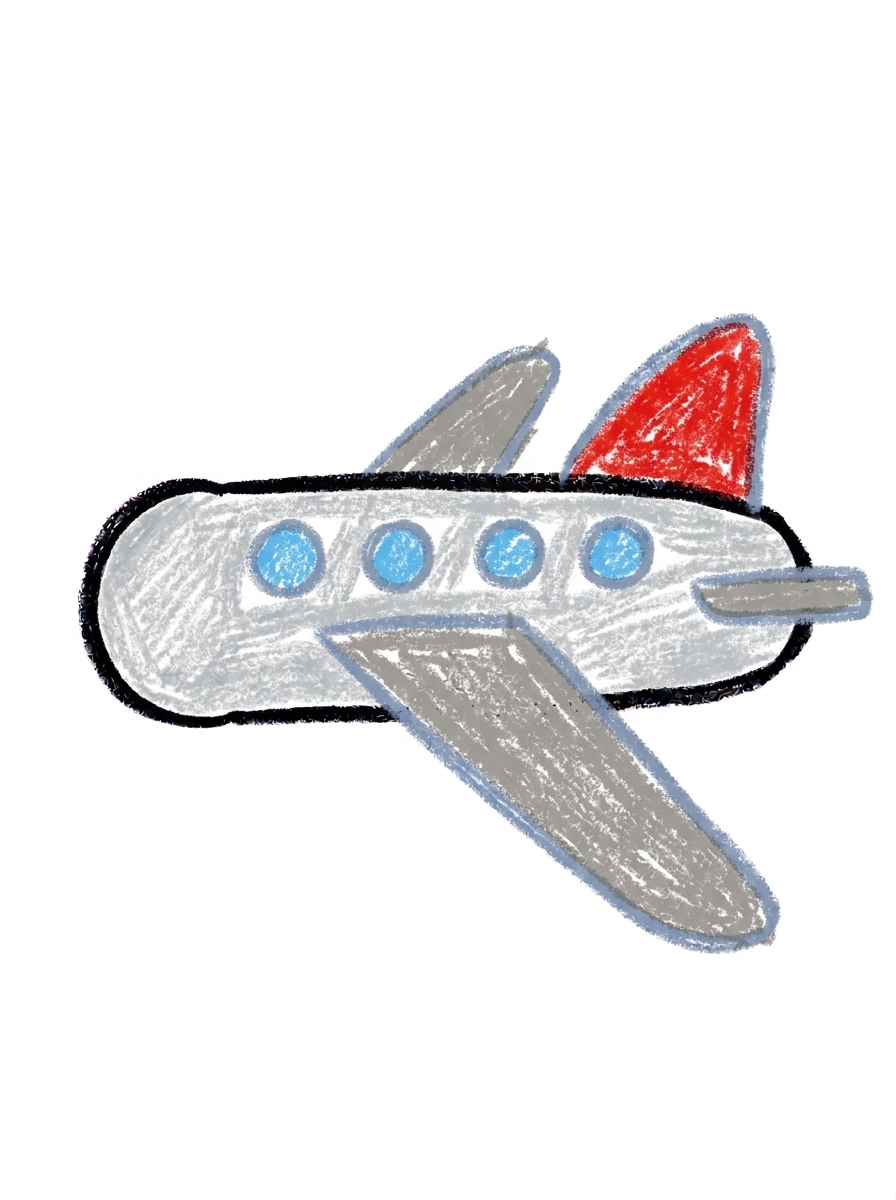
Color the body light silver grey and the wings medium grey. Make the tail fin bright red and the windows sky blue. Great drawing!
📊 Airplane Drawing by Age
Every age can join in — just adjust the job.
| Age | What they can do | Tip |
|---|---|---|
| 3-4 | Draw the long rounded body and color the finished airplane silver grey with a bright red tail fin. | Draw the body long and low across the middle of the page — the tail fin needs room to stand up at the back. |
| 4-5 | Add the rounded triangle tail fin, the big slanted wing underneath, and the row of four round windows. | Counting the four windows out loud as they go keeps them evenly spaced along the body. |
| 6+ | Finish all six steps, including the smaller far-side wing peeking above the body and the flat tail wing at the back. | The flat tail wing is the detail older kids love checking — flat like a shelf, not slanted like the big wing. |
🖨️ Download Your Free Airplane Drawing Printable
The printable lays out all 6 steps one per box, big enough for little hands — kids draw right alongside each step.
⬇️ Open Free Printable 🖨️ Print🎁 Free printable for ages 3+
✈️ Airplane Trip Page
Give your airplane a sky to fly through: draw puffy cloud bumps below it, a bright sun in one corner, and tiny birds in the distance, then decide together where this plane is going — to visit grandparents, to a beach with palm trees, or all the way to the moon. Write one sentence about the trip under the drawing (or dictate it for a grown-up to write) and the picture becomes the first page of a travel story your child can keep adding to.
What You'll Need to Draw An Airplane
All you need is a pencil, an eraser, and crayons or markers. For the colors in the tutorial, have light silver grey ready for the body, medium grey for the wings, bright red for the tail fin, and sky blue for the windows. Regular printer paper or a sketchbook both work.
What They're Learning
This tutorial practices long rounded shapes (the body), rounded triangles (the tail fin), slanted bands (the two main wings), and a straight row of small circles for the windows — great spacing practice. Kids also learn a real drawing idea: showing the far side of an object with a smaller shape peeking out, plus left-to-right sequencing from nose to tail.
Make It Yours
Try a rainbow airplane with a different color on every window, a jumbo cargo plane using the same steps with a longer fatter body, a night-flight version on dark paper with a white crayon and yellow windows, or a whole fleet of three planes in a row flying at different heights. Adding a banner behind the tail with your child's name turns it into a celebration picture.
🛒 Our Favorite Drawing Supplies
These are the supplies we reach for in our own home — washable (because kids), quality paper, and enough colors to avoid fights.
As an Amazon Associate, MomYouNeedThis earns from qualifying purchases — at no extra cost to you.
💡 Airplane Drawing Tips for Parents
Step 3 carries the most drawing: two wings in one step. Do the big near wing first — one long slanted band under the middle of the body — then the smaller far wing behind it, and remind your child that only its tip shows above the body. If both wings come out the same size, the plane still flies; the smaller tip is a bonus detail, not a pass-fail test.
The tail wing in step 5 is where kids most often copy the big wing's slant by habit. Point at the picture together first: flat like a shelf. A quick hand gesture — flat palm for the tail wing, tilted palm for the big wing — helps the difference stick better than words alone.
✏️ Airplane Drawing Step by Step
An airplane is one of the first machines kids want to draw, and one of the first they get frustrated with — wings point the wrong way, tails float off the body. This tutorial fixes that by drawing the plane from the side, in profile, so every part has one obvious home on one long body.
That long rounded body goes down first, stretched across the page and a little thicker at the front. The tail fin stands on its back end, the wings cross its middle, and the windows march along its side. Your child never has to wonder where a part belongs, because every part attaches to the body.
Work through the steps in order and let your child check each one against the picture before moving on. That checking habit — draw, compare, continue — is the real skill underneath every drawing tutorial, and an airplane's clear front-to-back layout makes it easy to practice.
See free airplane printable for more.
✏️ One Shape Per Step, Six Steps Total
The order is deliberate: step 1, one long body shape, rounded at both ends and thicker at the front; step 2, one rounded triangle tail fin standing on top of the back end; step 3, the wings — one long slanted band crossing under the middle of the body, plus a smaller slanted band behind it whose tip pokes up above the body.
Step 4 adds four small circle windows in a row along the middle of the body. Step 5 finishes the back with one short flat band sticking straight out below the tail fin — the tail wing, kept flat like a shelf so it doesn't get confused with the slanted big wing.
Step 6 colors the body light silver grey and all the wings medium grey, with a bright red tail fin and sky blue windows. Nothing here needs a ruler: slightly wobbly windows just look like passengers' reflections, and a hand-drawn slant flies just fine.
See free airplane printable for more.
✈️ Cool Airplane Drawing
What makes this airplane drawing look cool instead of like a flying sausage? The details at the back and the second wing. The red tail fin standing up, the flat tail wing below it, and the far wing's tip peeking above the body are the three cues that tell your eye 'real airplane.'
You can push it further at coloring time: a stripe along the body under the windows, the airline name your child invents written in big letters, or a rainbow tail fin. A jumbo version also works — repeat the same steps with a longer, fatter body and the plane turns into a cargo giant.
Side-view drawing is a genuinely useful skill, and planes are the friendliest way to learn it. Once your child can park every part on one long body, cars, trains, and boats all open up the same way.
See free airplane printable for more.
❓ Airplane Drawing FAQs
What is the easiest way to draw an airplane?
Start with one long rounded shape for the body, then build on it one part at a time: a tail fin on top at the back, one big slanted wing underneath, a smaller wing peeking up behind, four round windows, and a flat little tail wing. The six steps turn a 'hard' airplane into shapes your child already knows.
What age is this airplane drawing for?
It's made for ages 3 and up. The shapes are all preschool-friendly — long ovals, triangles, and circles — and younger kids can do the body and coloring while older kids add the second wing and the tail wing themselves.
What supplies do we need?
A pencil, an eraser, paper, and crayons or markers. For colors you'll want light silver grey for the body, medium grey for the wings, bright red for the tail fin, and sky blue for the windows.
Is the printable really free?
Yes — every printable on MomYouNeedThis is 100% free, including this airplane drawing tutorial. There is no signup, no email, and no catch — just download, print, and draw.
How do I print it?
Open the PDF and choose Print, then set the scale to 100% (sometimes called Actual Size) so the steps print at full size. The tutorial is designed for regular US Letter paper, and plain printer paper works perfectly.
Why does the airplane have two wings in step 3?
A real airplane has a wing on each side, and so does this drawing. The near wing is the long slanted band crossing under the middle of the body; the far wing is the smaller slanted band behind it, with just its tip poking up above the body's top line. Drawing both is what makes the plane look real instead of flat.
How do I draw the tail wing?
The tail wing is the short flat band sticking straight out at the very back of the body, below the tail fin. Keep it flat like a little shelf — the slant belongs to the big wing in the middle, and that contrast is what makes the back of the plane read correctly.
How many windows does the airplane have?
Draw four small circles in a row along the middle of the body. Four is enough to read clearly as windows without crowding the body, and spacing them like beads on a string keeps the row tidy.
📚 Keep Exploring
- ✏️ All 74 Drawing Tutorials 74 free step-by-step drawing tutorials for kids.
- 🚗 Vehicle Coloring Free vehicle coloring pages for kids.
- ✏️ Drawing Practice Free printable drawing pre-writing worksheet for toddlers.