 🥕 FREE CARROT DRAWING
Carrot Drawing for Kids How to Draw A Carrot in 6 Easy Steps
Quick Answer
Draw a carrot in six easy steps: a long triangle root, three curved ridge lines, one tall middle leaf, two side leaves, and a few tiny root hairs at the tip. Color it bright orange with green leaves. Made for ages 3 and up — no signup needed, just print and draw.
At a Glance
- Subject: How to draw a carrot
- Ages: 3+
- Steps: 6 steps
- Time: ~10 min
- Difficulty: Easy
- Supplies: Paper, crayons
A carrot is one of the friendliest first drawings there is — one long triangle for the root and a leafy top, and you're nearly done. This one adds ridge lines and a few tiny root hairs, so it looks freshly pulled from the garden.
✏️ Draw Your Carrot in 6 Easy Steps
One step per box — this step by step carrot drawing shows each new part in a different color so kids can see exactly what changed.
Step 1: The Root
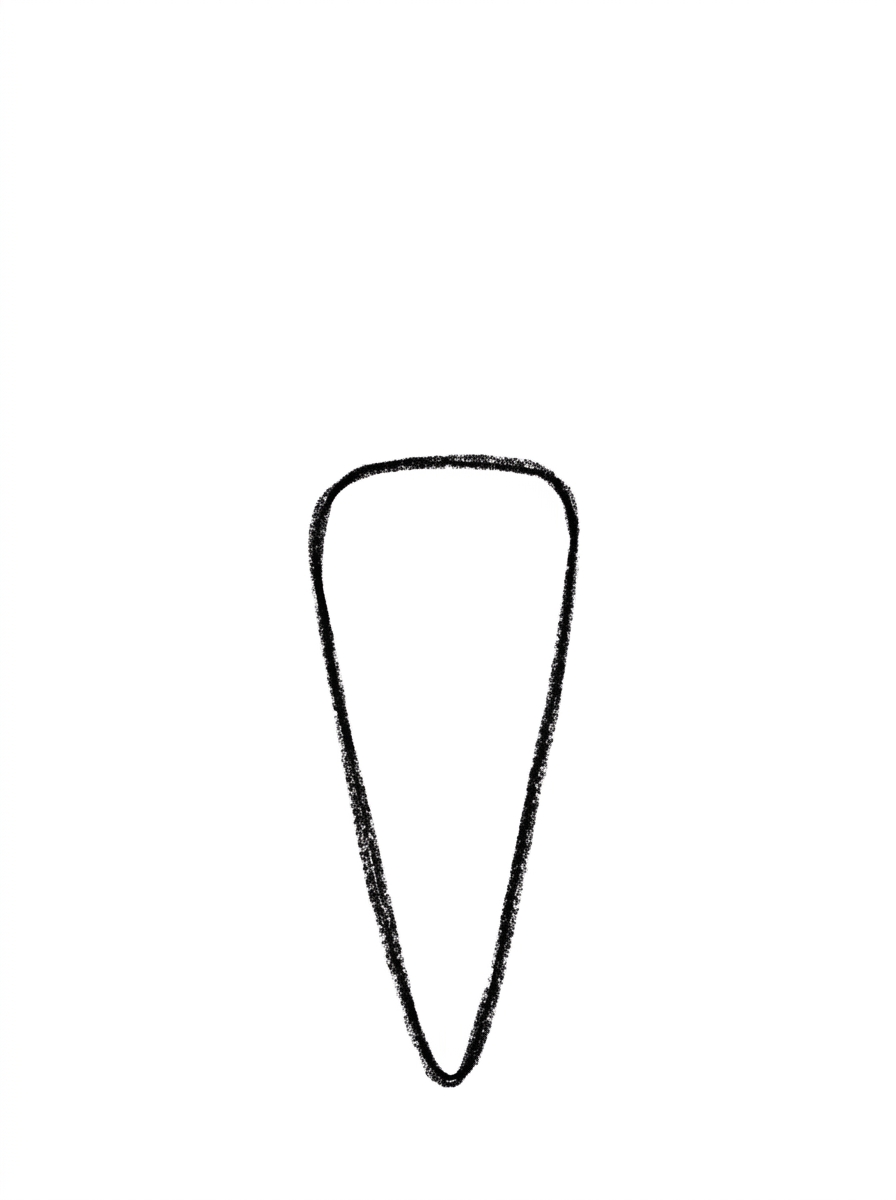
Draw one long triangle pointing down, with a rounded flat top and a rounded point at the bottom — that's the carrot root.
Step 2: The Ridge Lines
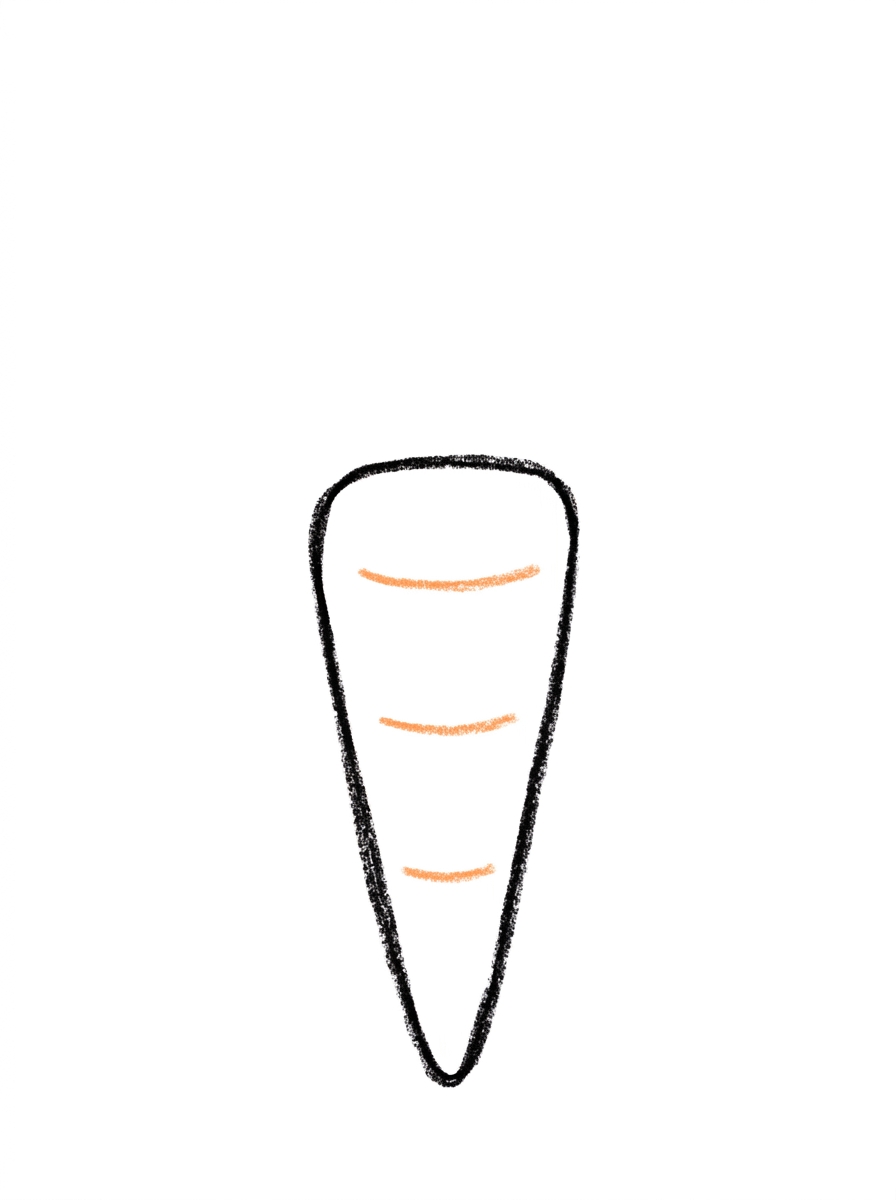
Draw three short curved lines across the root, spaced evenly down it.
Step 3: The Middle Leaf
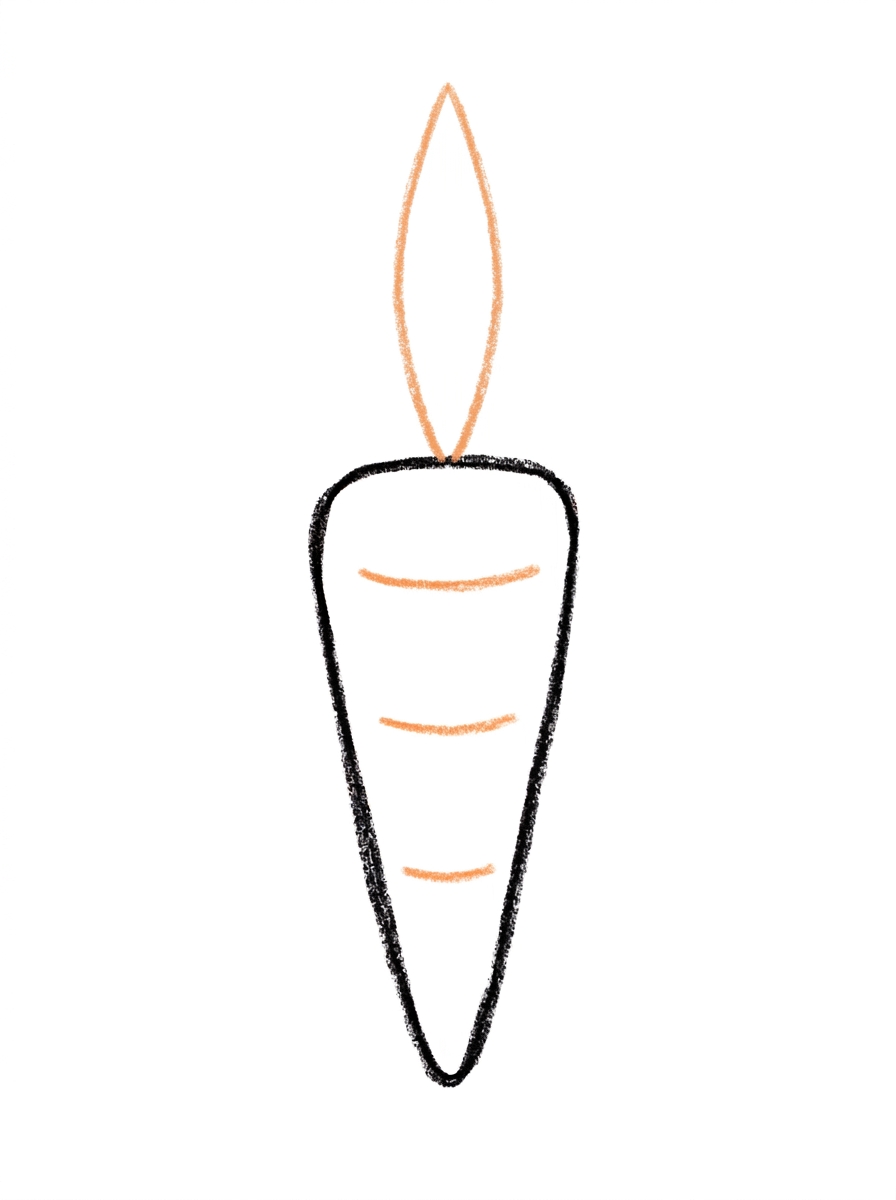
Draw one tall pointed leaf standing straight up from the center of the root's top.
Step 4: The Side Leaves
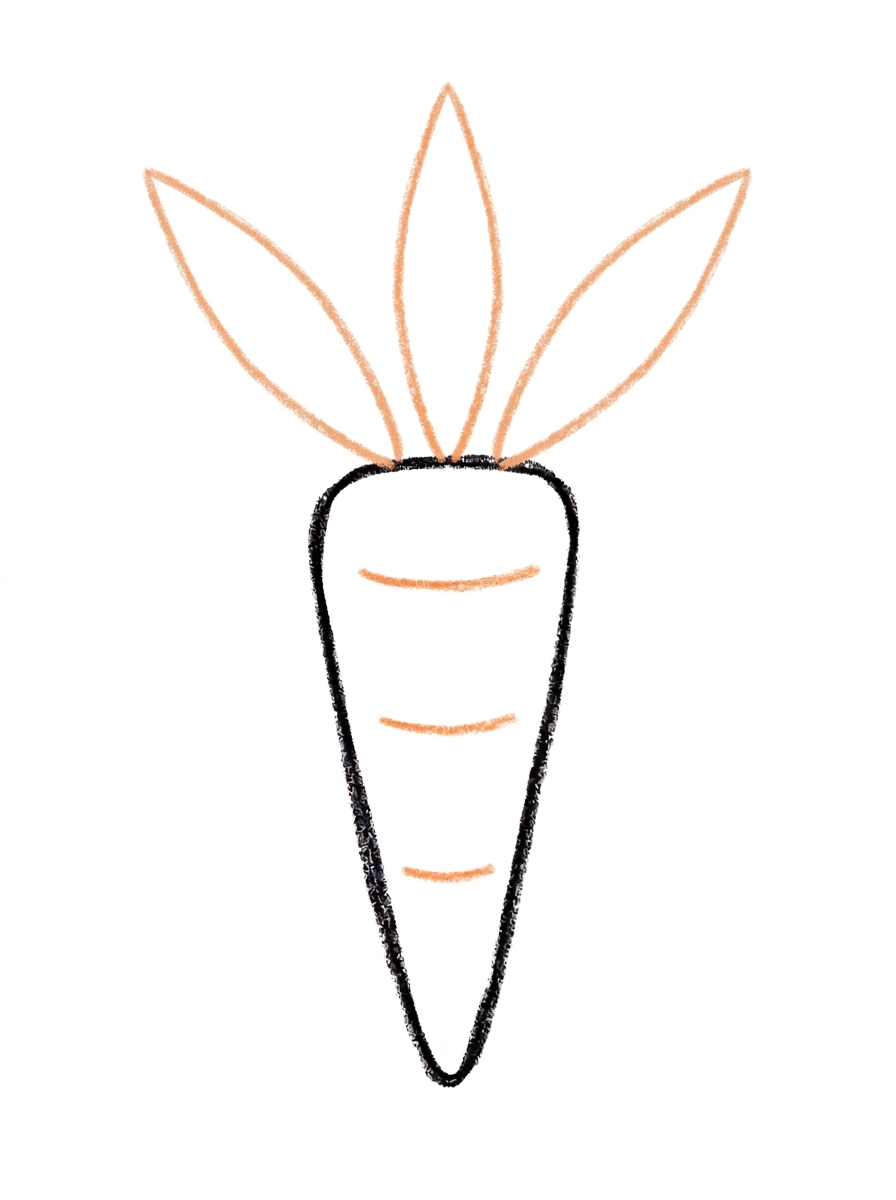
Add one pointed leaf fanning out on each side of the middle leaf.
Step 5: The Root Hairs
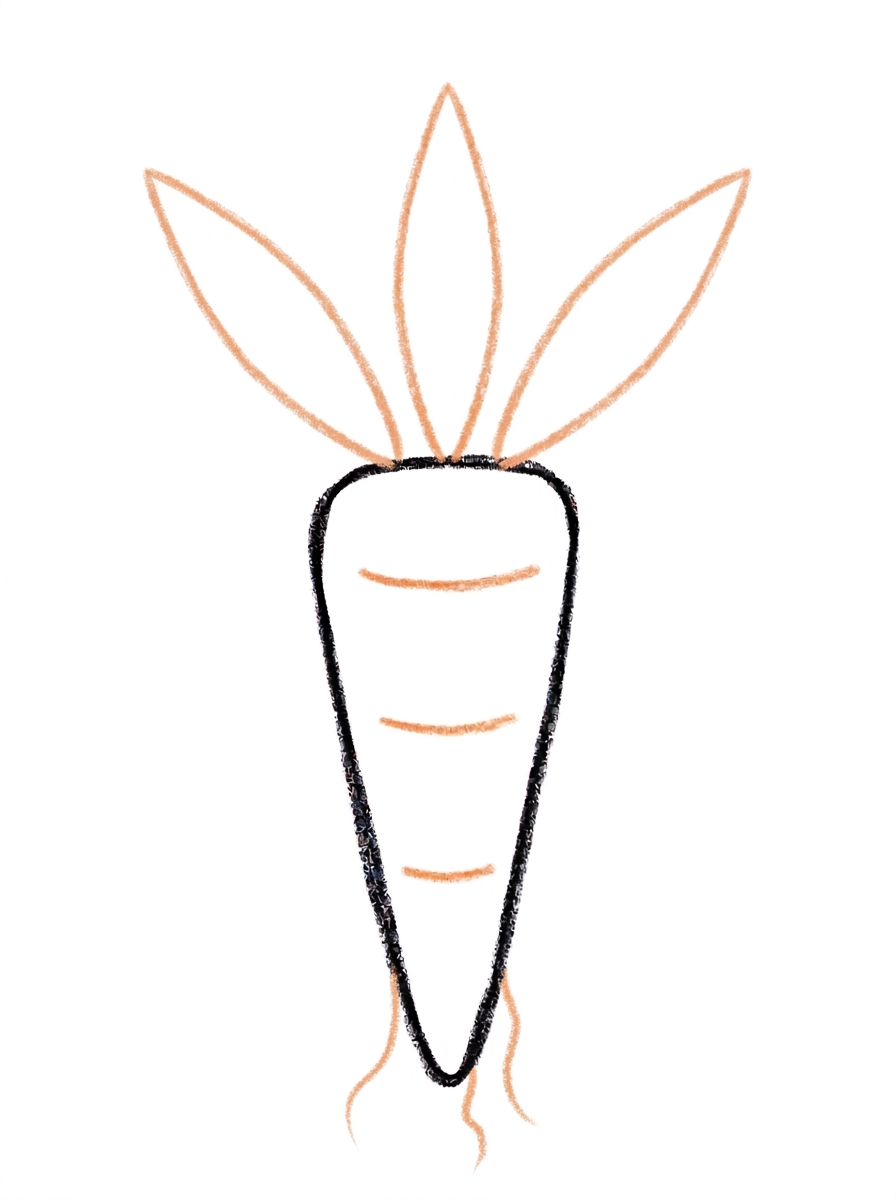
Draw a few tiny wavy lines hanging down from the pointed tip of the root — those are the root hairs.
Step 6: Color It In
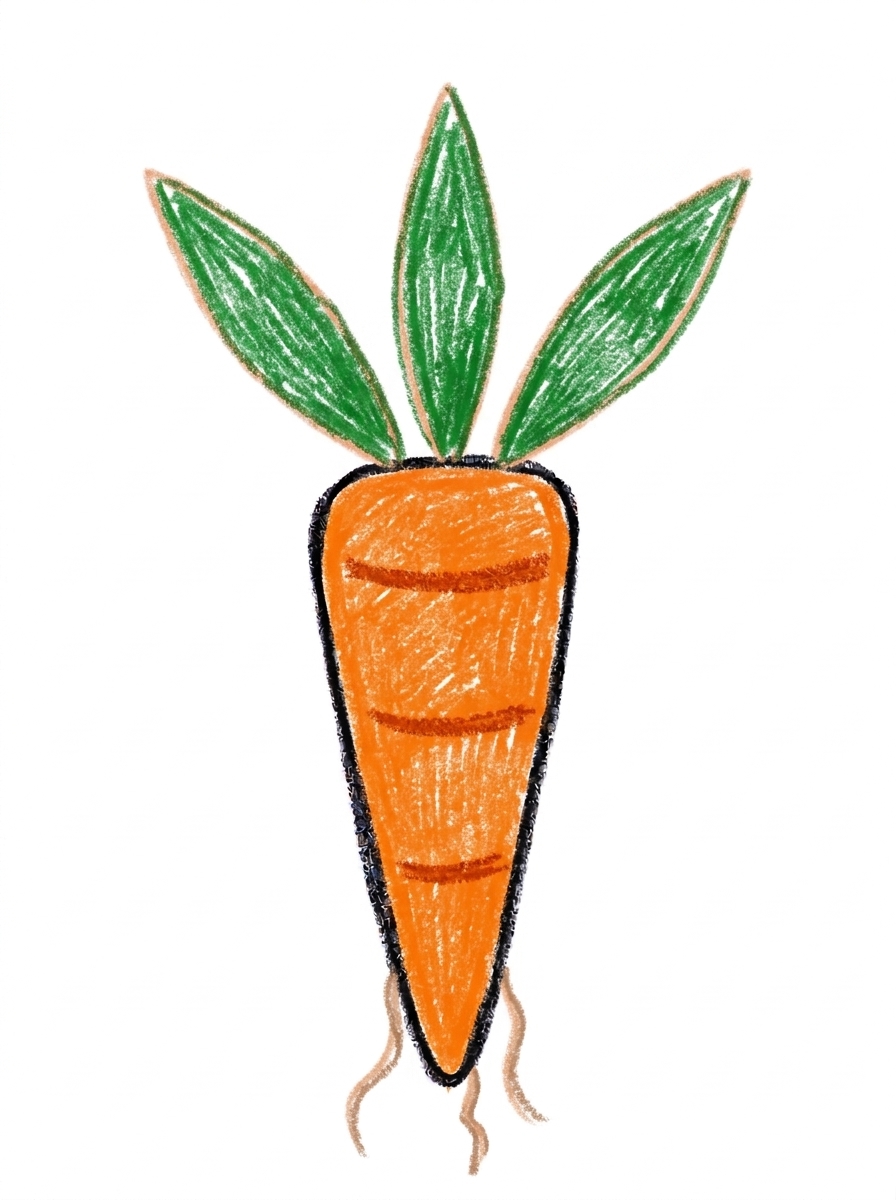
Color your carrot! Bright orange for the root with dark orange ridge lines, green leaves, and pale brown root hairs. Great drawing!
📊 Carrot Drawing by Age
Every age can join in — just adjust the job.
| Age | What they can do | Tip |
|---|---|---|
| 3-4 | Draw the long triangle root and color it bright orange. | Describe the root as an upside-down ice cream cone with soft corners — long and pointy is all a carrot needs. |
| 4-5 | Add the three ridge lines and the tall middle leaf. | Space the ridges out loud together — one near the top, one in the middle, one near the tip — so they land evenly. |
| 6+ | Finish all six steps, including the two side leaves and the few tiny root hairs at the tip. | Root hairs should stay tiny and few — a little fringe at the very tip, not a beard. |
🖨️ Download Your Free Carrot Drawing Printable
The printable lays out all 6 steps one per box, big enough for little hands — kids draw right alongside each step.
⬇️ Open Free Printable 🖨️ Print🎁 Free printable for ages 3+
🥕 Carrot Garden Page
Give your carrot a garden: draw a soil line across the bottom of the page, plant a whole row of carrots in different sizes along it with just their leafy tops and shoulders showing, and add one visitor — a bunny peeking in from the edge. Then decide together whose garden it is and what happens when the bunny gets in. Write one sentence about the garden under the drawing (or dictate it for a grown-up to write).
What You'll Need to Draw A Carrot
All you need is a pencil, an eraser, and crayons or markers. For the colors in the tutorial, have bright orange ready for the root, dark orange for the ridge lines, green for the leaves, and pale brown for the root hairs. Regular printer paper or a sketchbook both work.
What They're Learning
This tutorial practices drawing a long, controlled triangle with rounded corners, spacing three lines evenly down a shape (an early measuring skill), and leaf symmetry — one tall leaf in the center balanced by one on each side. The root hairs add fine-motor practice at a very small scale, and the whole page rewards looking closely at a real object before drawing it.
Make It Yours
Try a garden row of carrots in different sizes, a purple or rainbow carrot, a carrot with a smiley face for a younger sibling, or a giant carrot with extra-tall leaves. A bunny head peeking from behind the carrot turns it into a story in one extra shape.
🛒 Our Favorite Drawing Supplies
These are the supplies we reach for in our own home — washable (because kids), quality paper, and enough colors to avoid fights.
As an Amazon Associate, MomYouNeedThis earns from qualifying purchases — at no extra cost to you.
💡 Carrot Drawing Tips for Parents
Step 1 carries the drawing: long and slim reads as a carrot, short and wide reads as a turnip. If your child's triangle comes out stubby, don't restart — name it a baby carrot or draw a second, longer one beside it. Round off the top corners and the point as they draw; sharp corners are what make it look like a traffic cone instead of a vegetable.
At step 2, spacing is the skill: one ridge near the top, one in the middle, one near the tip. And at step 5, model restraint — draw your own few root hairs first if needed, small and sparse. Kids tend to add twenty; the picture works because there are only a few.
✏️ Carrot Drawing Step by Step
Some drawings are a construction project; a carrot is a single confident shape. The whole vegetable is one long triangle with softened corners, which makes this tutorial a perfect early win — a child who finishes step 1 is already more than halfway to a recognizable carrot.
The details that follow are texture, not structure. The three ridge lines copy the bumpy rings on a real carrot, the three leaves make the top read as leafy rather than as a party hat, and the few root hairs at the tip are the finishing touch that makes kids say 'it looks real!'
Work through the steps in order and let your child check each one against the picture. Because the shapes are so simple, this page is also a good place to practice drawing the same thing twice — a whole row of carrots is only five minutes away once the first one lands.
See free carrot printable for more.
✏️ One Shape Per Step, Six Steps Total
The order is deliberate: step 1, the long downward triangle with a rounded flat top and a rounded point; step 2, three short curved ridge lines spaced evenly down the root; step 3, one tall pointed leaf standing straight up from the center of the top.
Step 4 fans one pointed leaf out on each side of the middle leaf. Step 5 adds the smallest detail on the page — a few tiny wavy root hairs hanging from the tip. Step 6 colors the root bright orange with dark orange ridges, the leaves green, and the root hairs pale brown.
The hardest part of the whole tutorial is restraint at step 5: the hairs are a garnish, not a feature. A few tiny lines read as roots; a whole fringe reads as a mop. Show your child the picture so they can copy the scale of them.
See free carrot printable for more.
🥕 A Carrot Built From One Triangle
What makes this triangle a carrot and not just a triangle? Three things: the corners are rounded instead of sharp, the ridge lines break up the surface, and the leaves on top are unmistakably leafy — tall in the middle, fanning at the sides. Shape plus texture plus top is the whole recipe.
The proportions matter too. A carrot root is long compared to its topknot of leaves, so stretching the triangle tall and slim pays off. A short, wide triangle with the same leaves would read as a turnip — also a fine drawing, but a different vegetable.
That makes this a lovely first lesson in 'drawing what things actually look like': the difference between a carrot and a triangle is two small observations (rings, hairs) that your child can check against a real carrot from the fridge.
See free carrot printable for more.
❓ Carrot Drawing FAQs
What is the easiest way to draw a carrot?
Draw one long triangle pointing down for the root — that single shape is most of the carrot. Then add three curved ridge lines, a tall leaf in the middle with one leaf fanning out on each side, and a few tiny root hairs at the tip.
What age is this carrot drawing for?
It's made for ages 3 and up. The root is one simple triangle, and younger kids can draw it and the coloring while older kids add the ridge lines, leaves, and root hairs themselves.
What supplies do we need?
A pencil, an eraser, paper, and crayons or markers. For colors you'll want bright orange, dark orange for the ridge lines, green for the leaves, and pale brown for the root hairs.
Is the printable really free?
Yes — every printable on MomYouNeedThis is 100% free, including this carrot drawing tutorial. There is no signup, no email, and no catch — just download, print, and draw.
How do I print it?
Open the PDF and choose Print, then set the scale to 100% (sometimes called Actual Size) so the steps print at full size. The tutorial is designed for regular US Letter paper, and plain printer paper works perfectly.
Why does a carrot have lines across it?
Real carrots have bumpy little rings around the root where tiny side roots grow out. Three short curved lines, spaced down the root, copy that texture and instantly make a plain triangle look like a carrot.
What are the little hairs at the bottom?
Those are root hairs — the fine, thread-like roots a real carrot grows at its tip to drink water from the soil. Just a few tiny wavy lines hanging from the point is all it takes.
Can my carrot be a different color?
Yes — real carrots grow in purple, yellow, white, and red, not just orange. Keep the leaves green and the shape long and pointy, and a purple carrot still reads as a carrot.
📚 Keep Exploring
- ✏️ All 74 Drawing Tutorials 74 free step-by-step drawing tutorials for kids.
- 🍔 Food Coloring Free food coloring pages for kids.
- ✏️ Drawing Practice Free printable drawing pre-writing worksheet for toddlers.