 🏙️ FREE CITY DRAWING
City Drawing for Kids How to Draw A City in 6 Easy Steps
Quick Answer
Draw a city in six easy steps: one tall building in the middle, a shorter building on each side, then small square windows — six on the tall building and two on each side one. Color them brick red, tan and grey. For ages 3 and up — free, no signup needed.
At a Glance
- Subject: How to draw a city
- Ages: 3+
- Steps: 6 steps
- Time: ~15 min
- Difficulty: Easy
- Supplies: Paper, crayons
A whole city sounds like a big drawing, but this one is secretly simple — it's just three rectangles standing in a row, with little square windows to light them up. If your child can draw a rectangle and a square, they can draw this cheerful city skyline.
✏️ Draw Your City in 6 Easy Steps
One step per box — this step by step city drawing shows each new part in a different color so kids can see exactly what changed.
Step 1: The Tall Building
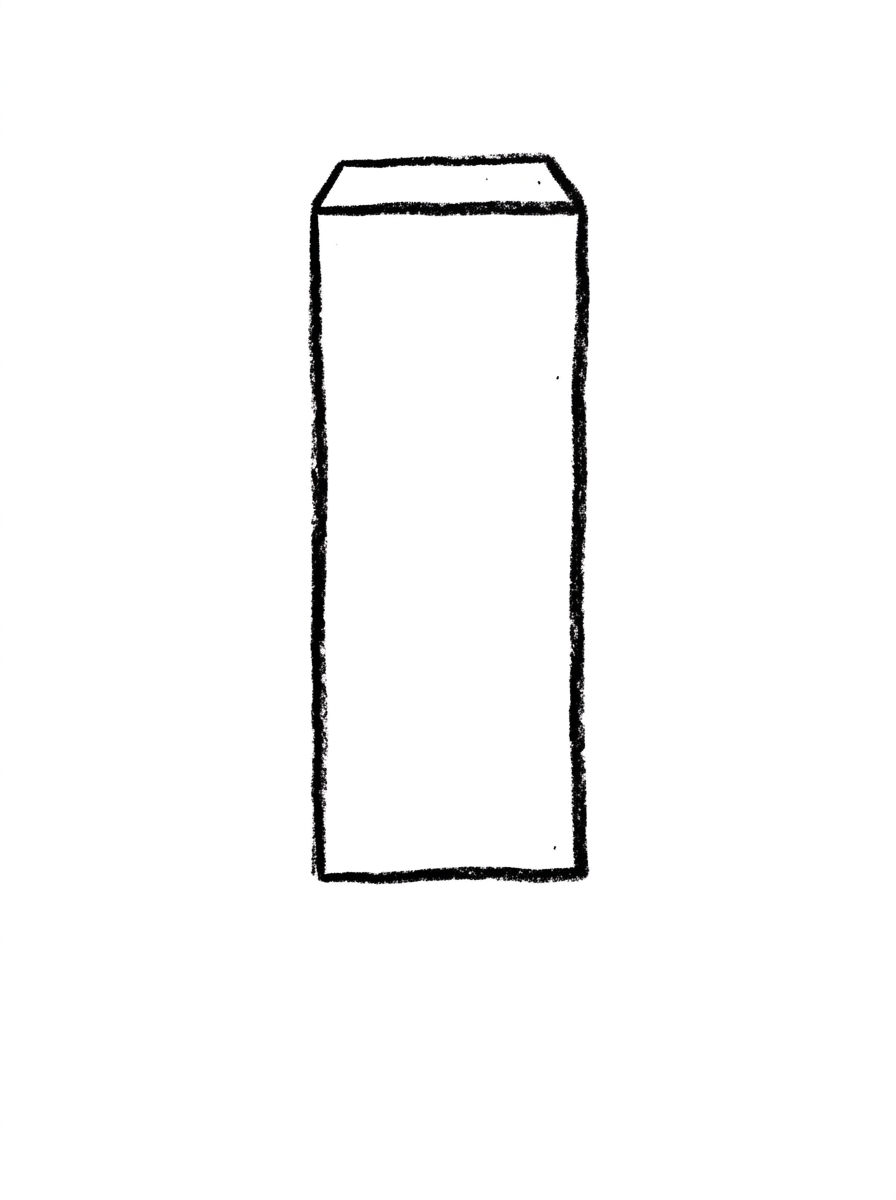
Draw one tall upright rectangle in the center — that's the tallest building.
Step 2: The Left Building
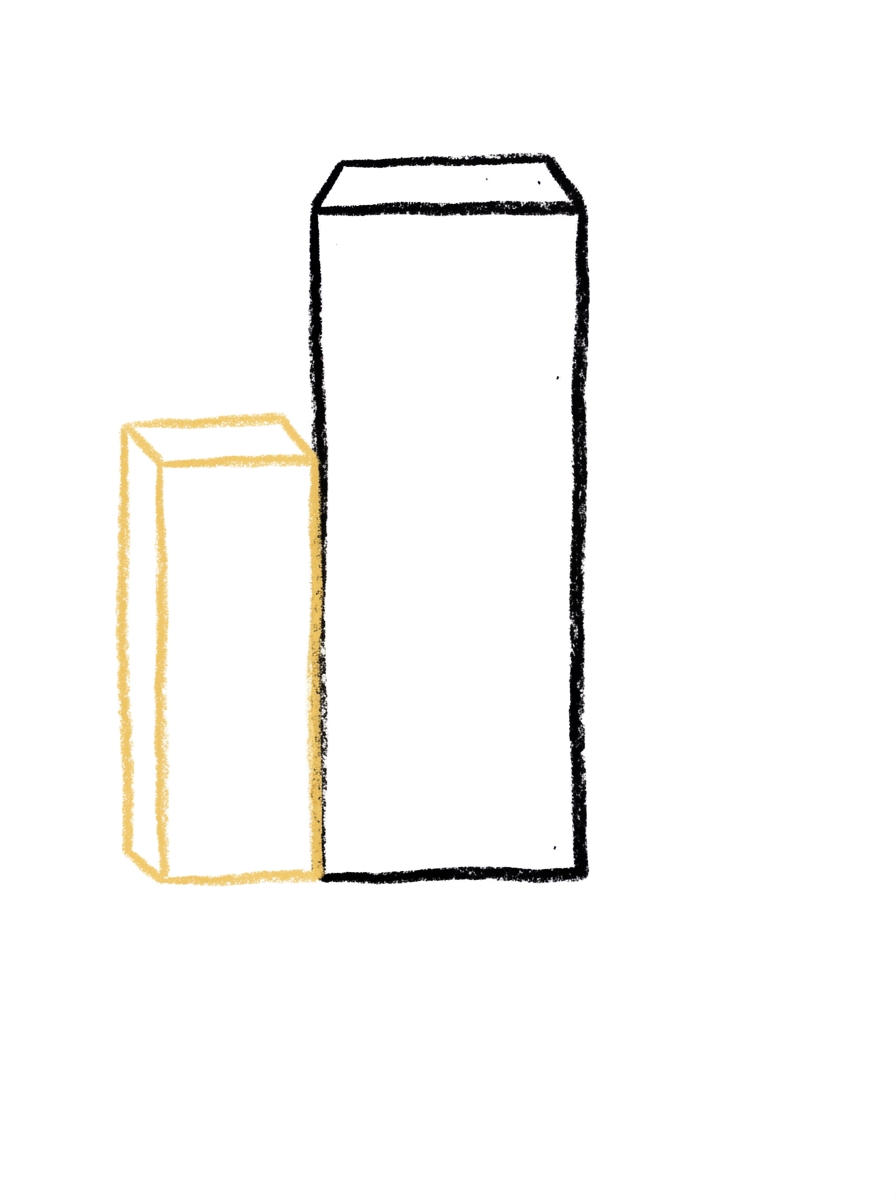
Add a shorter rectangle attached to the left side of the tall building.
Step 3: The Right Building
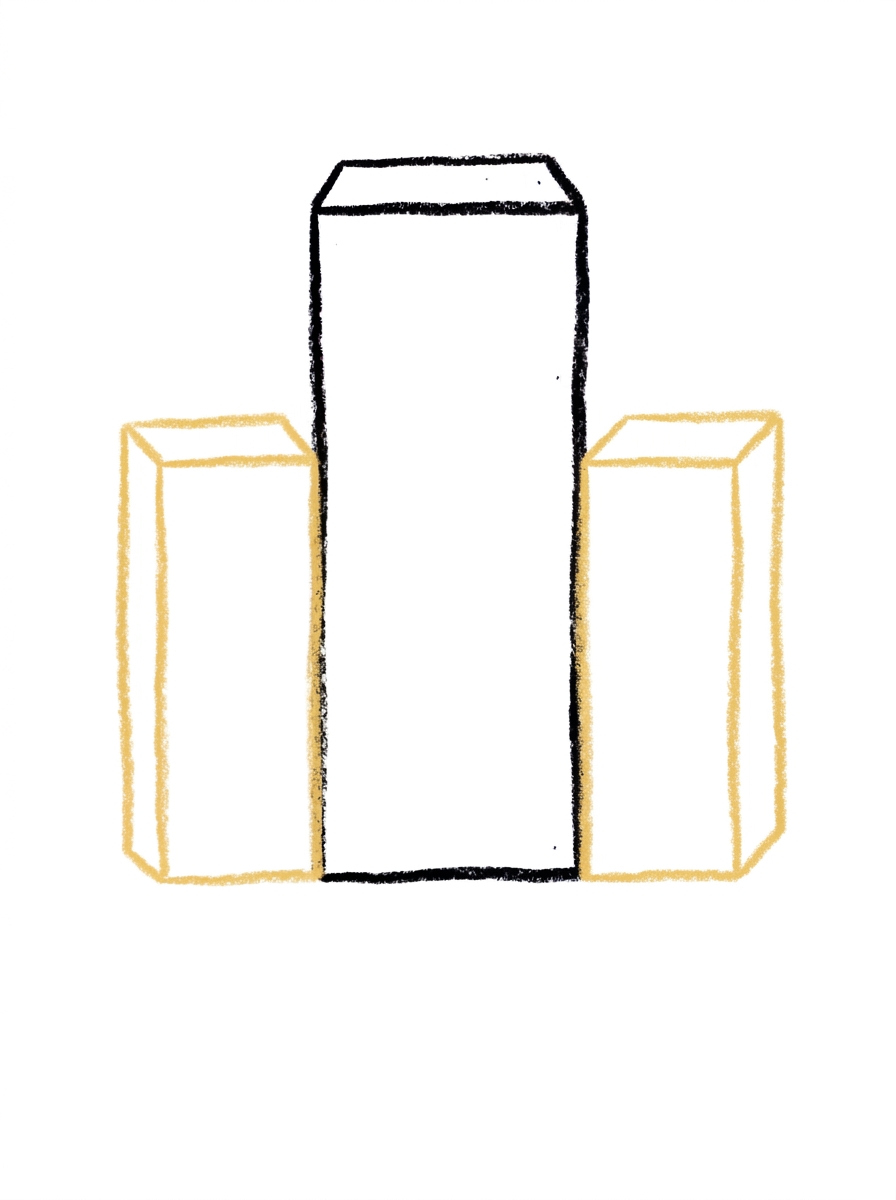
Add another shorter rectangle attached to the right side.
Step 4: The Tall Building's Windows
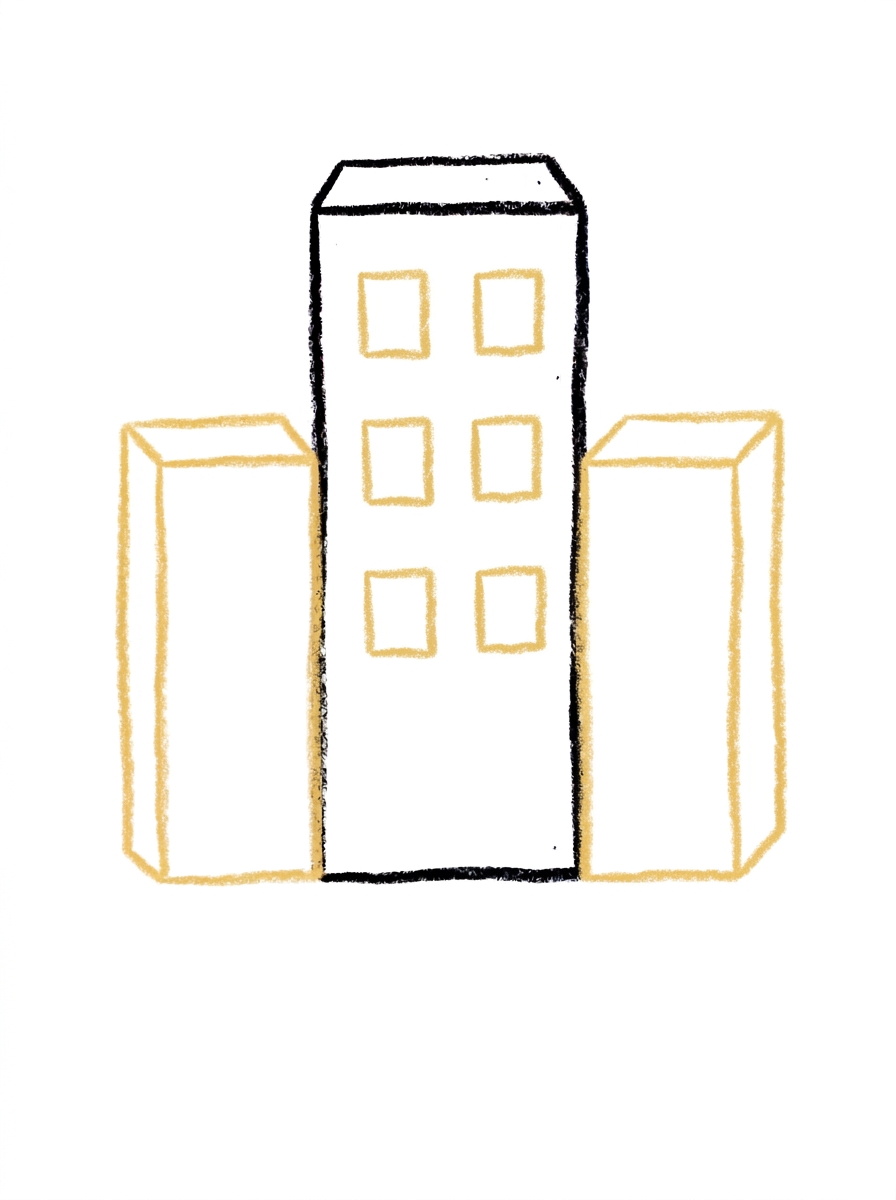
Draw six small squares in the tall building — two columns of three.
Step 5: The Side Windows
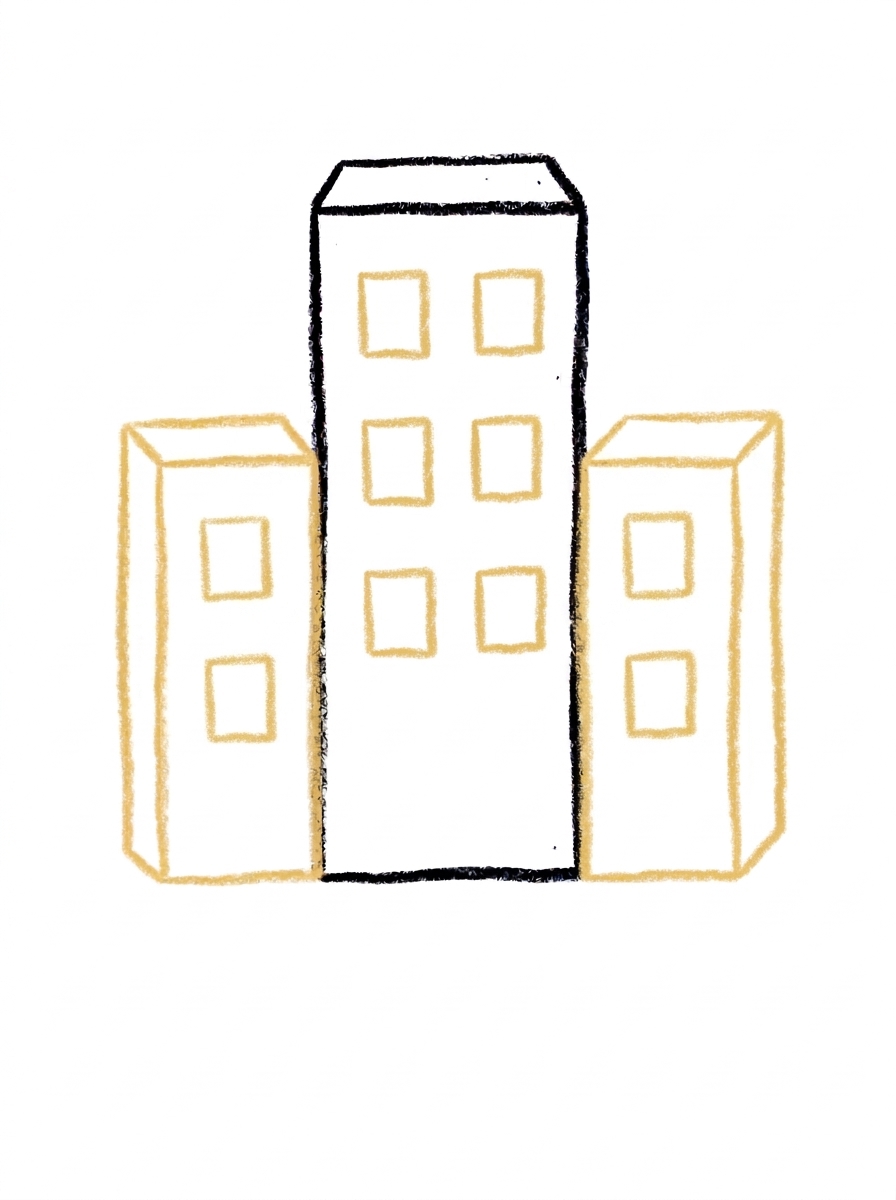
Draw two small squares, one above the other, in each side building.
Step 6: Color It In
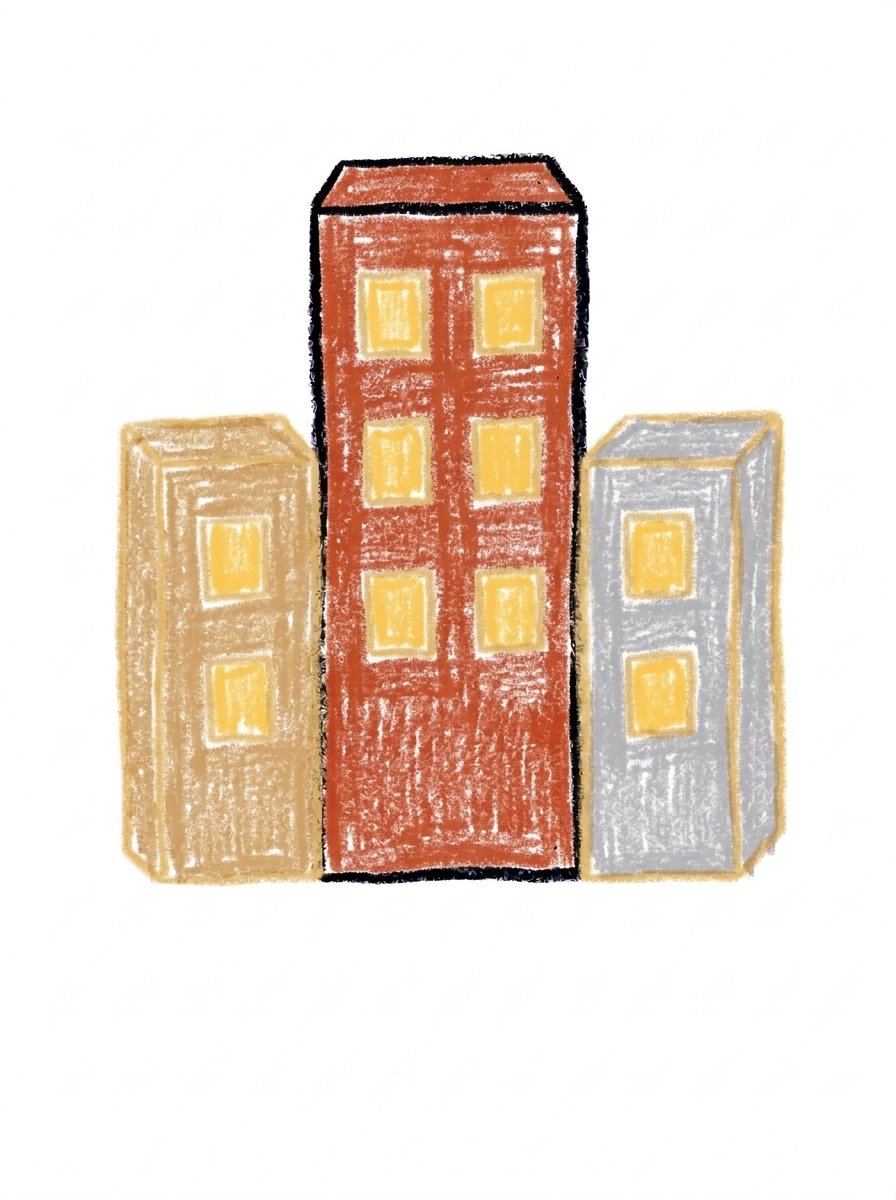
Color the tall building warm brick red, the left building warm tan, the right building soft gray, and all the windows warm yellow. Great drawing!
📊 City Drawing by Age
Every age can join in — just adjust the job.
| Age | What they can do | Tip |
|---|---|---|
| 3-4 | Draw the tall middle building and color the finished city's windows warm yellow. | Start the tall building in the center of the page — the two side buildings need room to attach on the left and right. |
| 4-5 | Add the shorter building on each side and the two stacked window squares in each side building. | Keeping the side buildings shorter than the middle one is what gives the skyline its up-and-down rhythm. |
| 6+ | Finish all six steps, including the tall building's six windows in two neat columns of three. | Counting the windows — six on the tall building, two on each side, ten in all — turns the detail step into a tidy math moment. |
🖨️ Download Your Free City Drawing Printable
The printable lays out all 6 steps one per box, big enough for little hands — kids draw right alongside each step.
⬇️ Open Free Printable 🖨️ Print🎁 Free printable for ages 3+
🏙️ City Skyline Page
Grow your city into a whole skyline: add a road along the bottom with a tiny car, a sun or moon over the rooftops, and a few stars, clouds, or birds in the sky, then decide together what kind of city this is — a sleepy small town, a superhero headquarters, or the street where your family lives. Write one sentence about the city under the drawing (or dictate it for a grown-up to write) and the picture becomes a map your child can keep building on.
What You'll Need to Draw A City
All you need is a pencil, an eraser, and crayons or markers. For the colors in the tutorial, have warm brick red ready for the tall building, warm tan for the left building, soft gray for the right building, and warm yellow for all the windows. Regular printer paper or a sketchbook both work.
What They're Learning
This tutorial practices upright rectangles in three heights and small squares placed in columns — great grid and alignment practice. Kids also work on counting with a real total to check (six windows plus two plus two makes ten), left-right symmetry in the skyline's shape, and sequencing: structure first, details last.
Make It Yours
Try a night city with a dark sky, a moon, and every window glowing yellow, a sunset city with an orange and pink sky, a snowy city with white rooftops, or a super-skyline with extra buildings marching off both sides of the page. Adding a road with a tiny car and a traffic light turns it into a full street scene.
🛒 Our Favorite Drawing Supplies
These are the supplies we reach for in our own home — washable (because kids), quality paper, and enough colors to avoid fights.
As an Amazon Associate, MomYouNeedThis earns from qualifying purchases — at no extra cost to you.
💡 City Drawing Tips for Parents
The windows in steps 4 and 5 are the fiddly part: six squares in two columns of three on the tall building. Have your child draw the left column top to bottom first, then match the right column to it square by square — matching a neighbor is much easier than measuring. Slightly uneven squares just look like different-sized windows in a real building.
Keep the two side buildings clearly shorter than the middle one. If a side building grows to the same height, the skyline flattens out and the 'tallest building' moment is lost — a quick fix is extending the center building's roof line a little higher before the windows go in.
✏️ City Drawing Step by Step
A whole city sounds like an enormous drawing, but a skyline is really just rectangles standing in a row — and this tutorial keeps it to three. One tall building in the middle, one shorter building hugging each side, and small square windows to bring them to life.
The tall center building goes down first and sets the height for everything else. The side buildings attach directly to it, sharing its edges, so there's no spacing to judge and no gaps to worry about. Windows come last, once the buildings are standing, which is deeply satisfying — like switching the lights on.
Work through the steps in order and let your child check each one against the picture before moving on. That checking habit — draw, compare, continue — is the real skill underneath every drawing tutorial, and a city's tidy grid makes it easy to practice.
See free city printable for more.
✏️ One Shape Per Step, Six Steps Total
The order builds the skyline outward: step 1, one tall upright rectangle in the center; step 2, a shorter rectangle attached to its left side; step 3, another shorter rectangle attached to its right side. Three steps, and the city is already standing.
Step 4 gives the tall building six small square windows in two columns of three. Step 5 gives each side building two small squares, one above the other — ten windows in all, and a natural counting game as kids work across the page.
Step 6 colors the tall building warm brick red, the left building warm tan, the right building soft gray, and every window warm yellow, like lights coming on at dusk. Slightly wobbly rectangles are fine — real city blocks are a cheerful mix, and hand-drawn charm suits a skyline.
See free city printable for more.
🏙️ Cool City Drawing
What makes this a cool city drawing instead of three plain boxes? Contrast. The tall red tower in the middle, the shorter tan and gray buildings stepping down on each side, and all those glowing yellow windows give the skyline a rhythm your eye reads instantly as 'downtown.'
You can push it further at coloring time: a sunset sky behind the rooftops, a moon and stars for a night city, or tiny flags on top of the tall building. A longer skyline also works — repeat the side-building steps with more rectangles marching off both edges of the page.
Cities are a great confidence subject because there's no wrong building. Every extra rectangle, window, or rooftop your child invents makes the skyline more theirs, not less correct.
See free city printable for more.
❓ City Drawing FAQs
What is the easiest way to draw a city?
Start with one tall rectangle in the center, then attach a shorter rectangle on each side, and finish with small square windows — six on the tall building and two on each side building. The six steps turn a whole city into three rectangles and ten little squares.
What age is this city drawing for?
It's made for ages 3 and up. Rectangles and small squares are the friendliest shapes there are, and younger kids can do the buildings and coloring while older kids line up the window columns themselves.
What supplies do we need?
A pencil, an eraser, paper, and crayons or markers. For colors you'll want warm brick red for the tall building, warm tan for the left building, soft gray for the right building, and warm yellow for all the windows.
Is the printable really free?
Yes — every printable on MomYouNeedThis is 100% free, including this city drawing tutorial. There is no signup, no email, and no catch — just download, print, and draw.
How do I print it?
Open the PDF and choose Print, then set the scale to 100% (sometimes called Actual Size) so the steps print at full size. The tutorial is designed for regular US Letter paper, and plain printer paper works perfectly.
How many windows does the tall building have?
Six: two columns of three, like buttons on a coat. Keeping them in two tidy columns is what makes the tall building look like a real tower block instead of a building with random holes.
How many windows do the side buildings have?
Two each — one small square above the other. The side buildings are shorter, so two windows fit their height, while the tall building's extra height earns it six. Ten windows in total across the whole city.
Why do the buildings touch each other?
It does — all three buildings share edges with no gaps, so they read as one city block in front of you rather than three separate houses. The different heights and different colors in step 6 still keep each building easy to tell apart.
📚 Keep Exploring
- ✏️ All 74 Drawing Tutorials 74 free step-by-step drawing tutorials for kids.
- 🚗 Vehicle Coloring Free vehicle coloring pages for kids.
- ✏️ Drawing Practice Free printable drawing pre-writing worksheet for toddlers.