
Cursive Practice Sheets
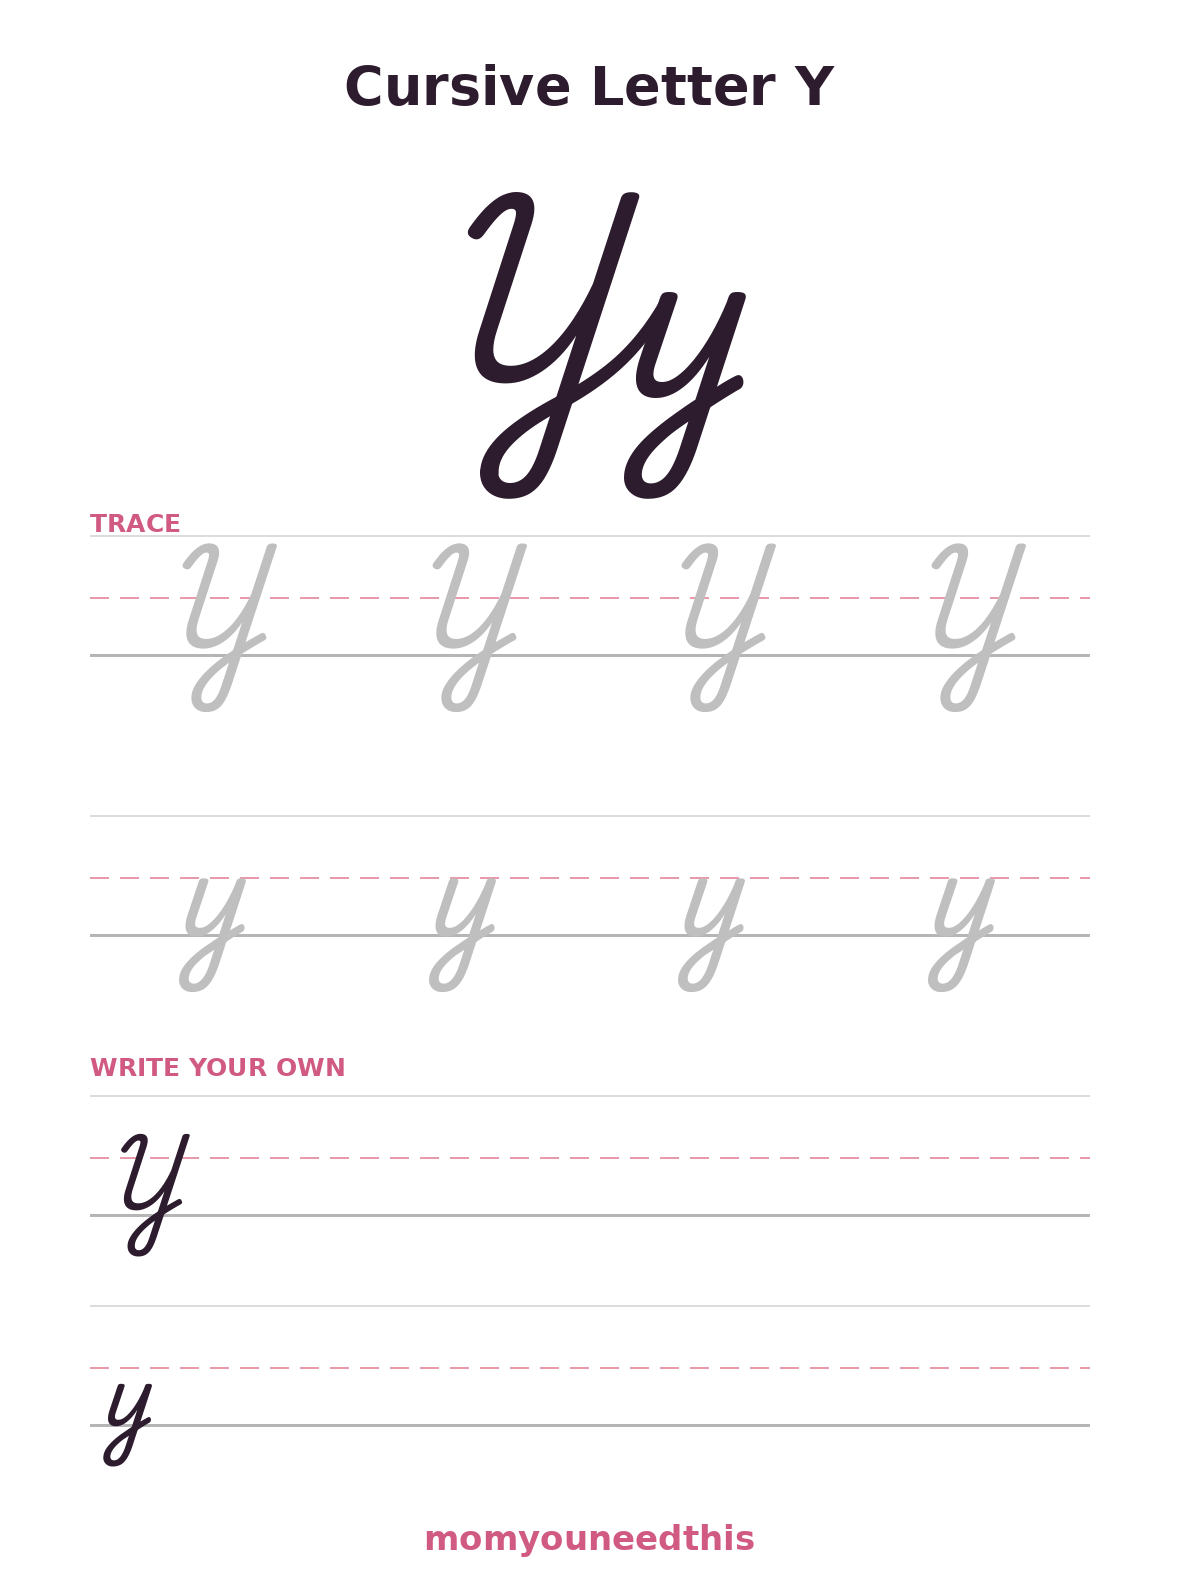
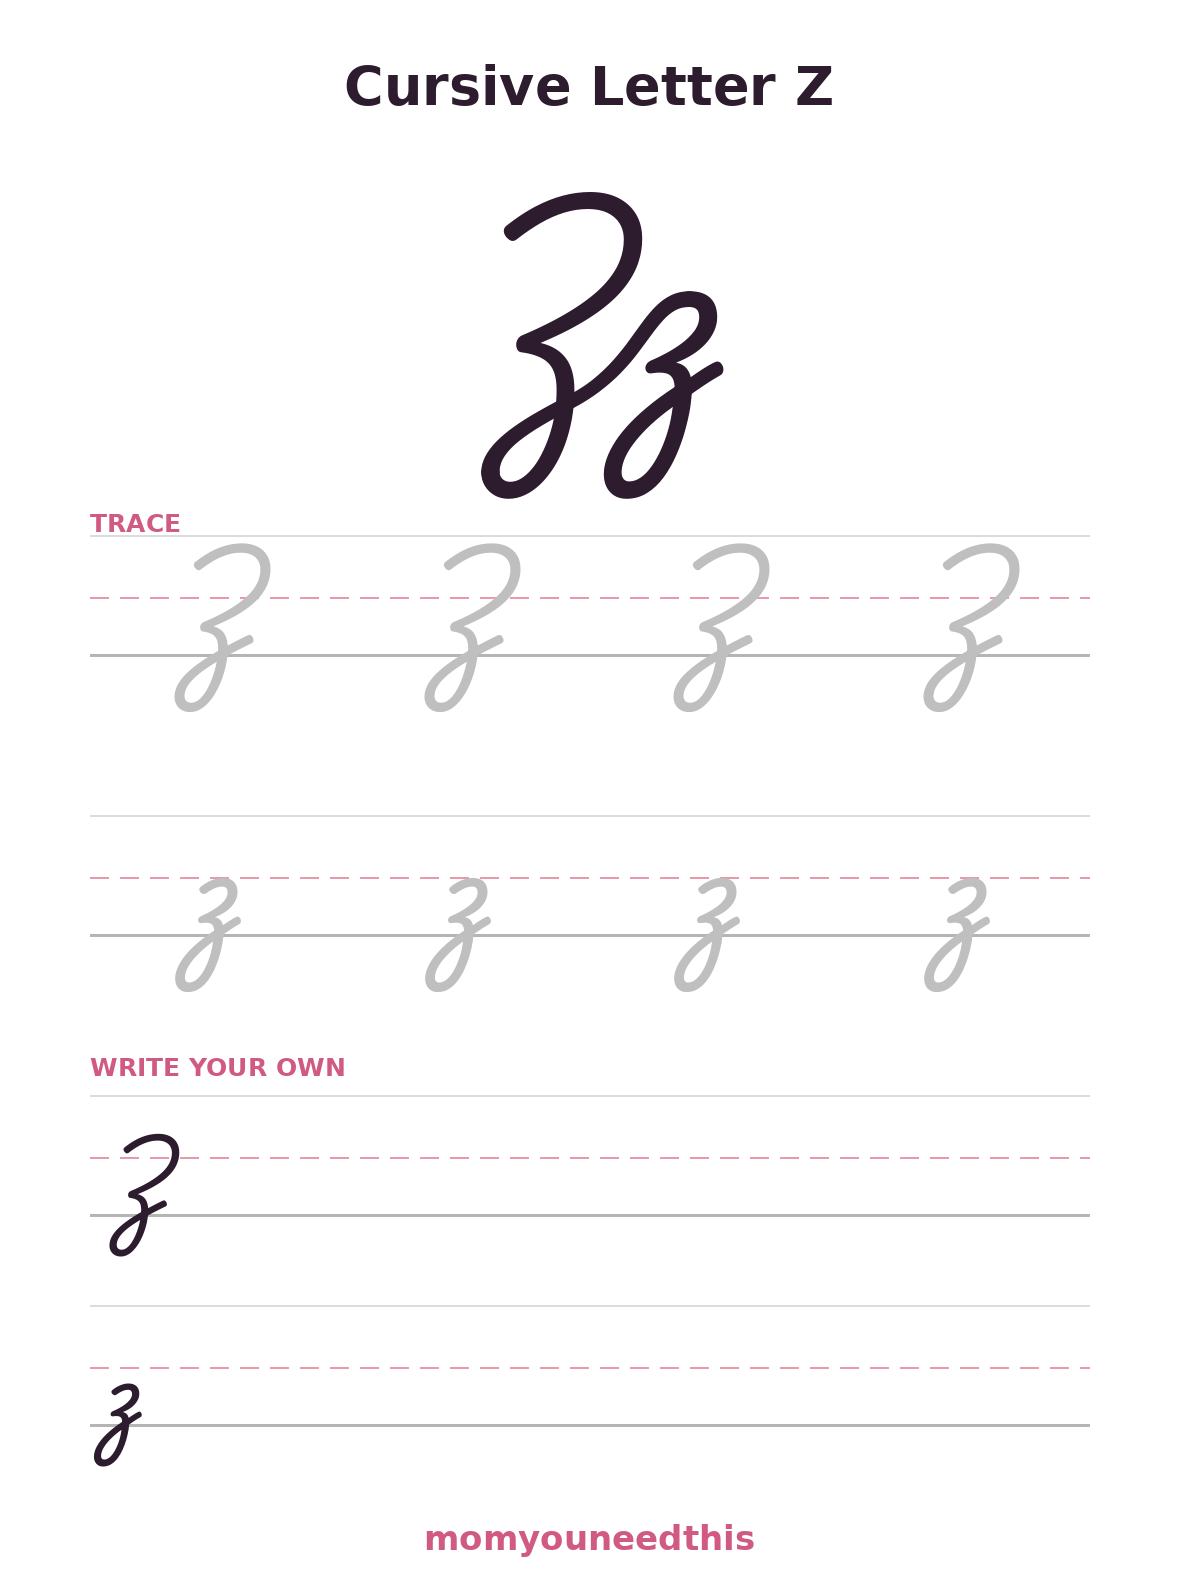
These cursive practice sheets give your child one full page for every letter of the alphabet, from A to Z. Each sheet shows the letter big — uppercase and lowercase side by side — then offers light gray copies of the letter to trace, and empty handwriting lines with a small model letter to copy from. The sheets are made for children roughly ages 6 to 8, in grades 1 to 3, who can print their letters and are ready to learn the joined-up style. Print one letter at a time, work through the alphabet in a sensible order, and keep the alphabet chart nearby for reference. Everything is free, with no signup.
Last updated: October 20, 2026
Quick Answer
This page has 26 free printable sheets — one for every cursive letter. On each sheet your child studies the big model letter, traces it four times in uppercase and four times in lowercase, then writes it on empty lined rows. Made for ages 6–8, no signup.
At a Glance
- Ages: 6–8 (grades 1–3)
- What you get: 26 printable sheets — one per letter, A–Z
- On every sheet: Big model letter, gray tracing rows, empty copy lines
- Style: Traditional US school cursive
- Cost: Free — no signup, no email
🎁 Free printables for ages 6–8 — no signup needed
✏️ Cursive Practice Sheets A–Z
Pick a letter to open its sheet. Each one opens as a full-size page — print it at 100% on letter-size paper.
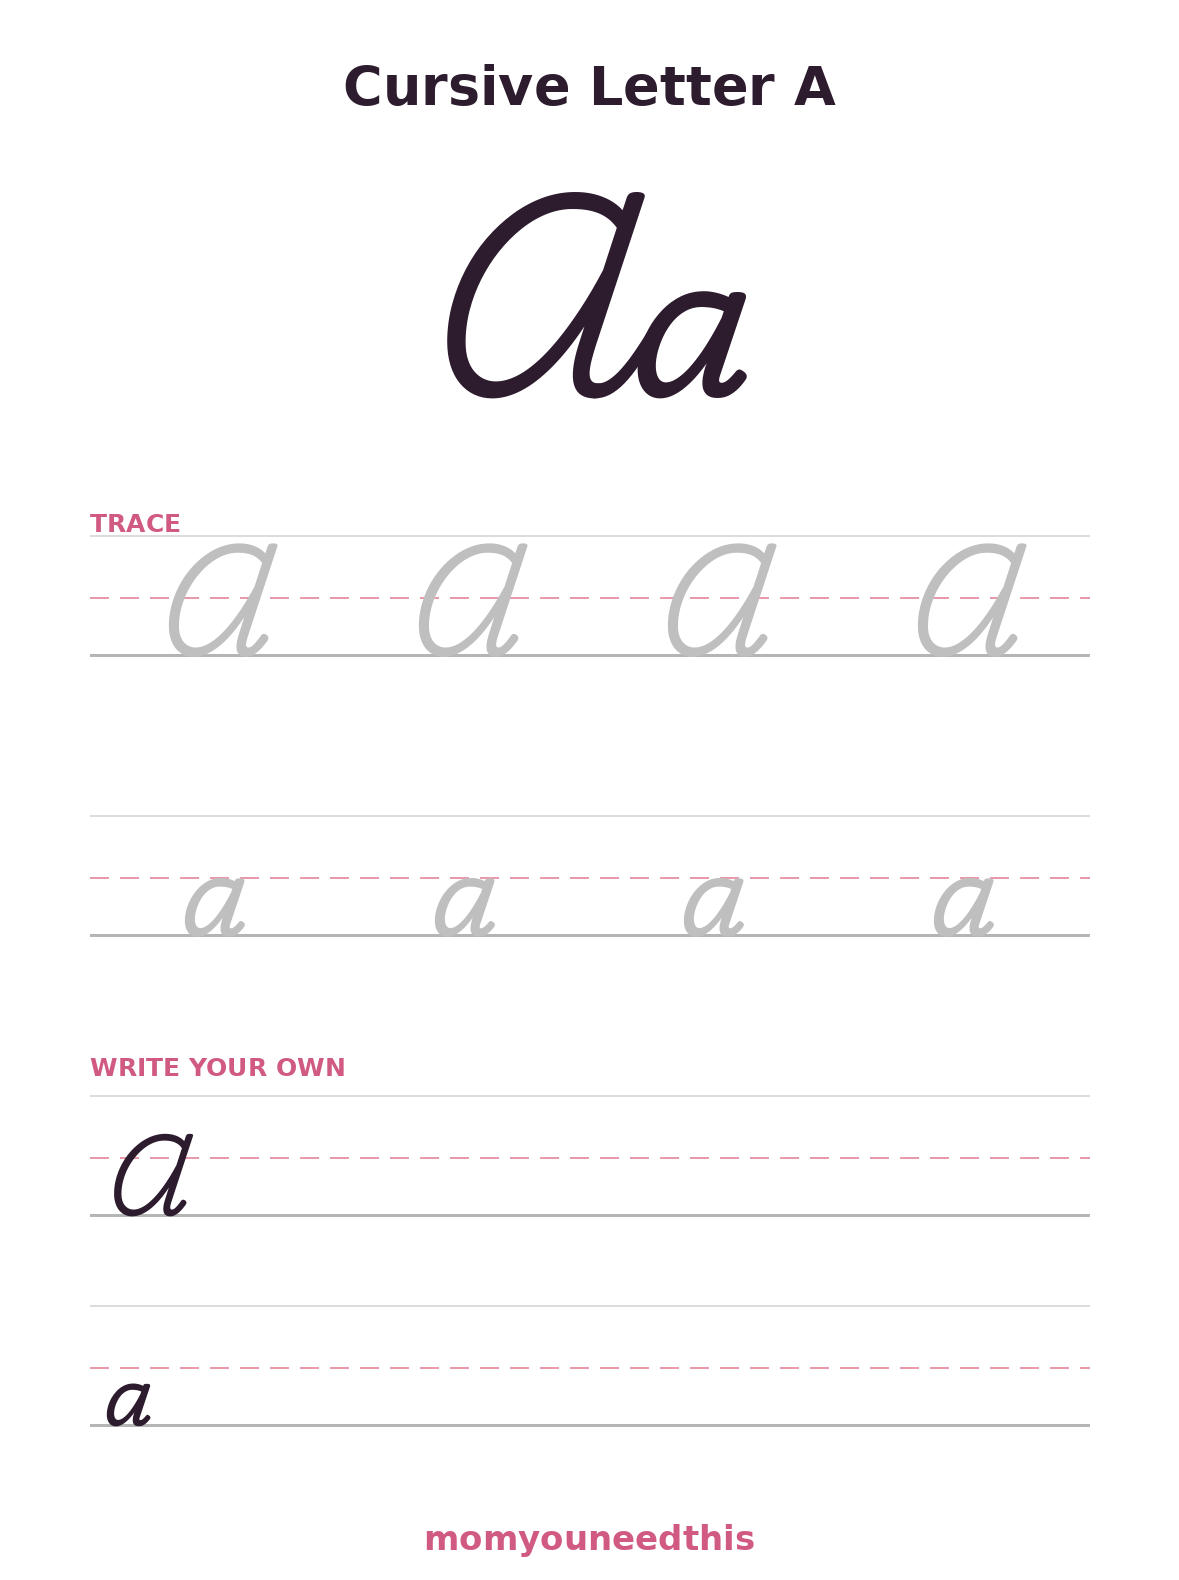
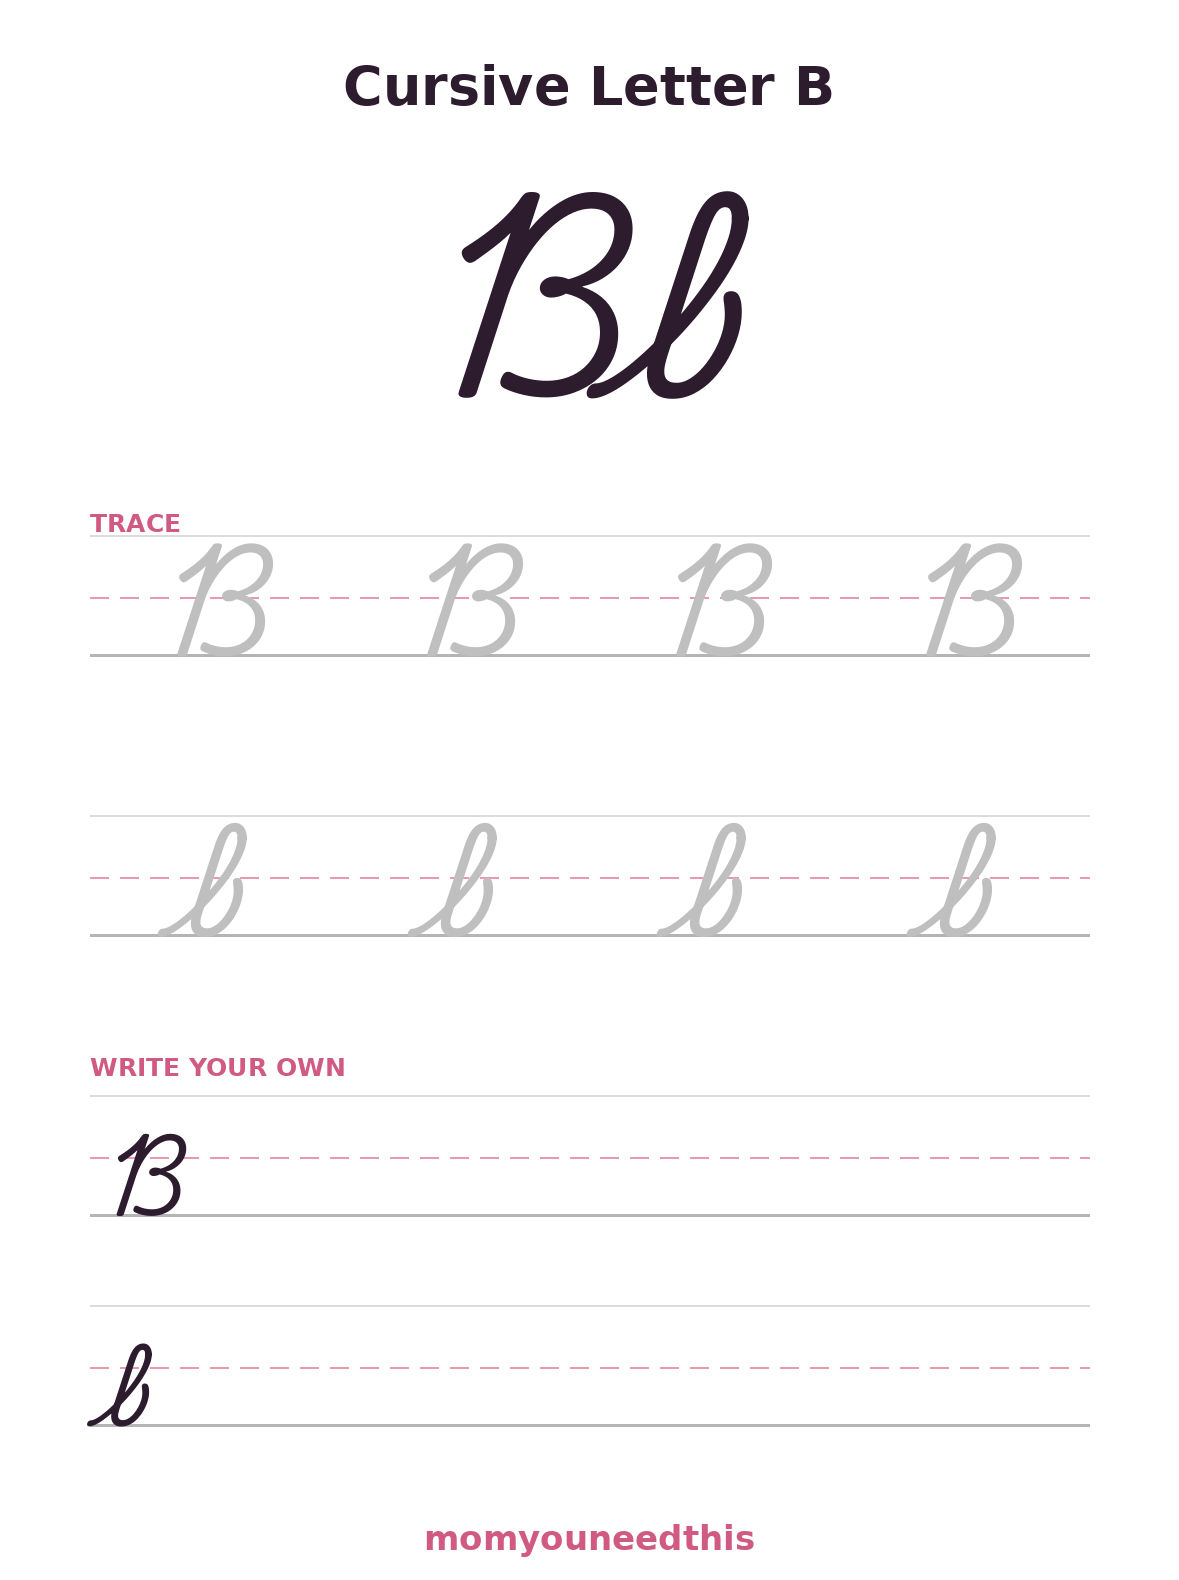
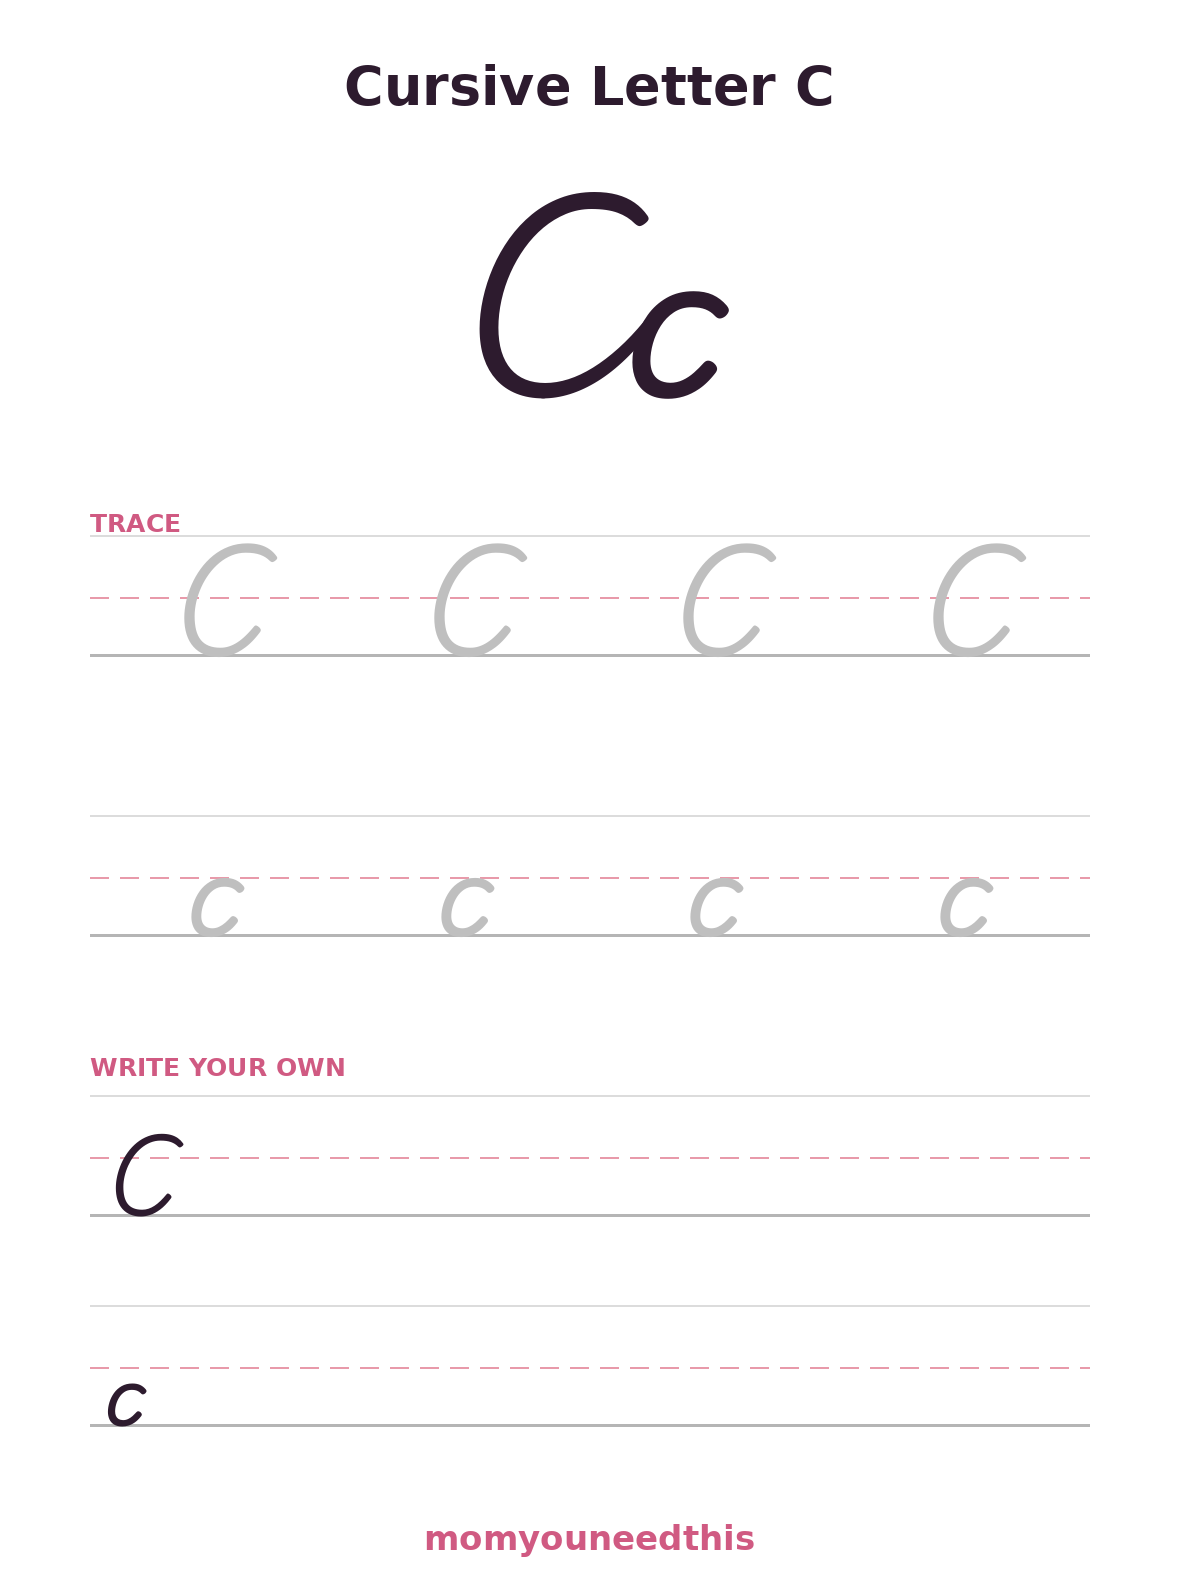
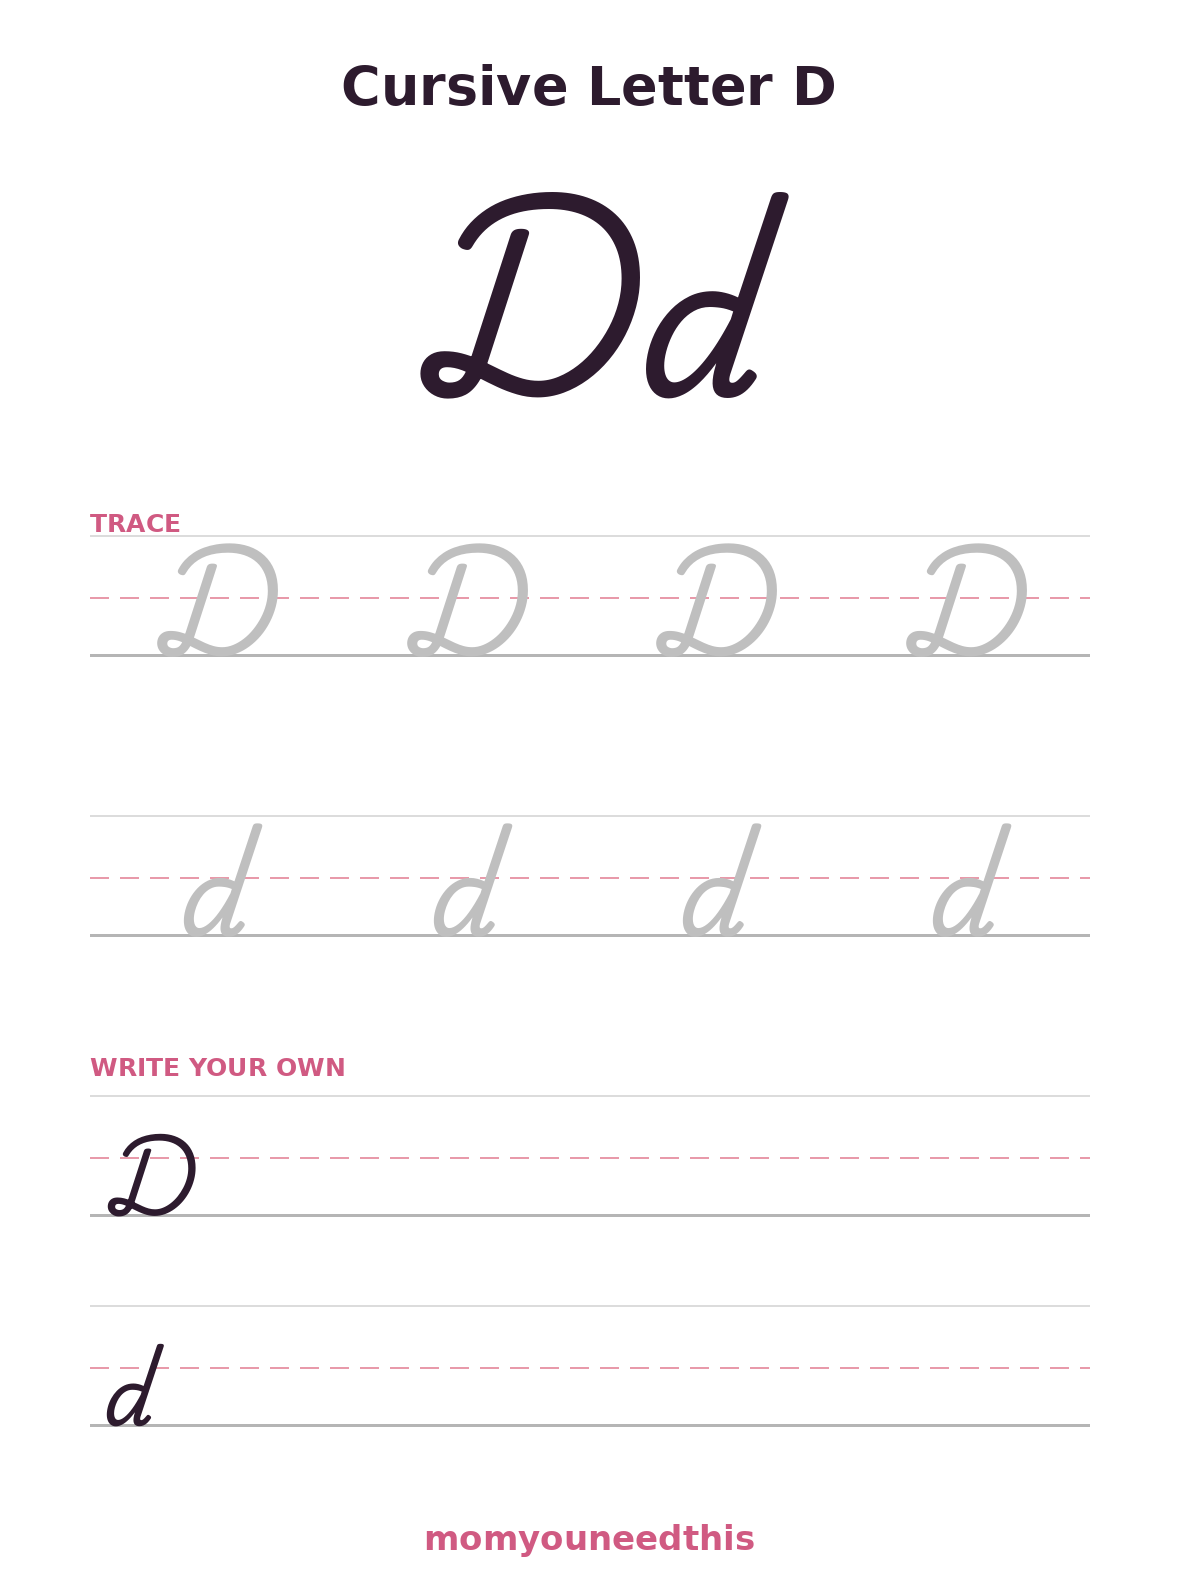
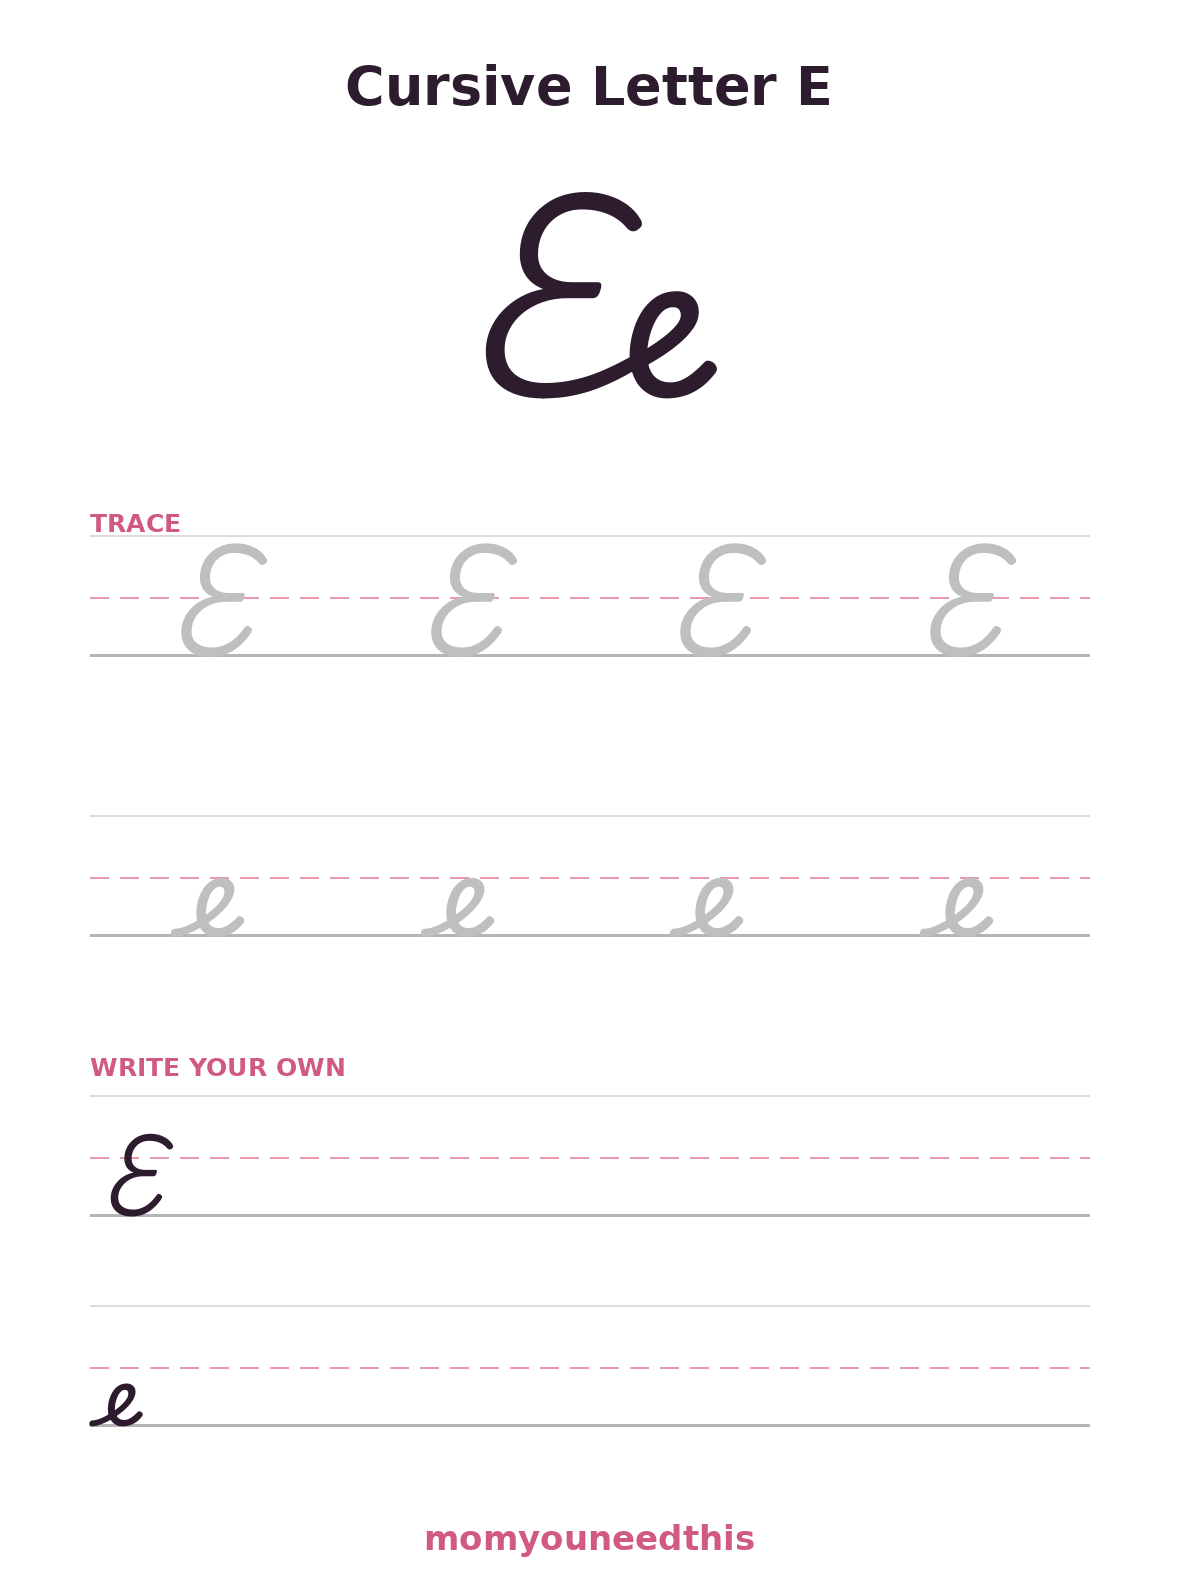
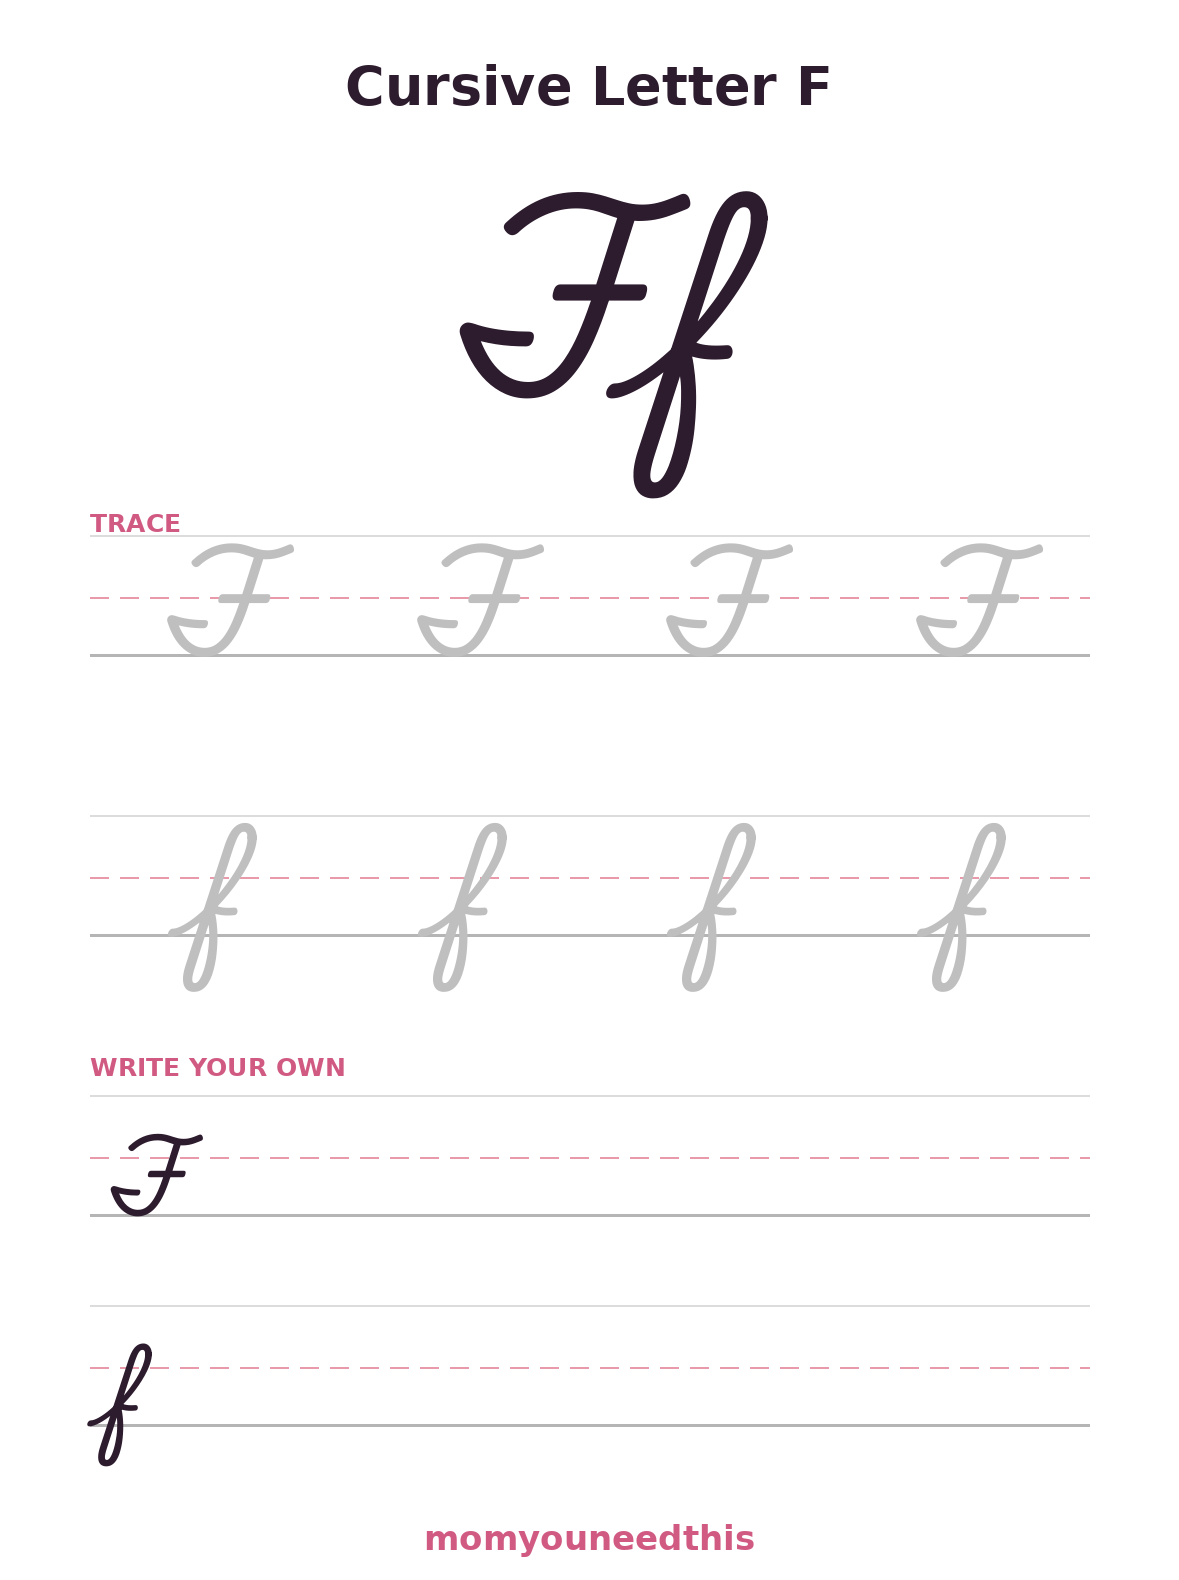
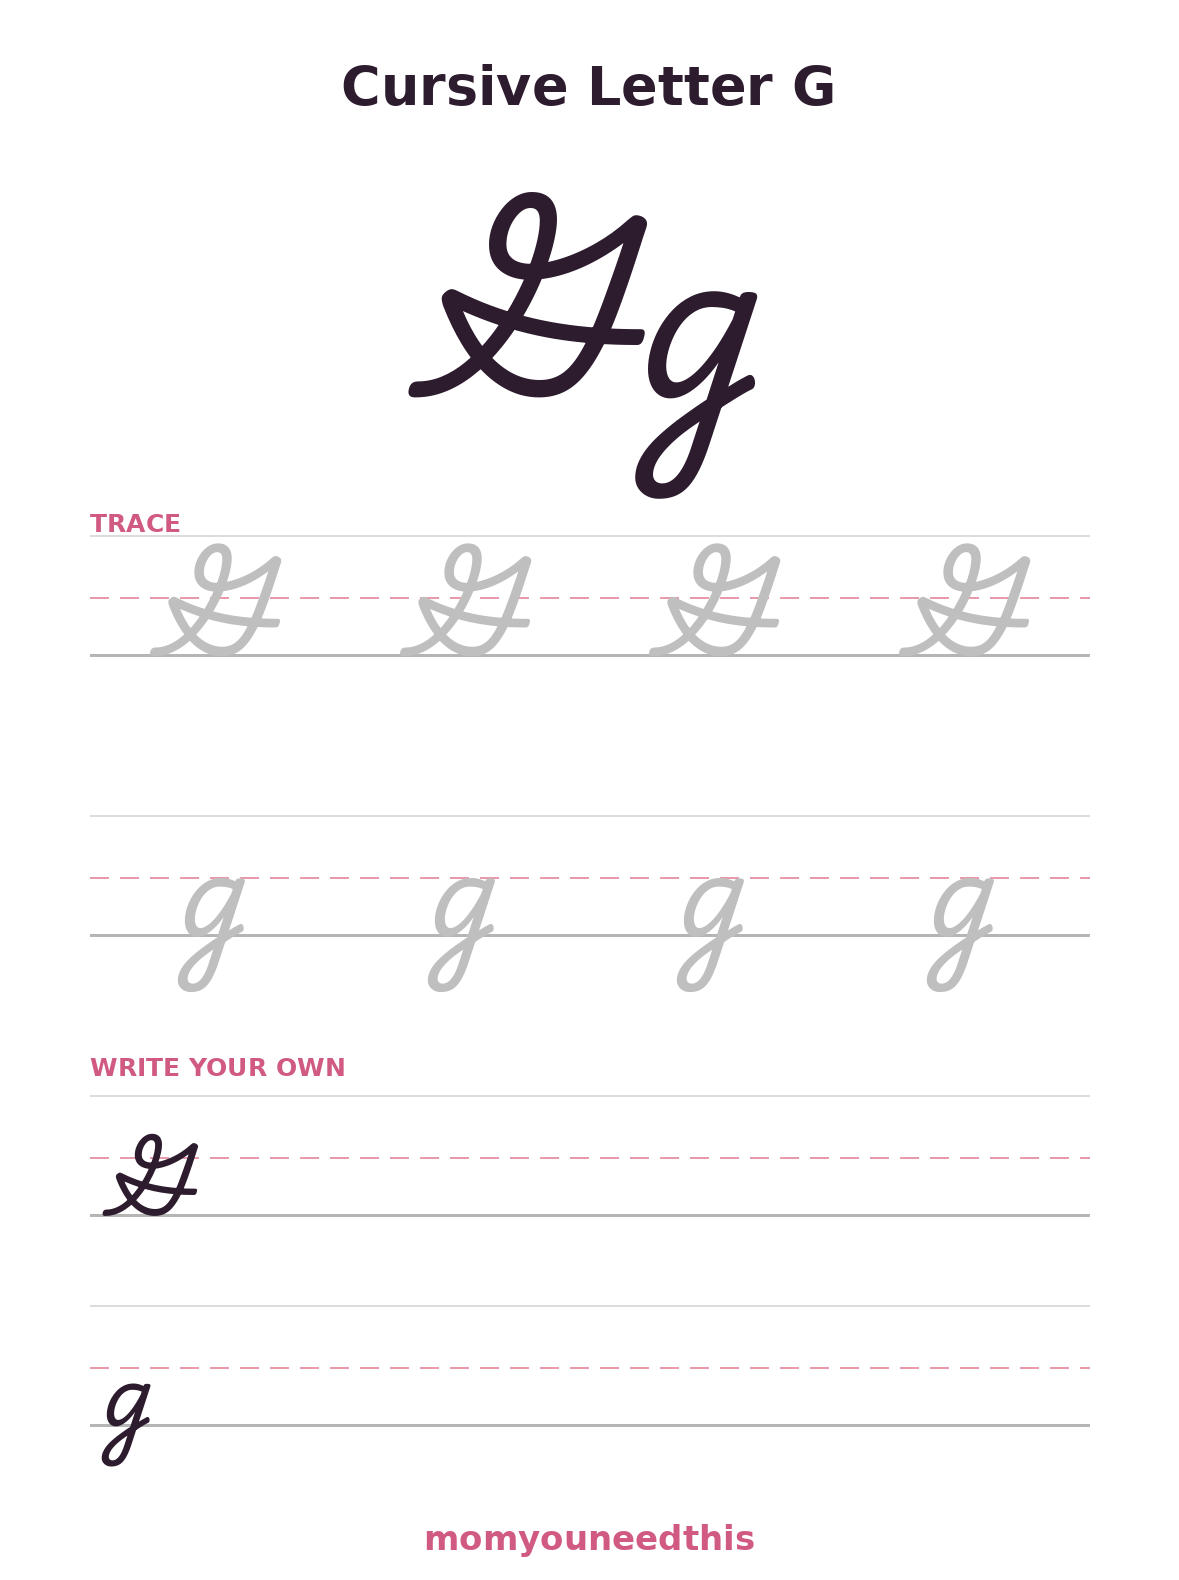
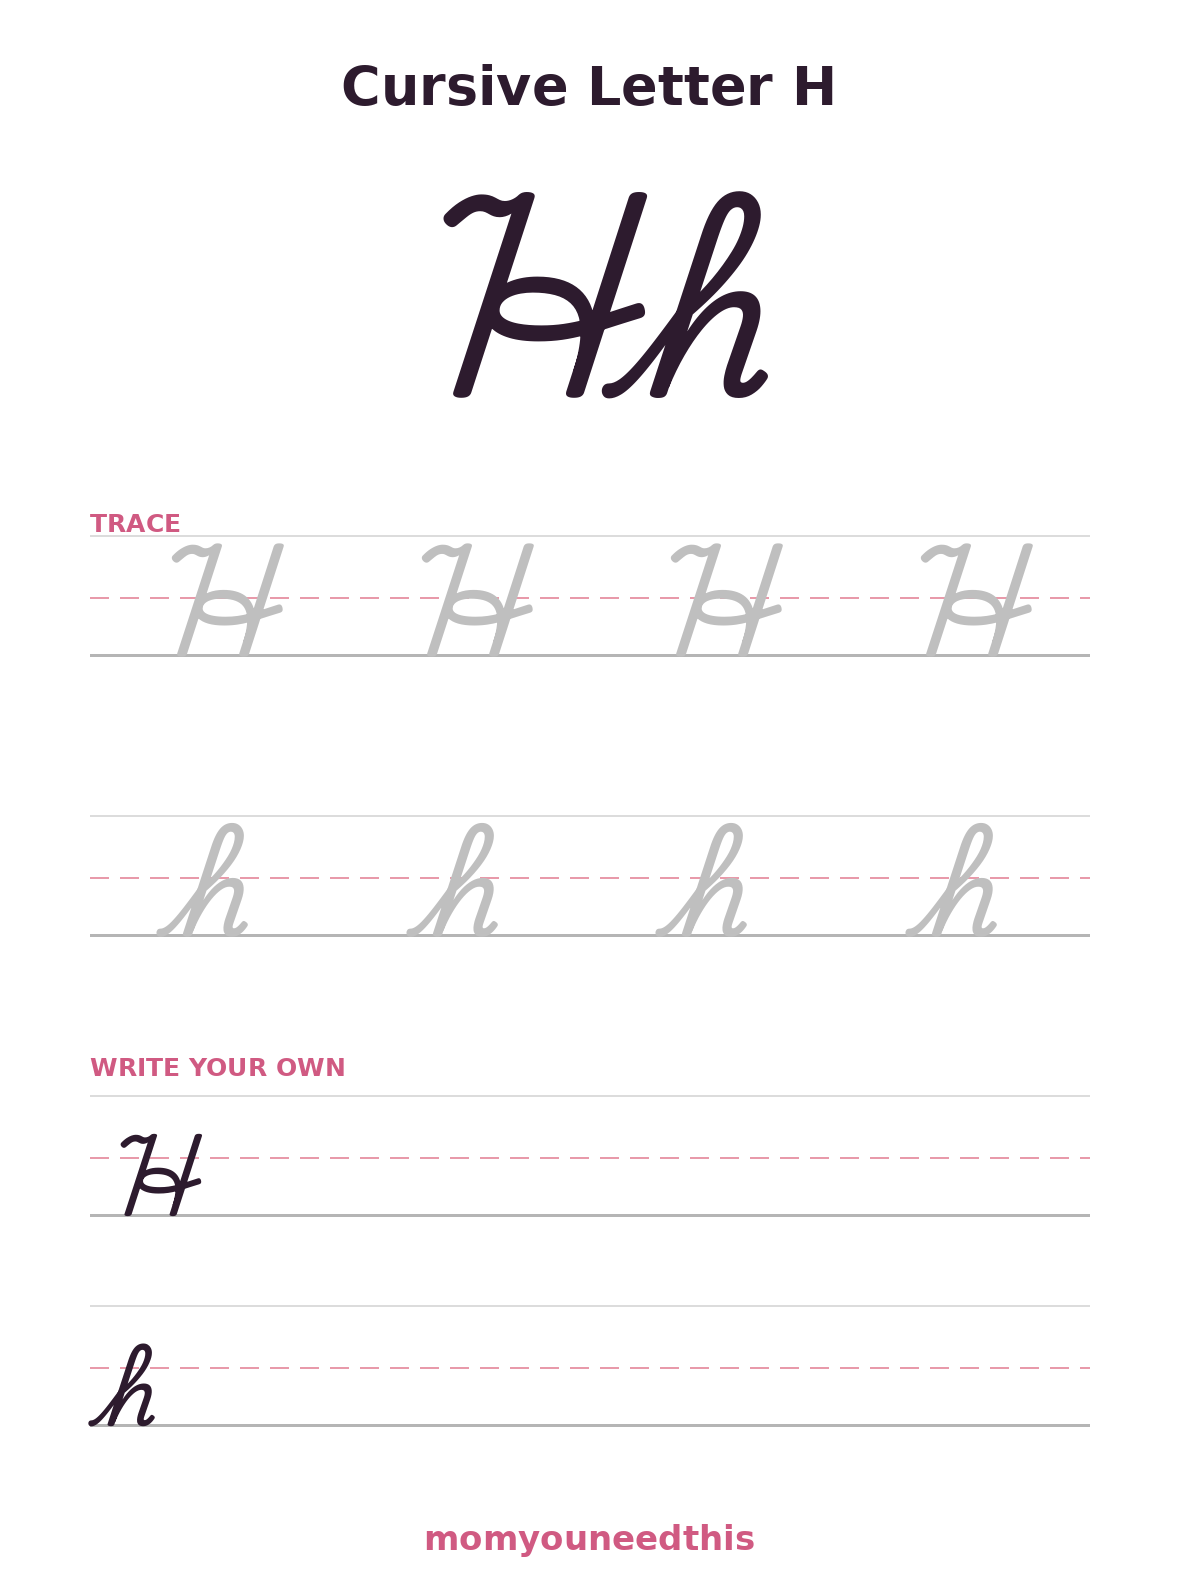
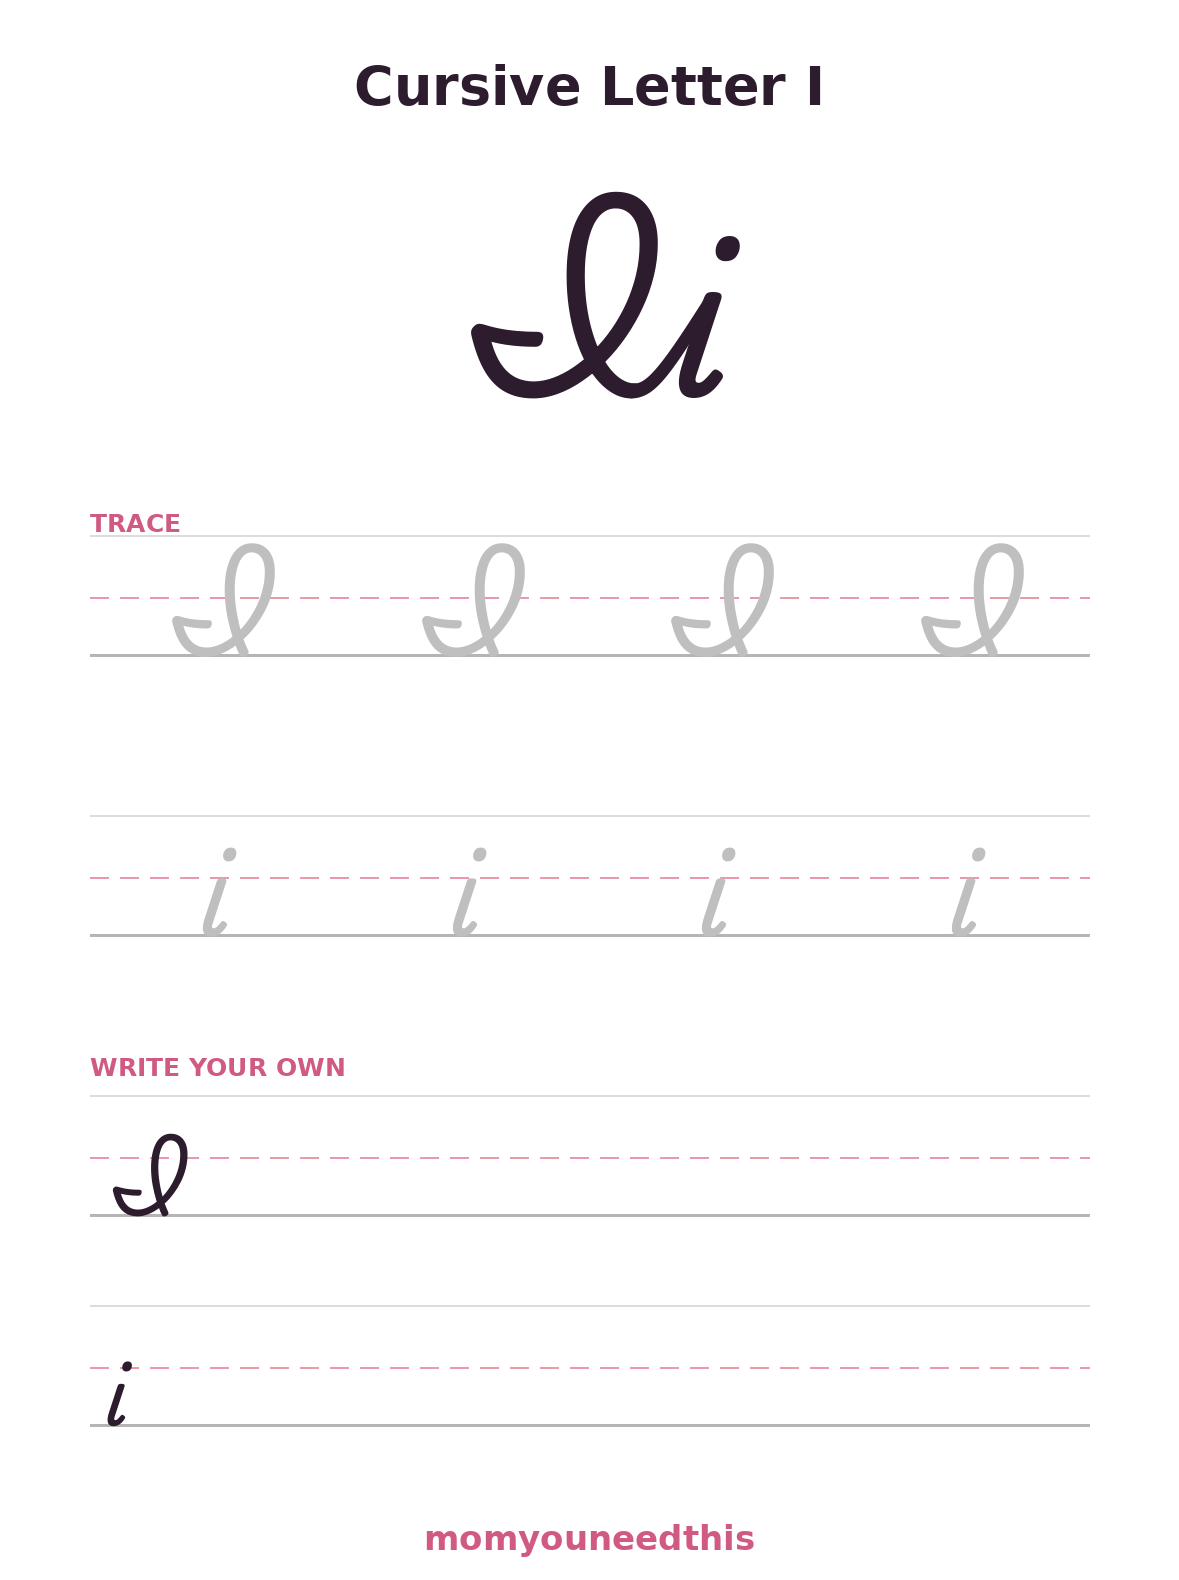
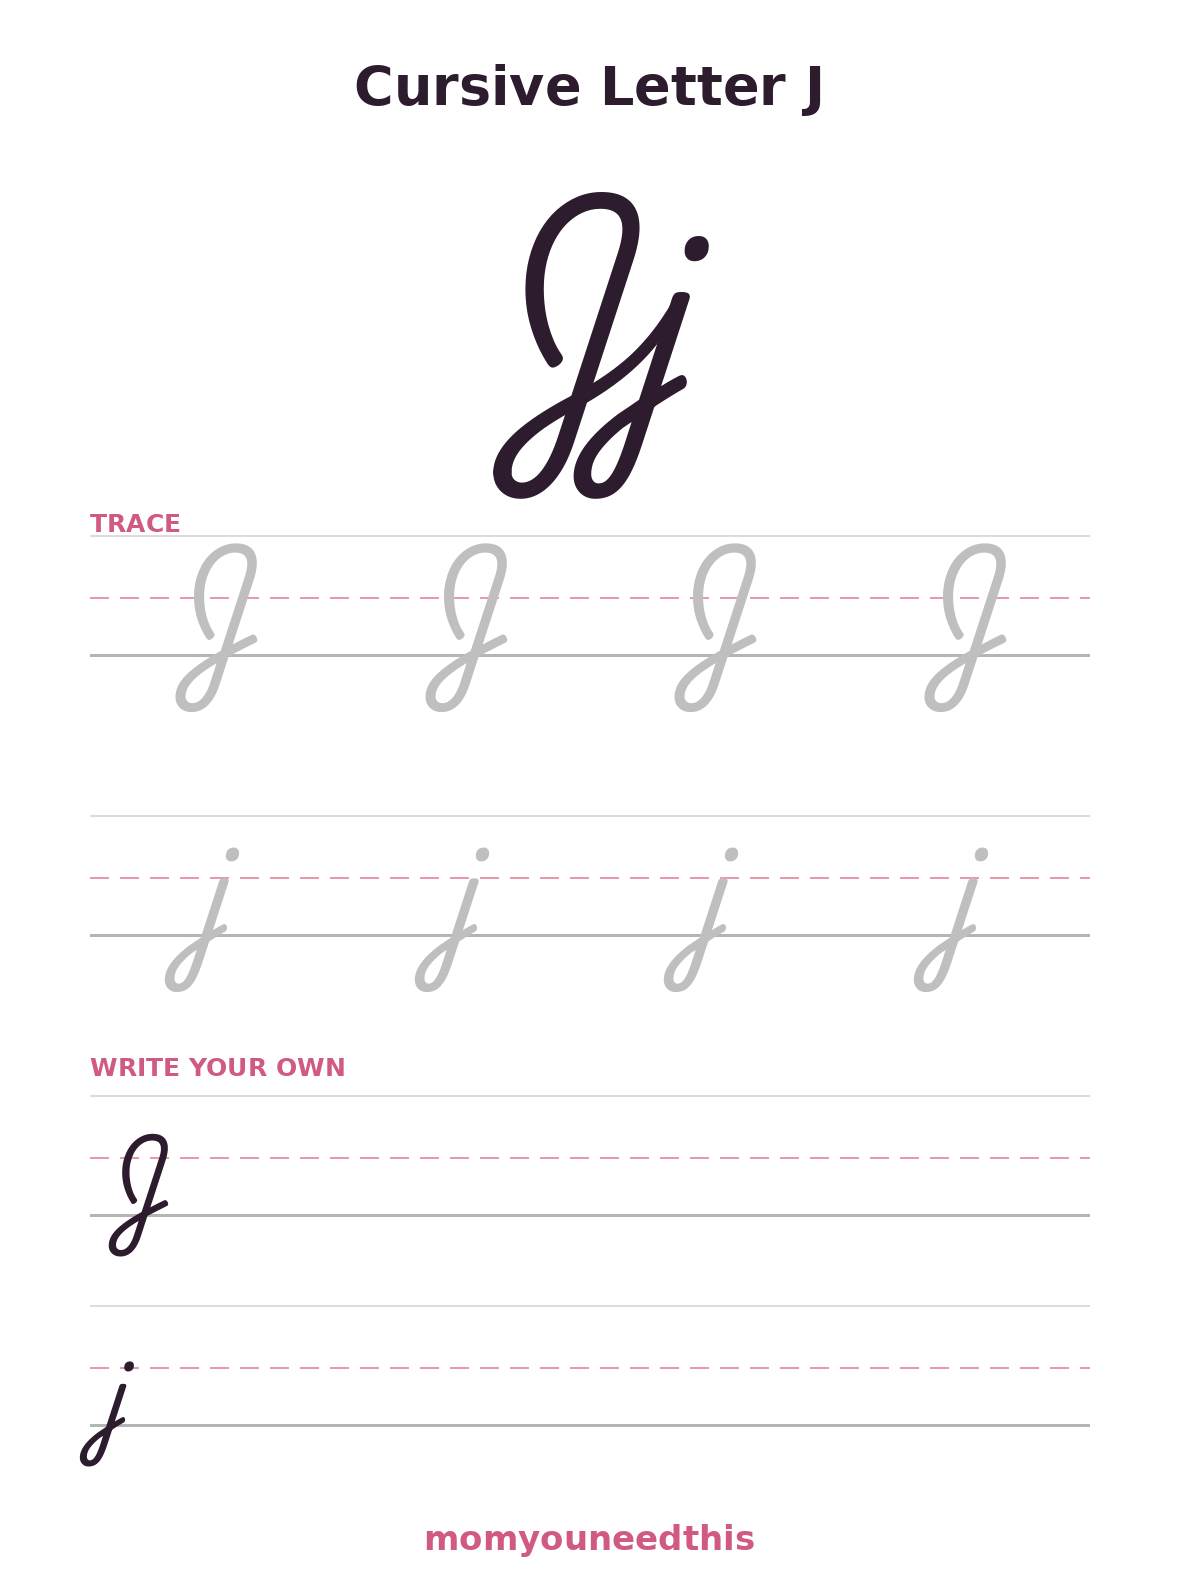
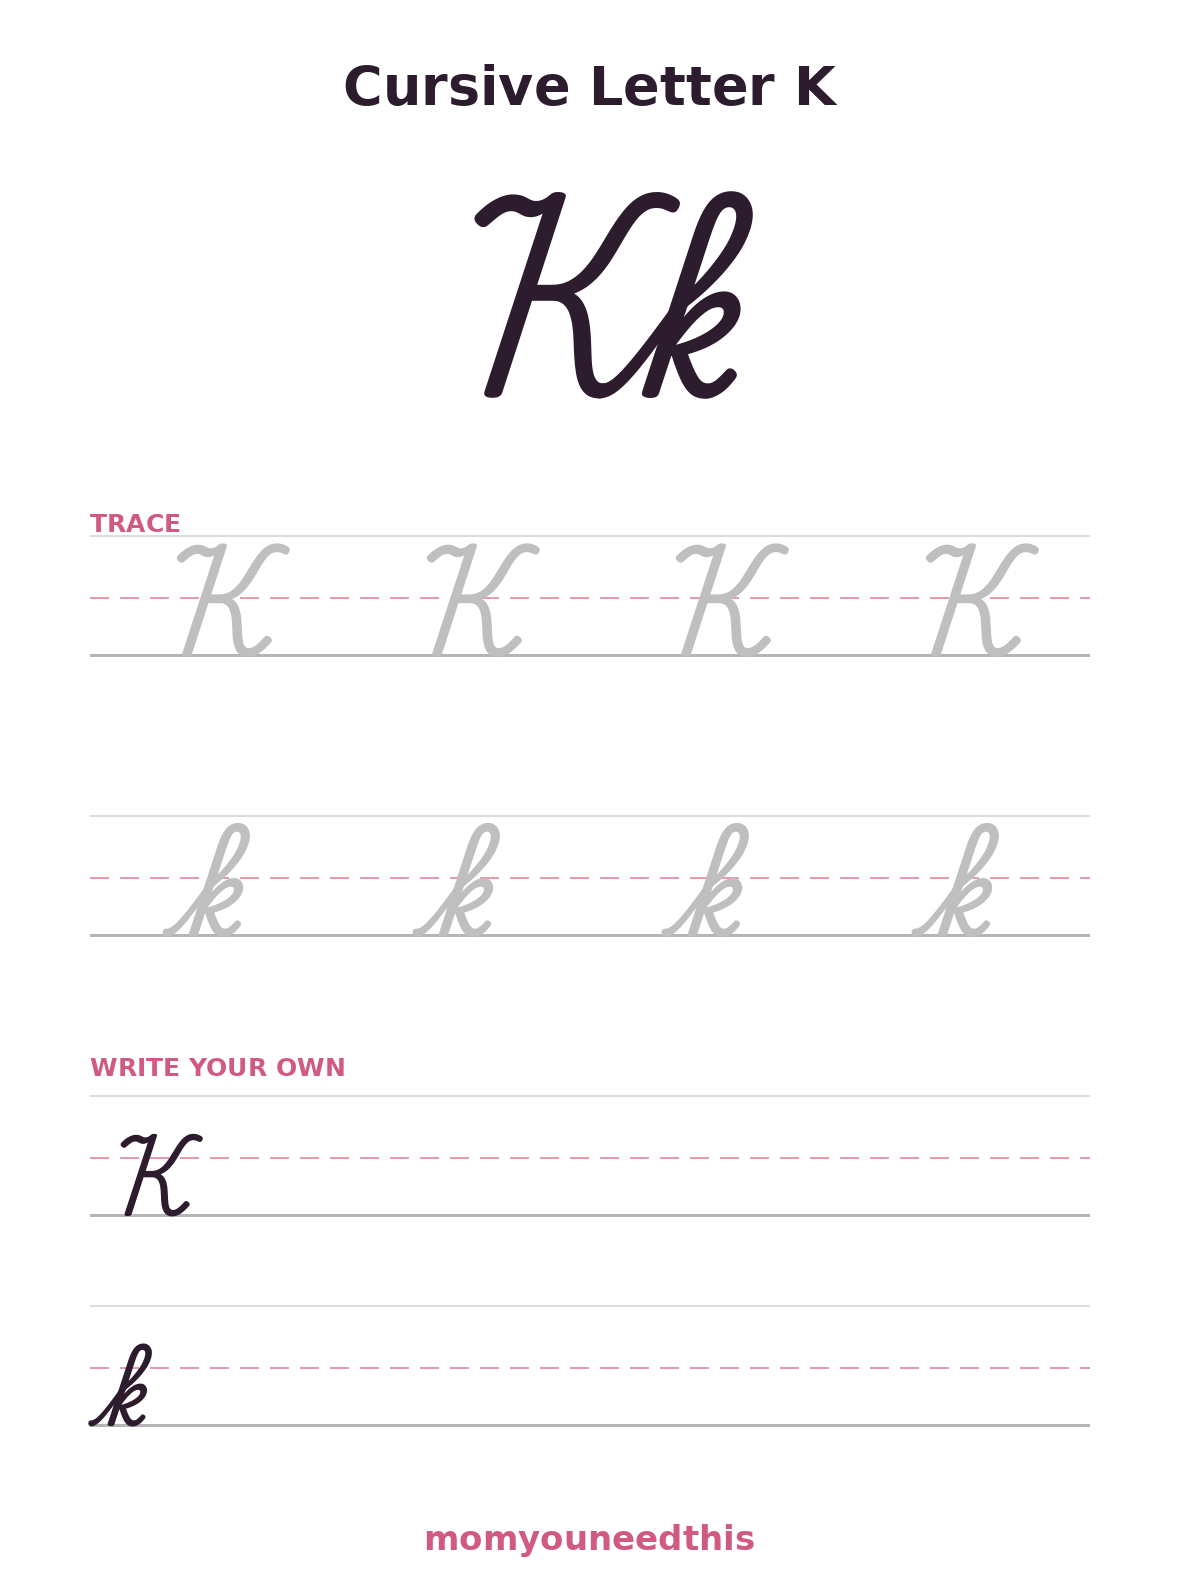
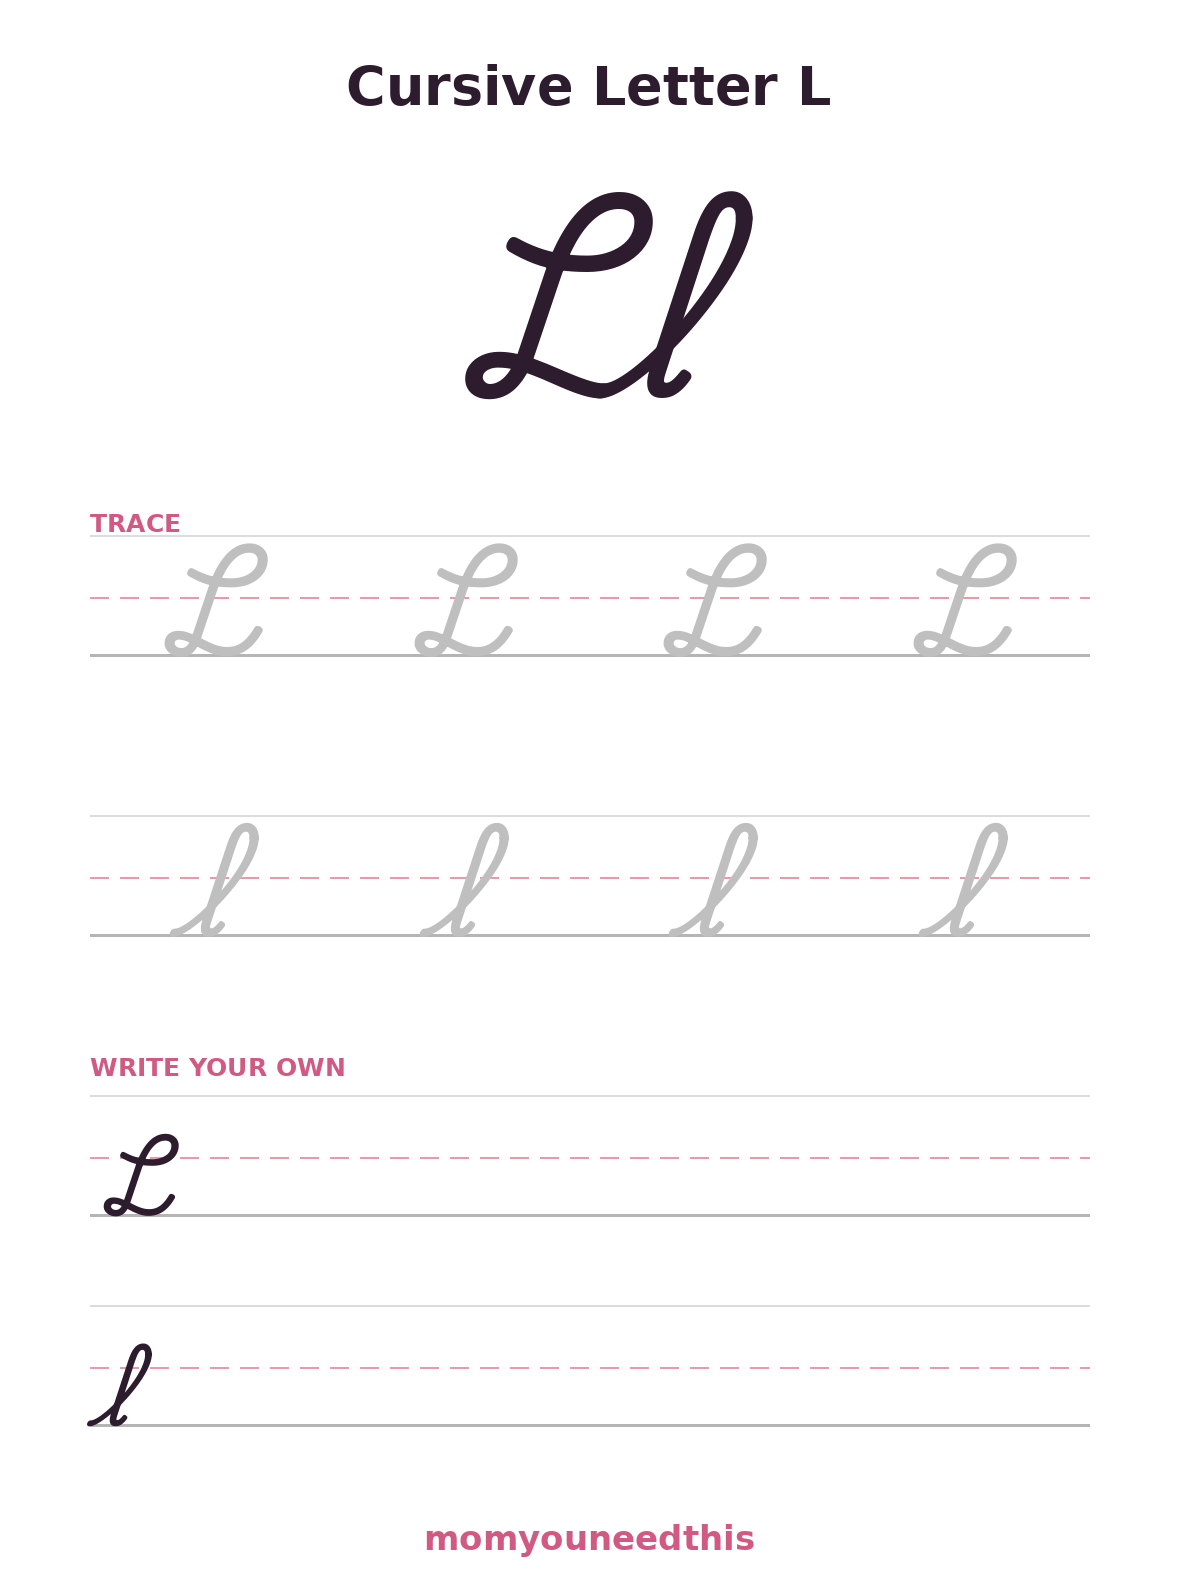
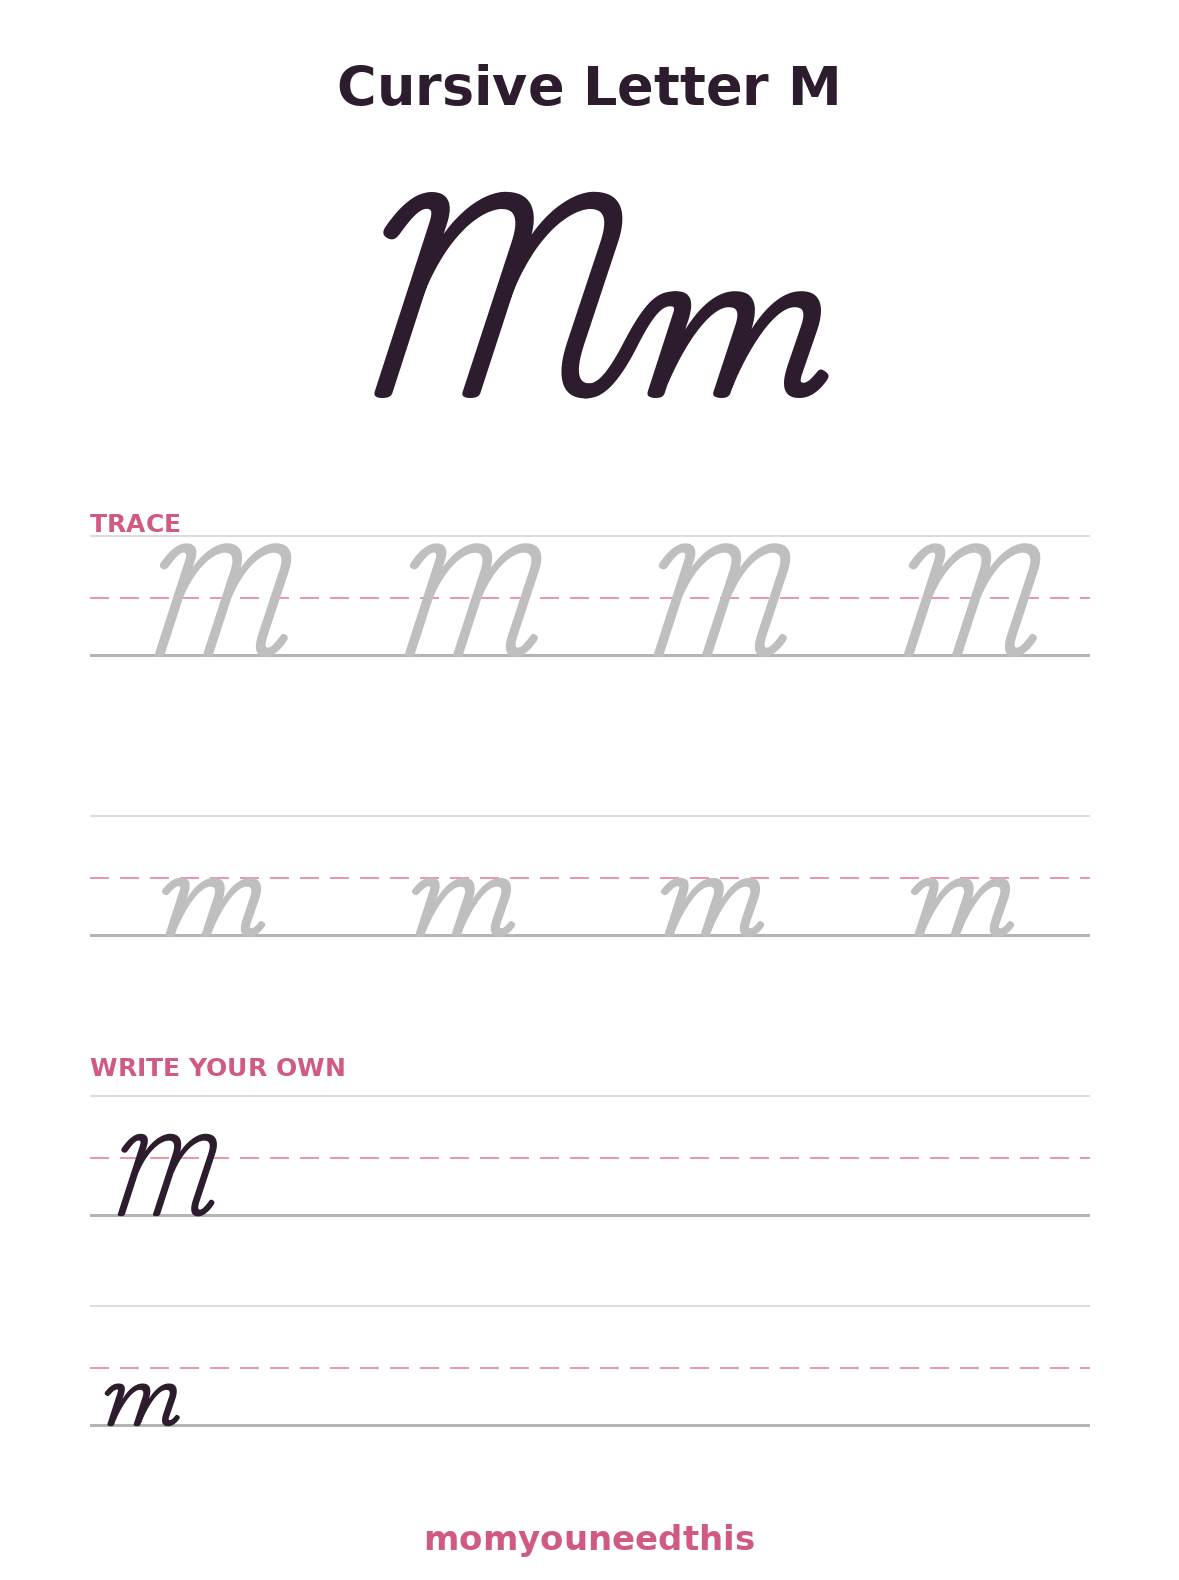
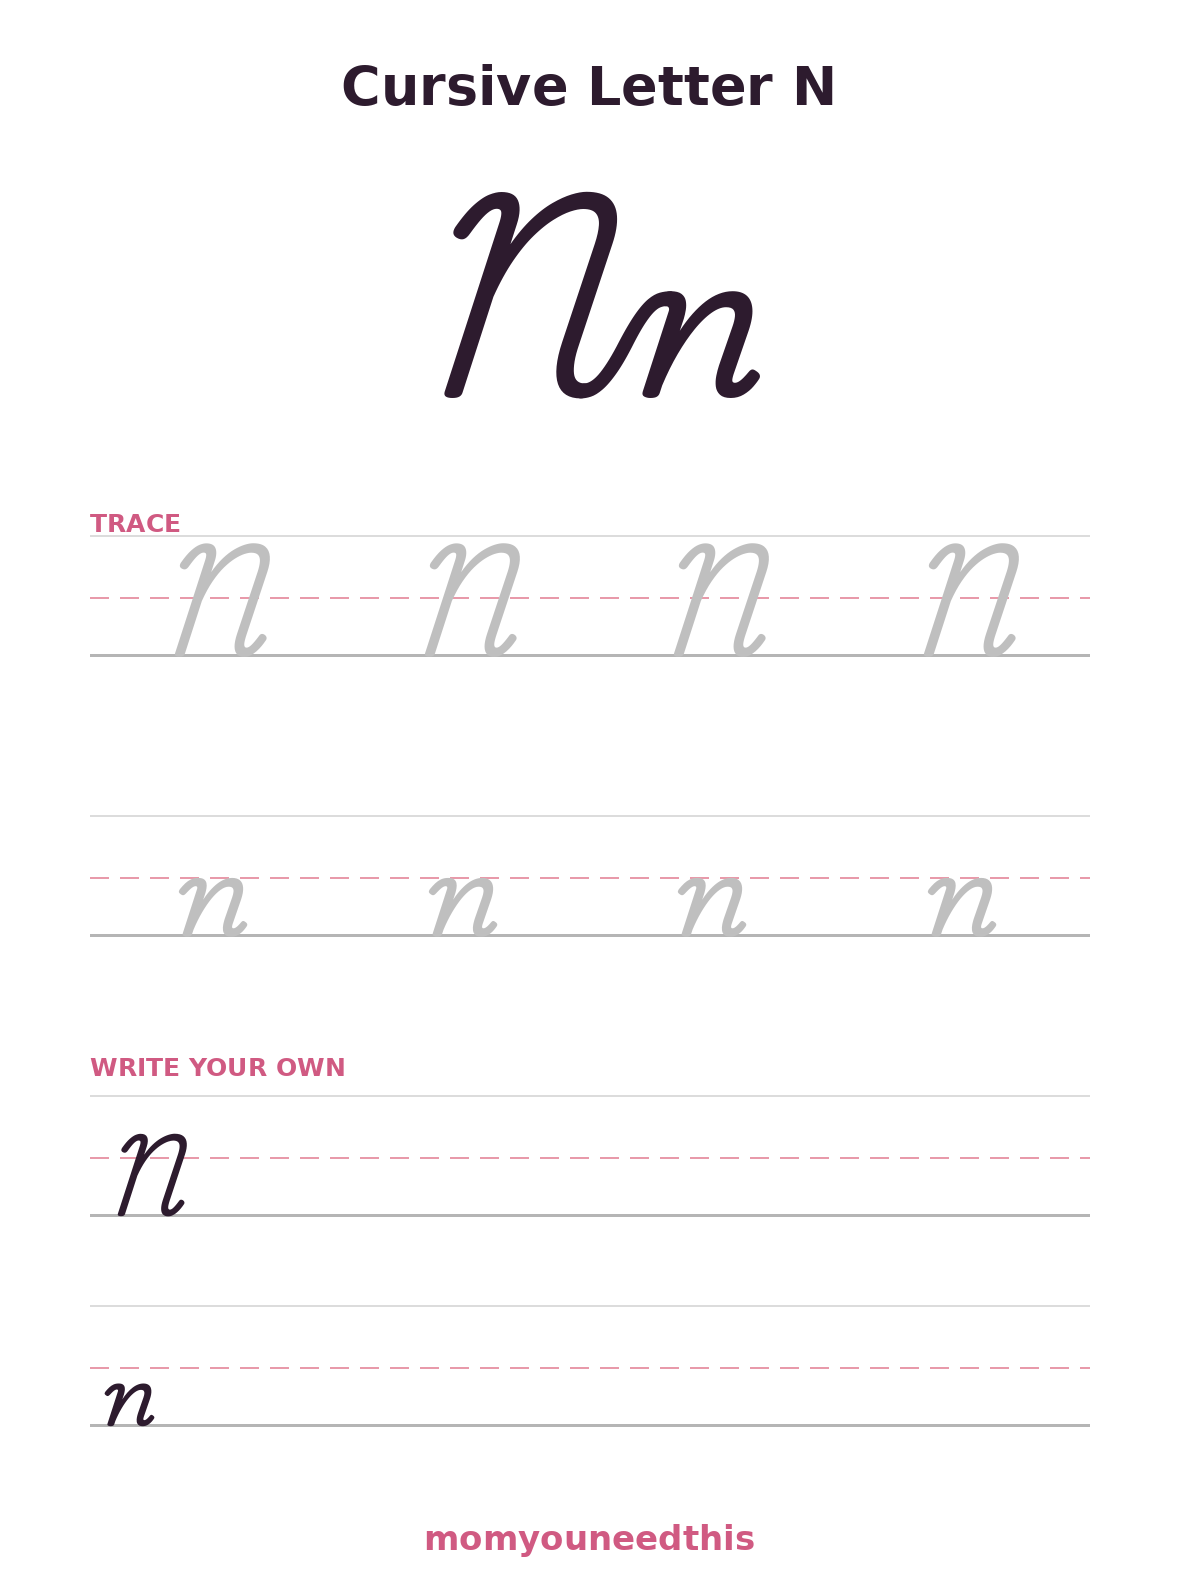
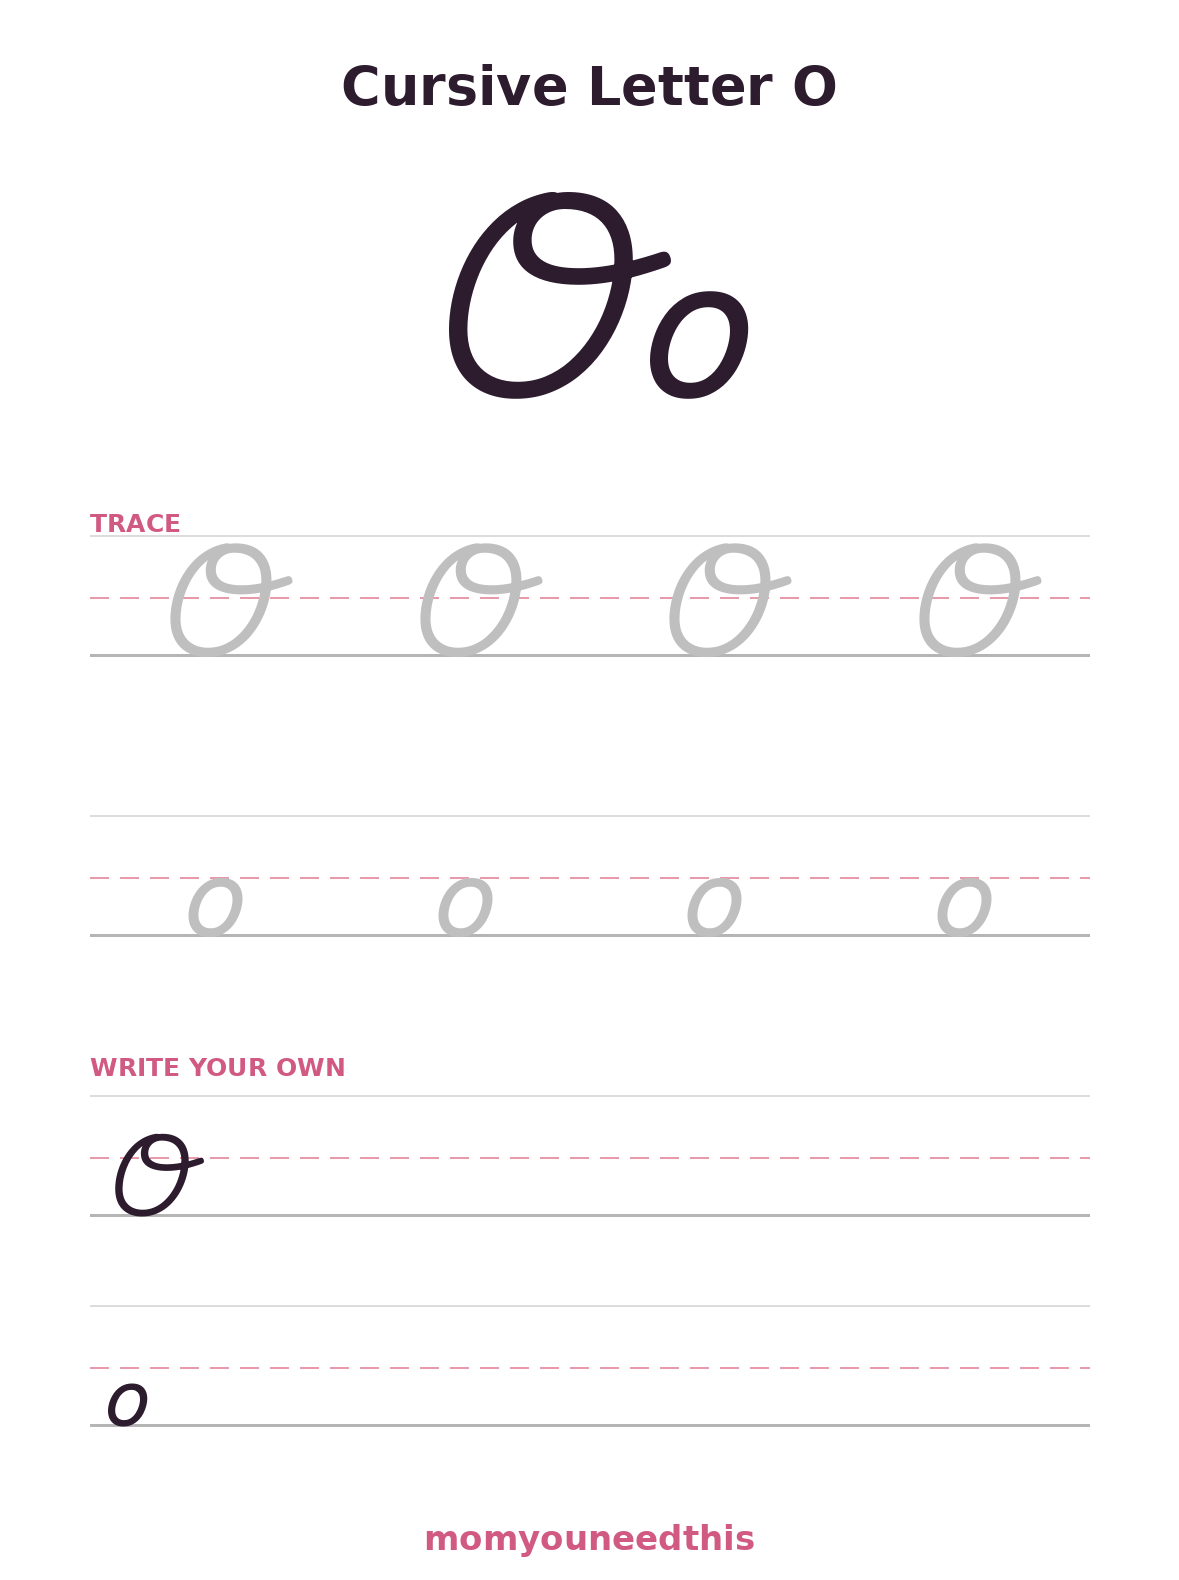
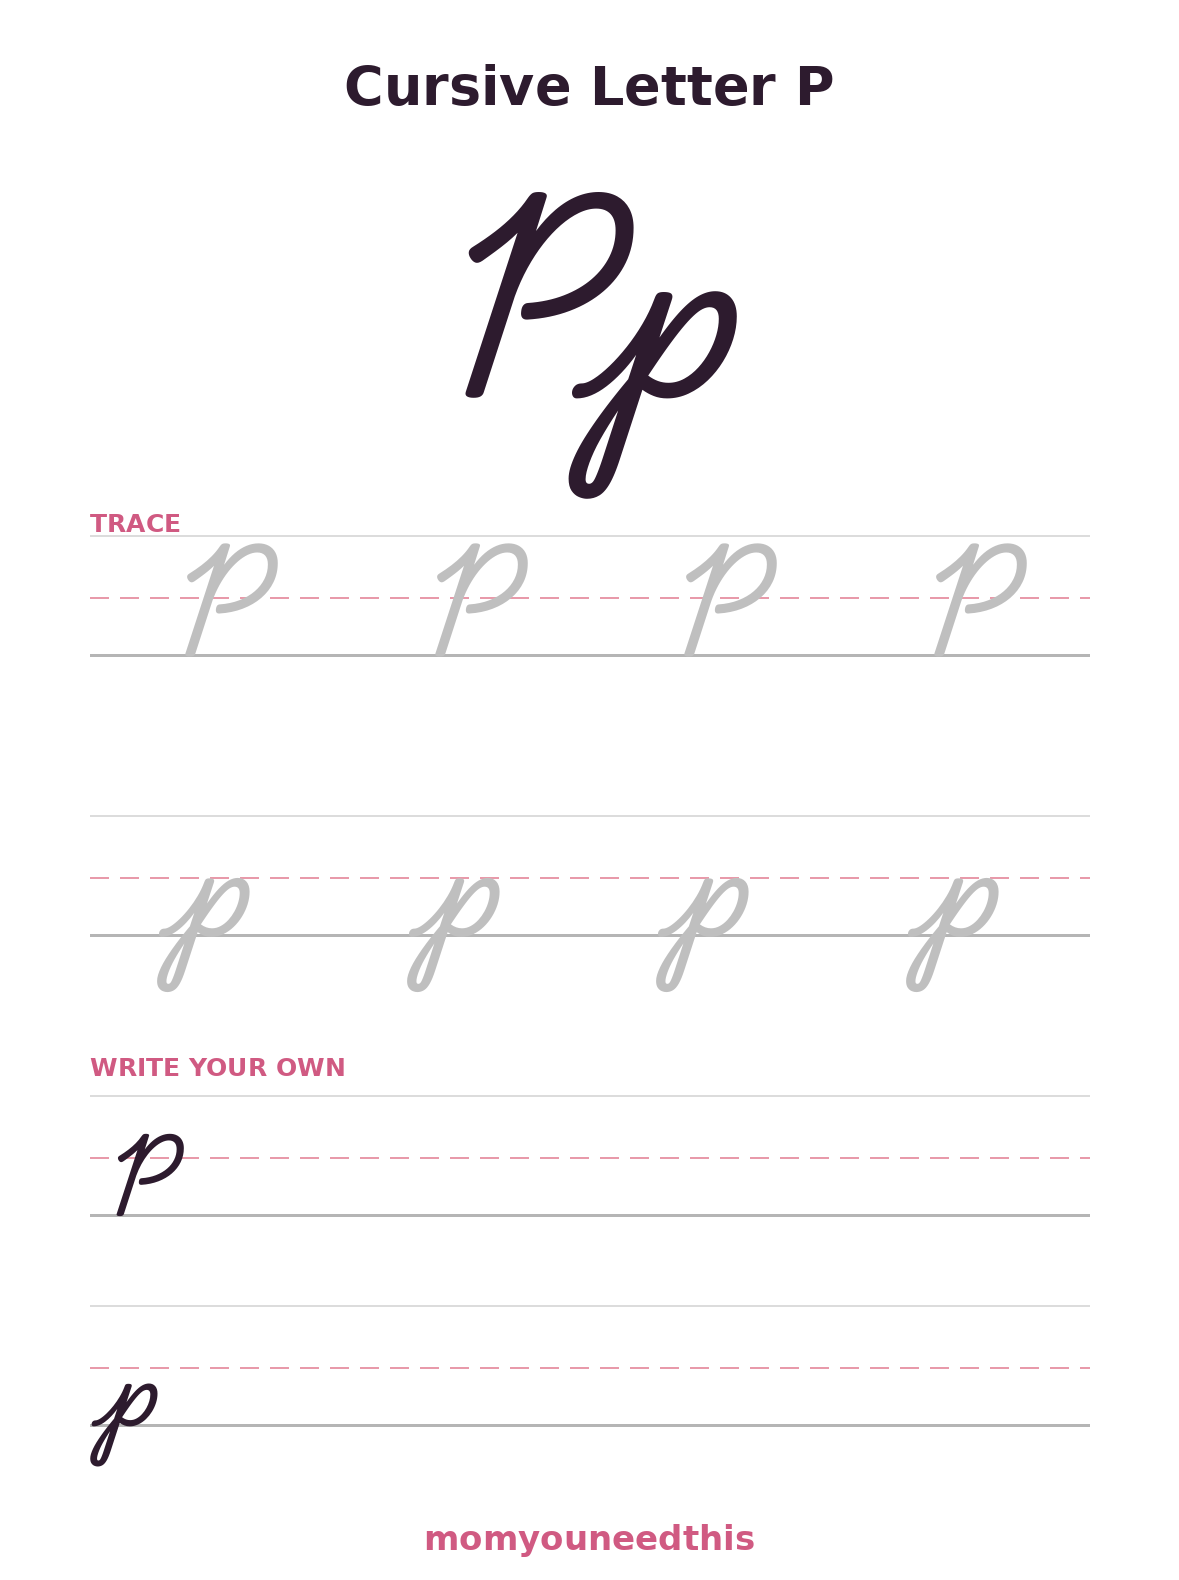
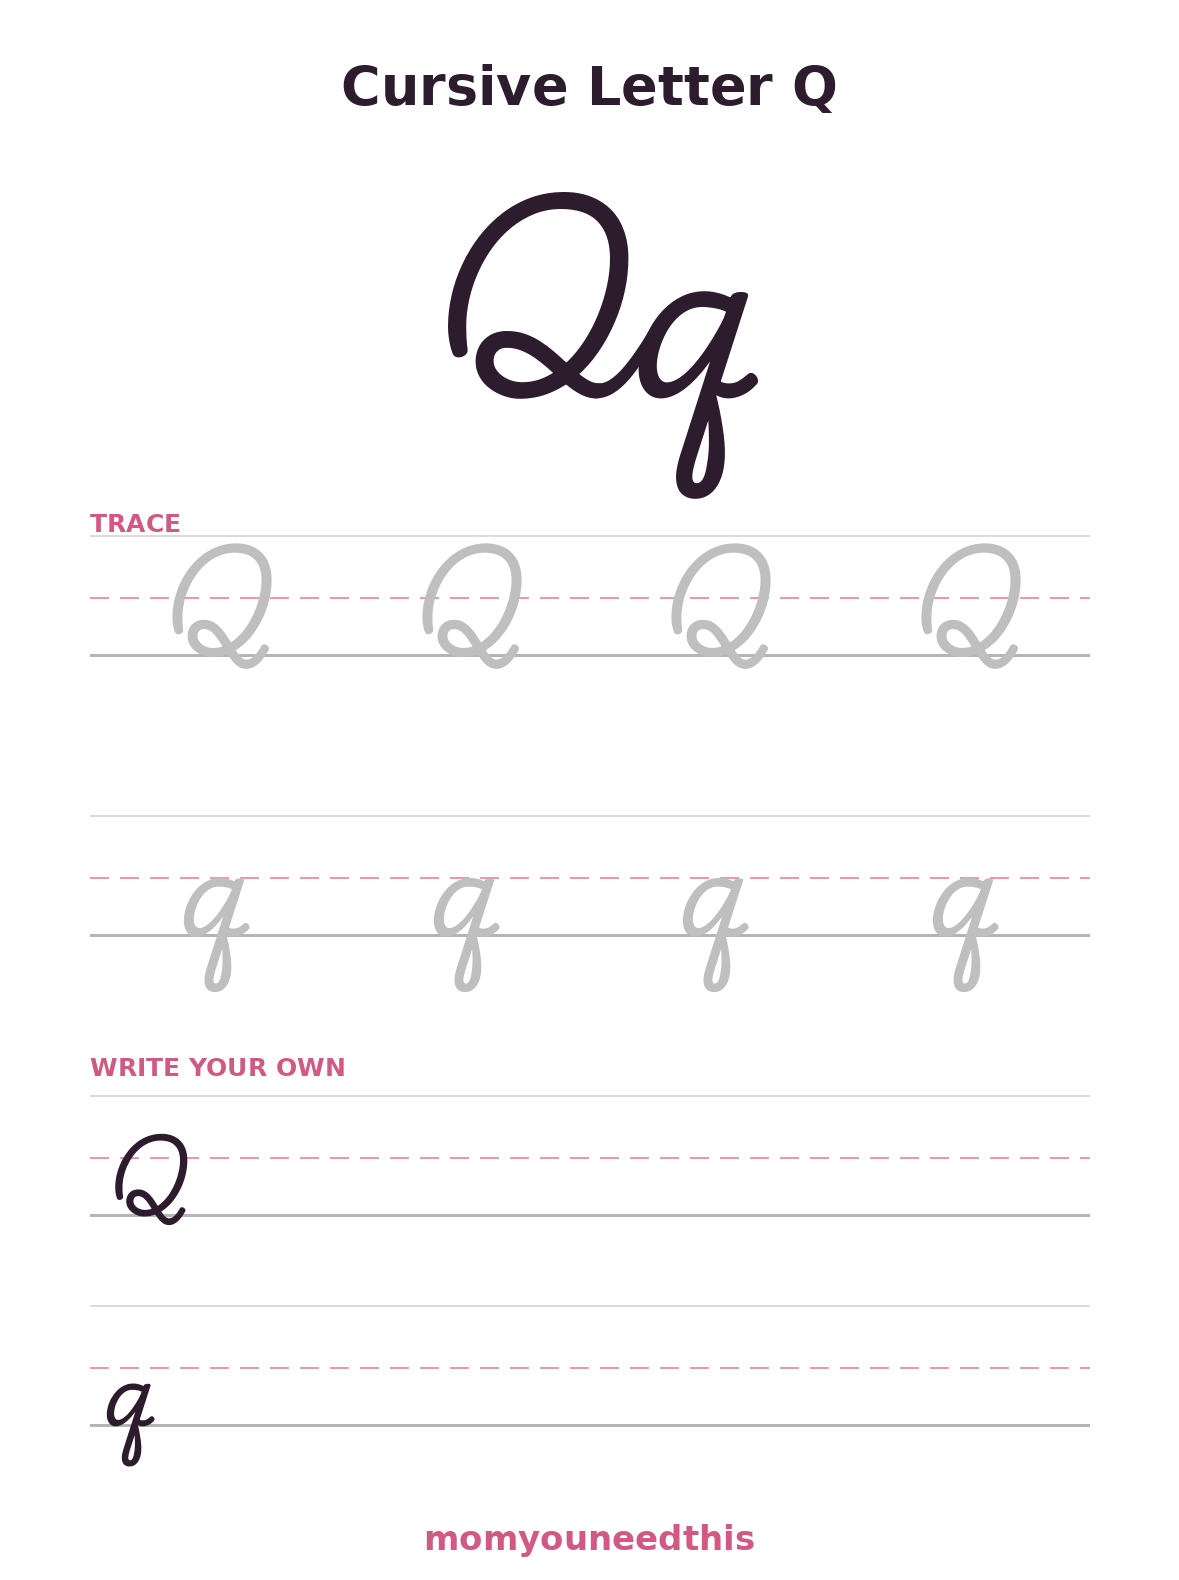
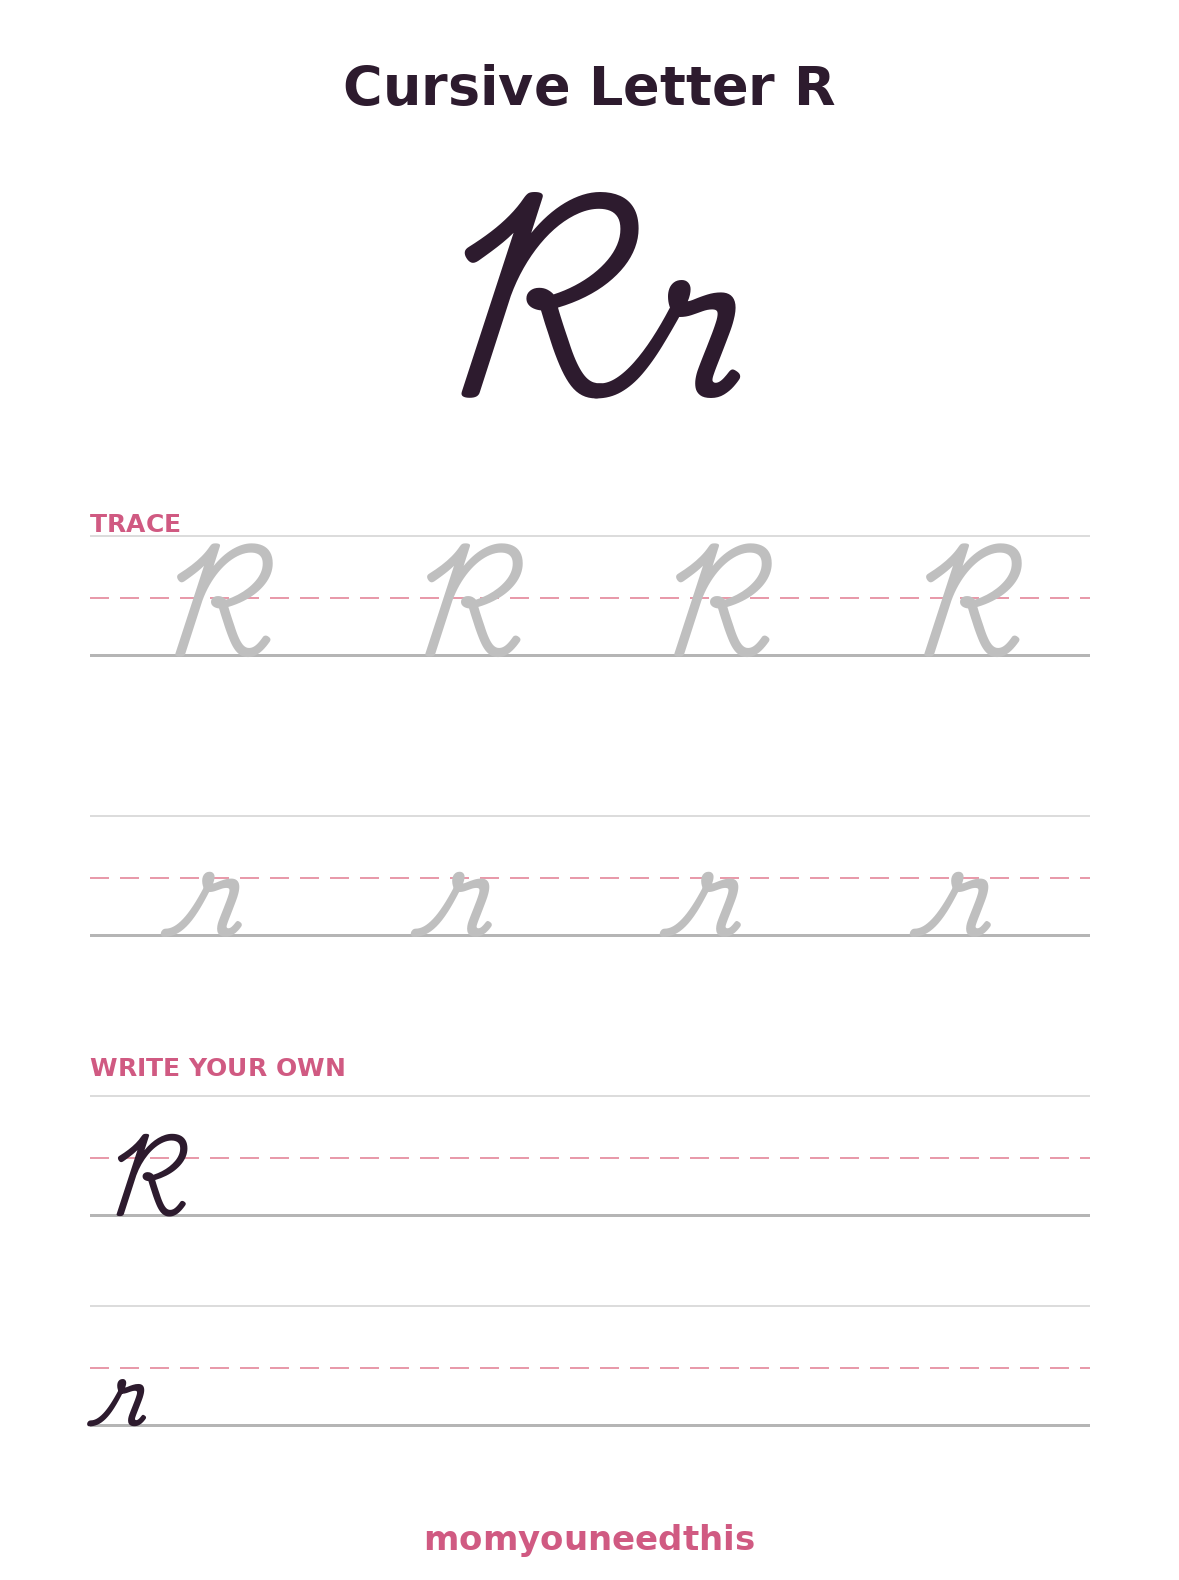
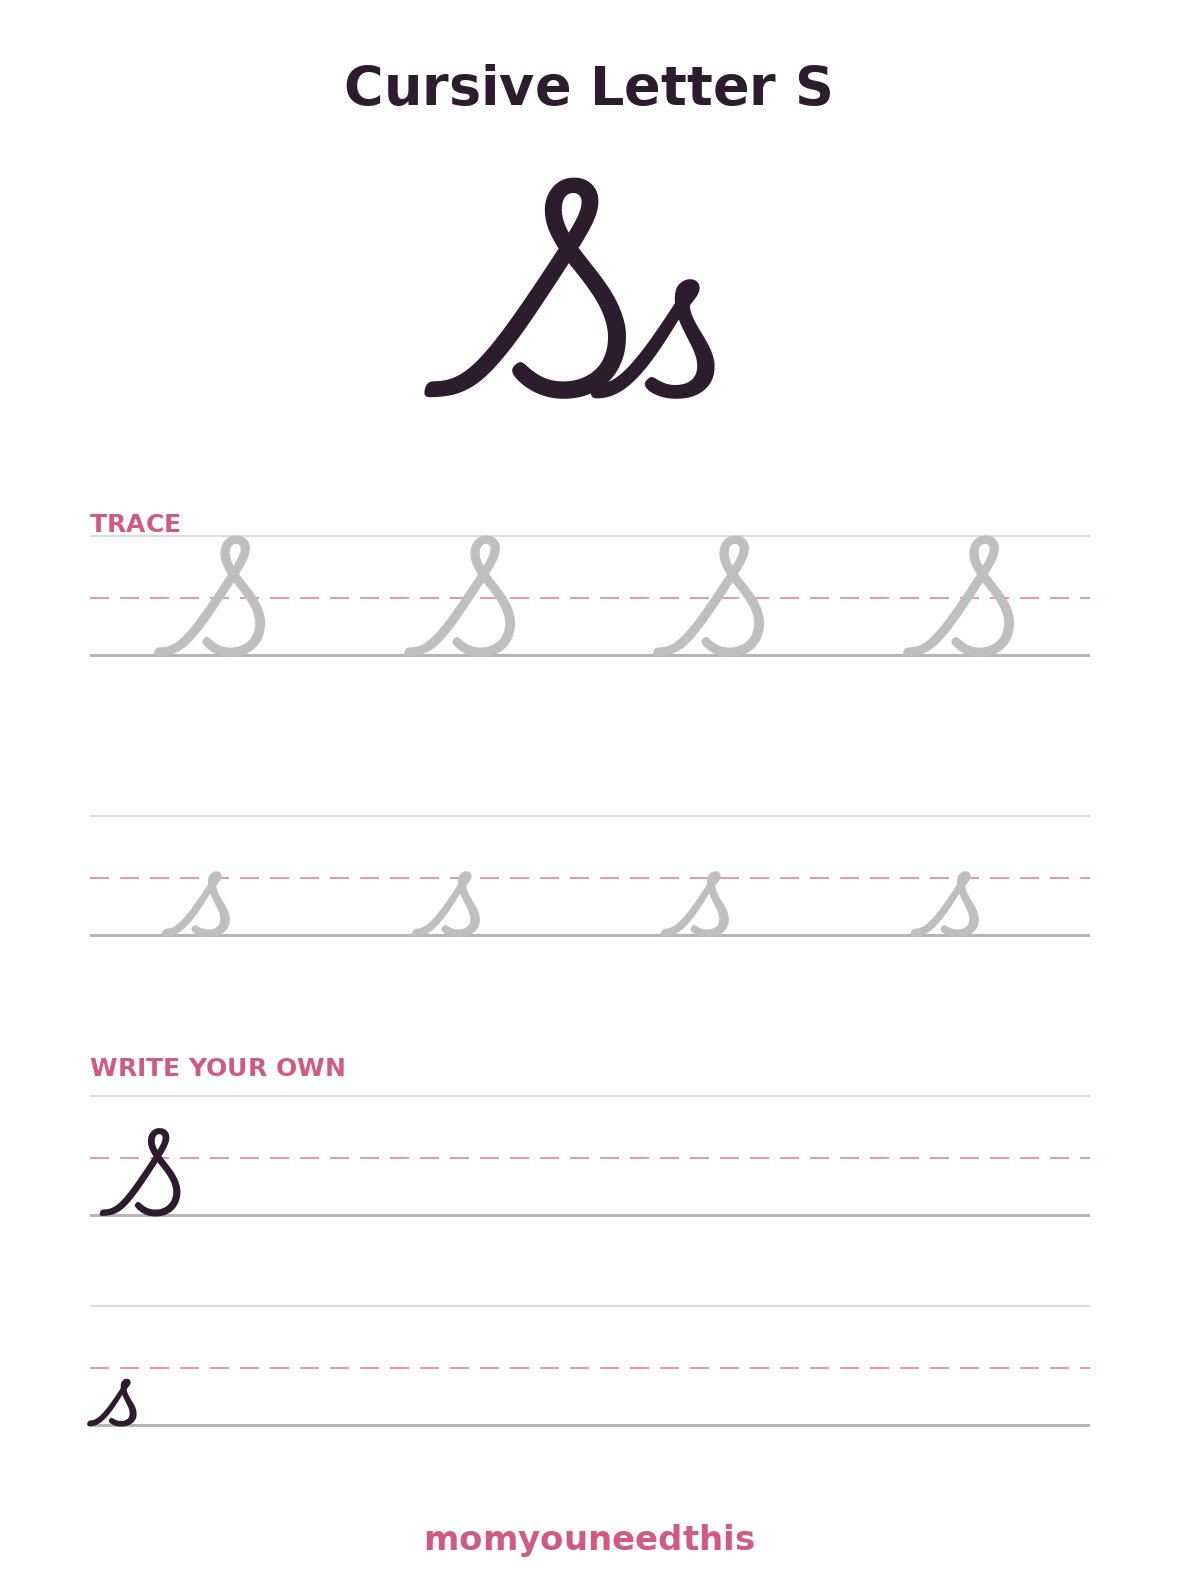
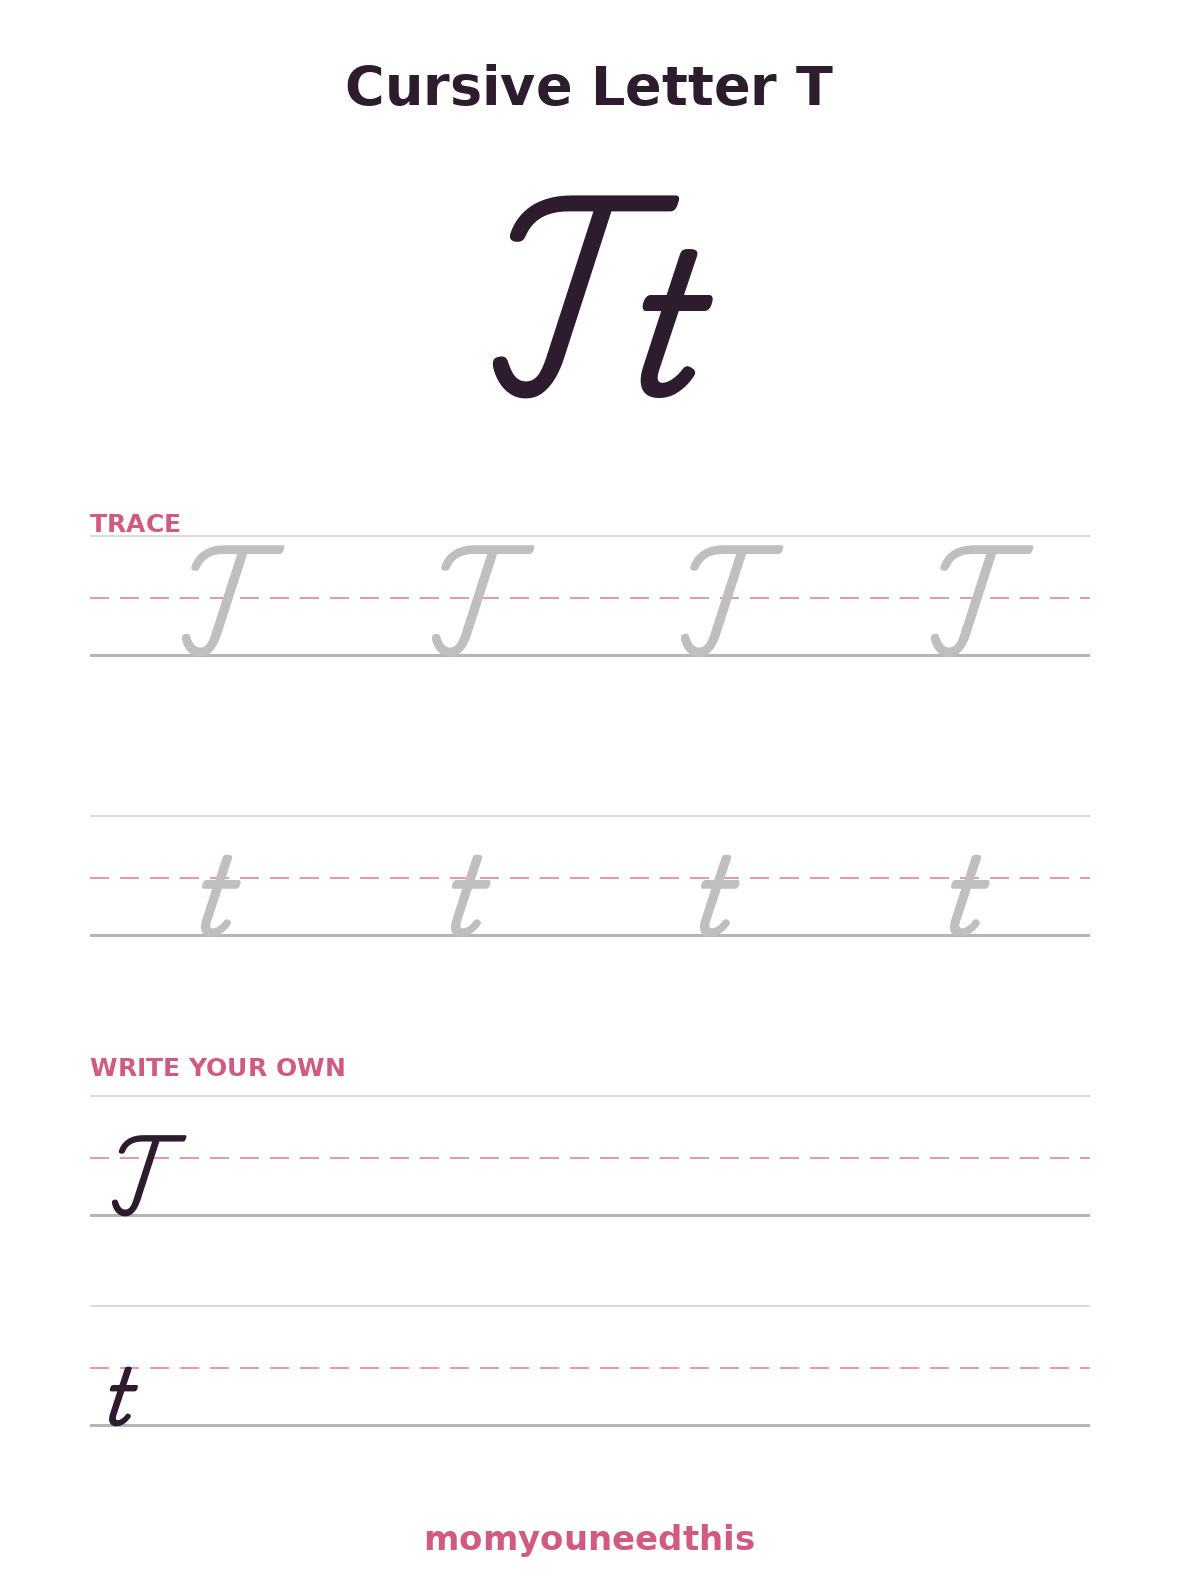
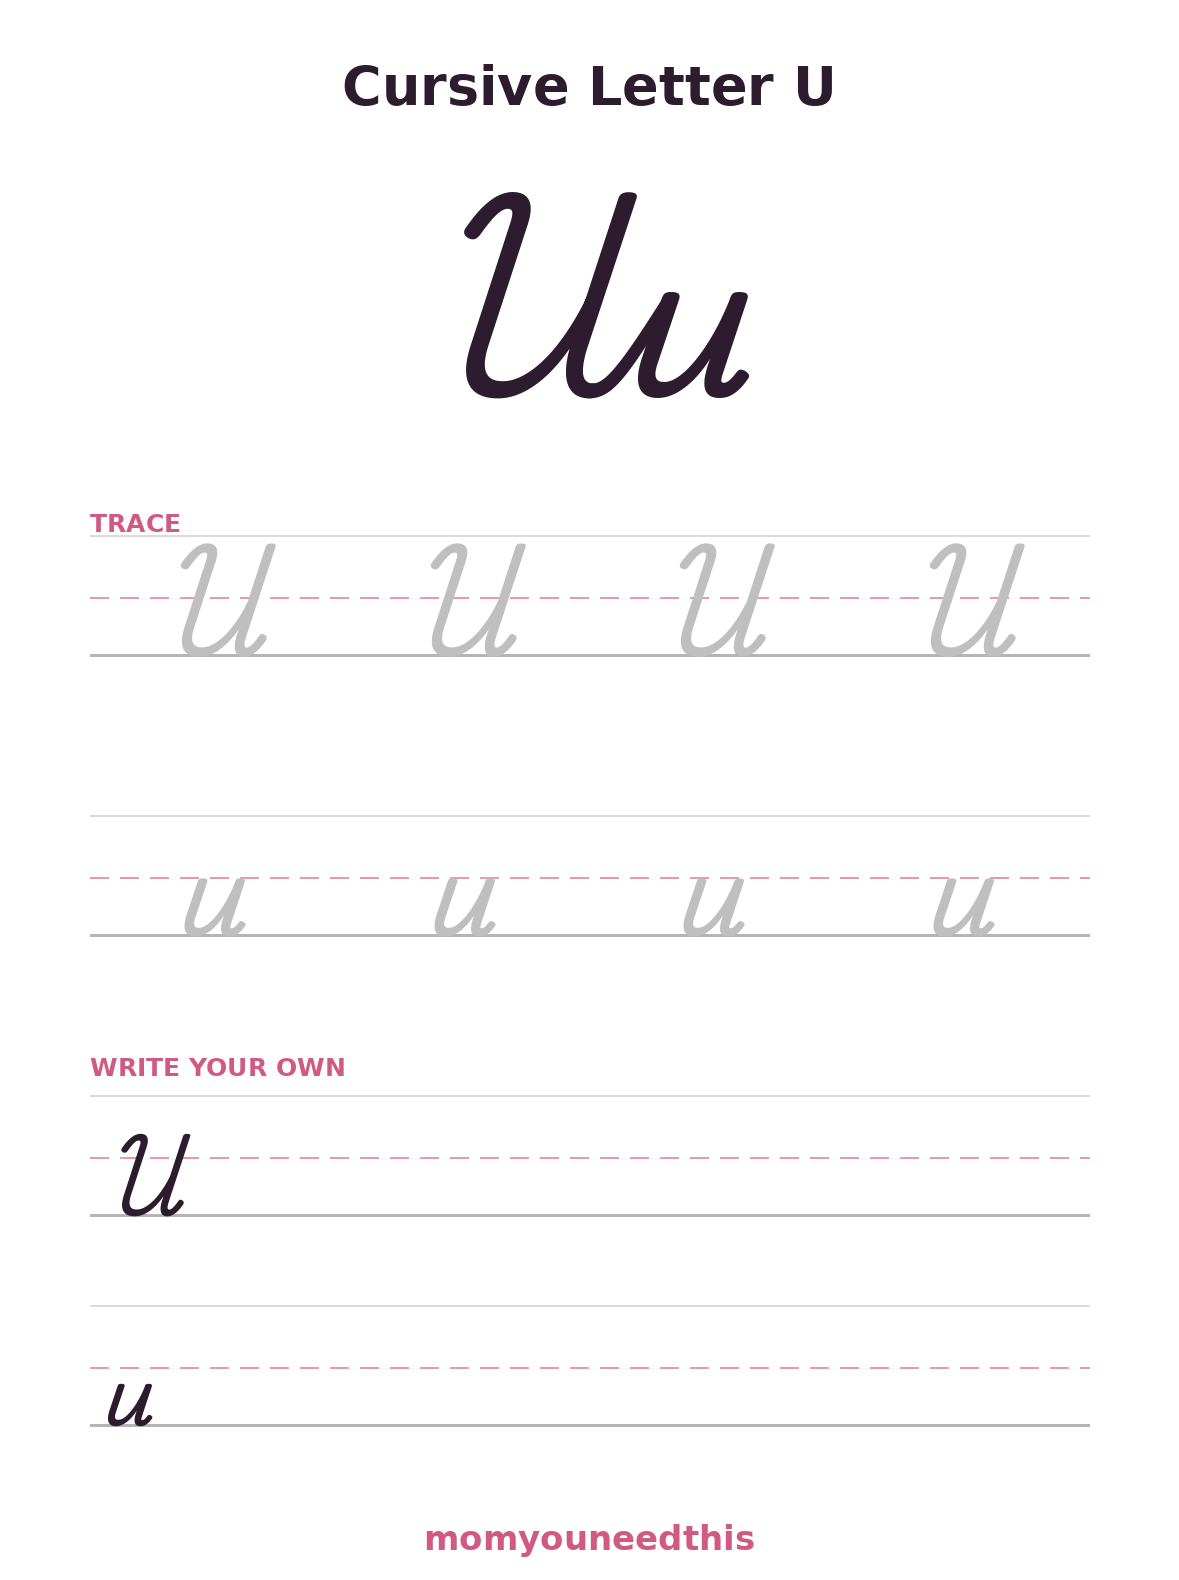
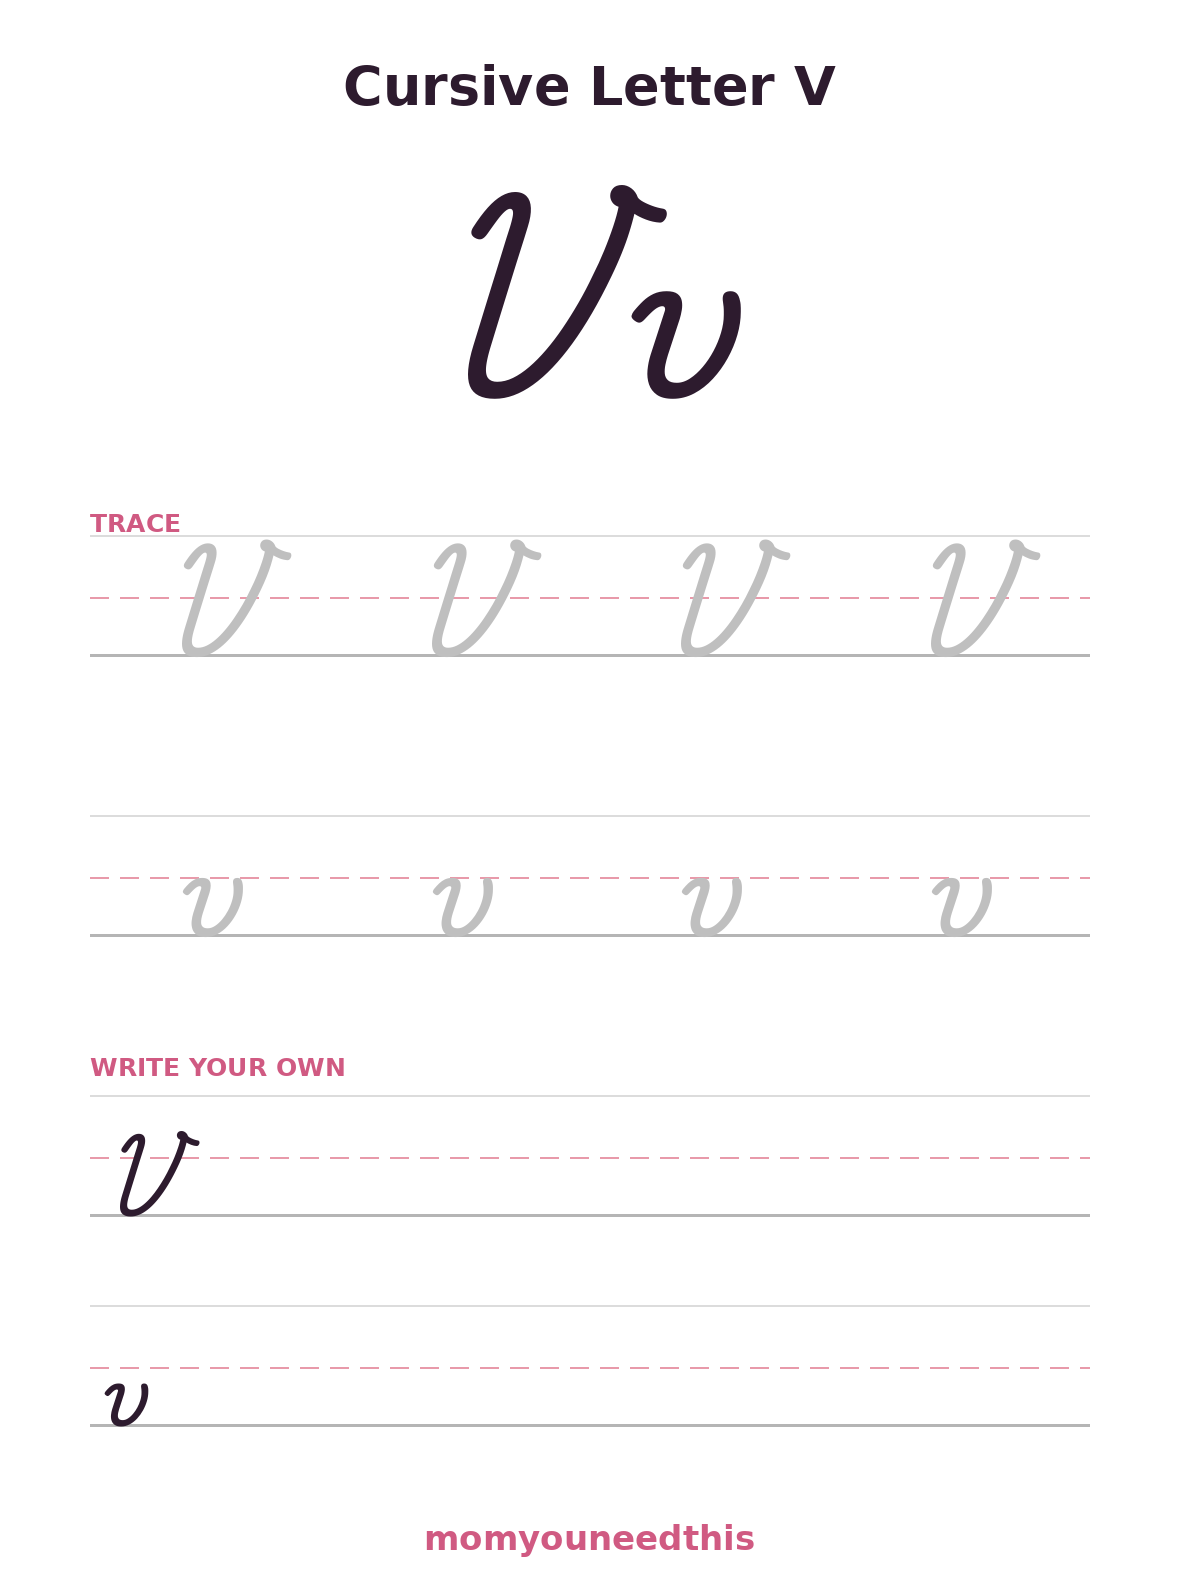
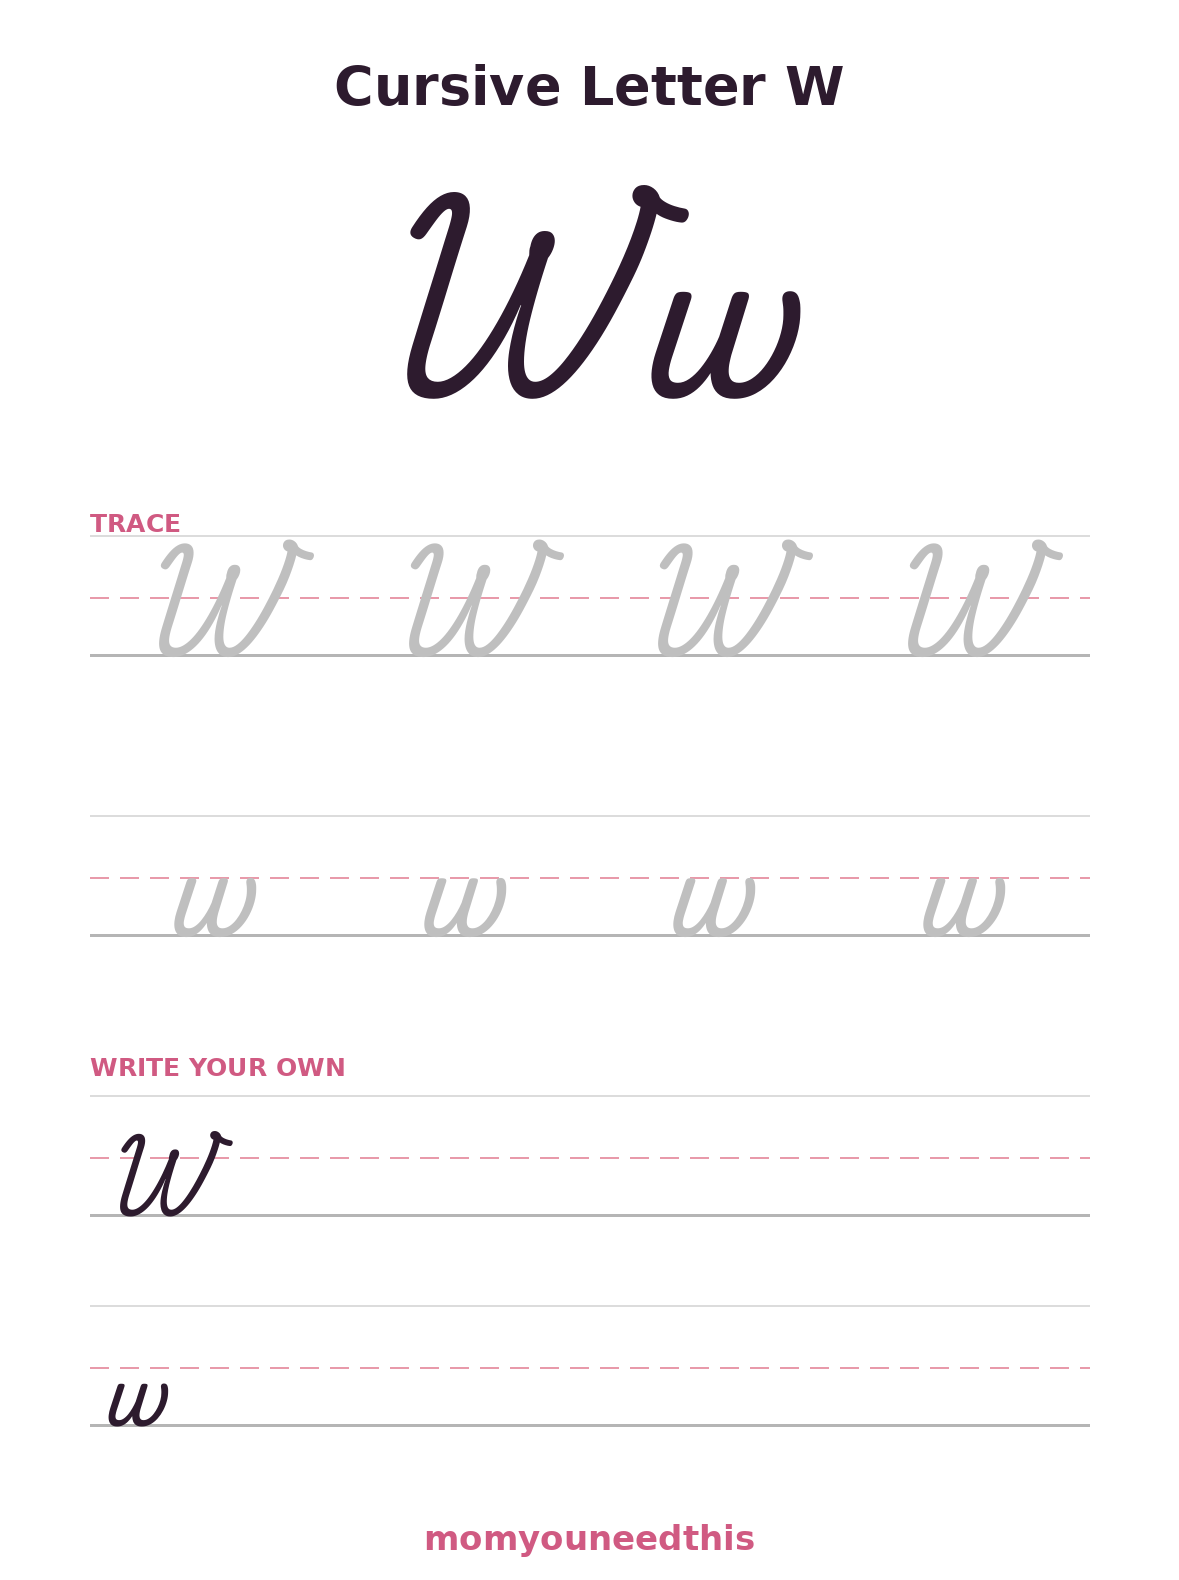
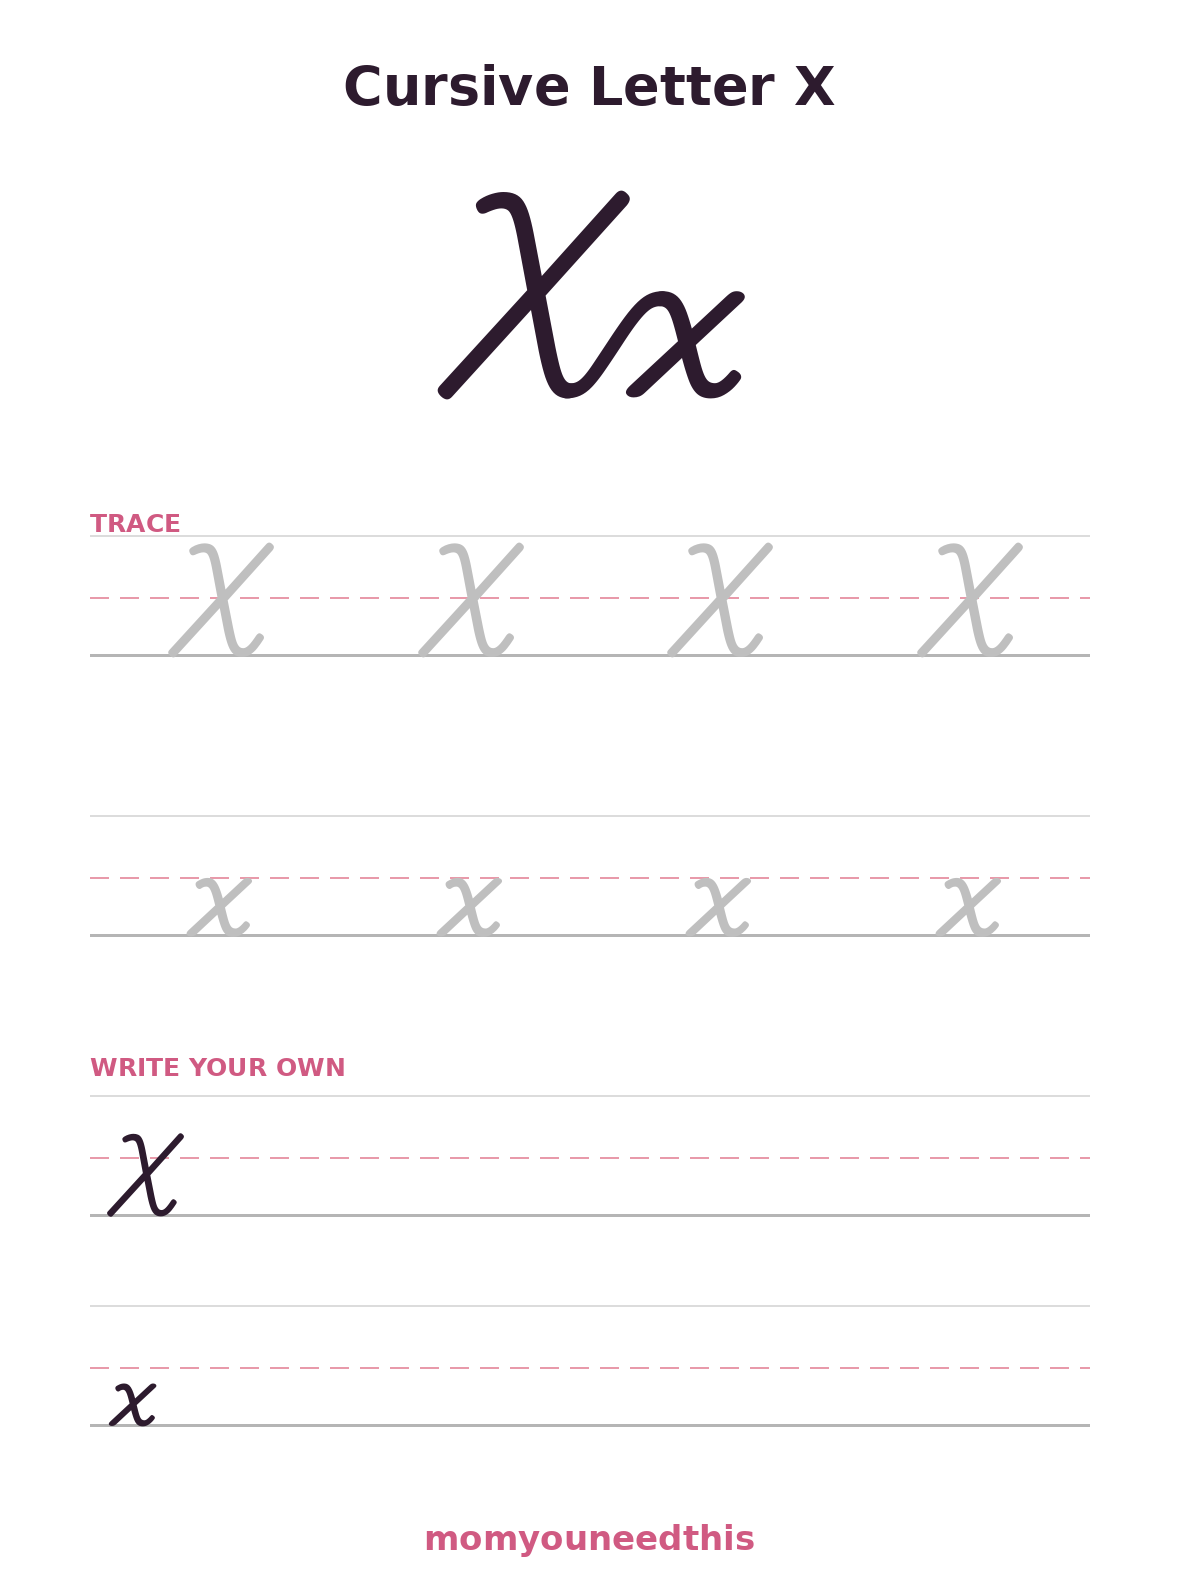
Not sure where to begin?
You do not have to go in alphabetical order. The order that works best for most children is explained in the next section — it groups letters that share the same starting strokes, so each new letter reuses a movement your child already knows.
📖 How to Use These Sheets
One letter at a time, in stroke order — ten quiet minutes beats an hour of drills.
- Start with the curve family. Begin with c, then a, d, g and q. They all start with the same small curve, so after the first letter the rest feel familiar. From there, move to the swing family (i, u, w and t), the tall loops (e, l, h, k, b and f), the humps (n, m, p, r, s and x), and finish with the wave and dive letters (v, o, y, j and z).
- Look before writing. Before picking up a pencil, have your child study the big model letter at the top of the sheet and trace it in the air or on the table with a finger. Finding the start of the stroke first prevents most of the backwards letters beginners make.
- Trace the gray letters. Work across the tracing rows slowly — all four uppercase, then all four lowercase. Slow and on the line beats fast and tidy-looking. If a letter falls apart, that is information, not failure: it is the letter to revisit tomorrow.
- Copy on the empty lines. The lined rows underneath start with one small model letter. Your child writes their own copies next to it, checking the model whenever they need to. Finish the sheet by circling their single best letter — children love choosing, and it ends practice on a win.
- Use the sheet twice. Print two copies, or slip one into a dry-erase sleeve and use a whiteboard marker. A letter that feels shaky today can be traced again tomorrow without printing anything new.
🌱 Tips for Parents
Keep sessions short. Around ten minutes a day is the sweet spot for ages 6 to 8 — long enough to repeat each movement several times, short enough to stop while it is still going well. Daily repetition is what moves the letters from the page into your child's hand; one long weekend session does not have the same effect.
Set up the basics once and then leave them alone: a pencil your child can grip without squeezing (short pencils and triangle grips help small hands), paper tilted slightly — to the left for right-handers, to the right for left-handers — and feet and chair at a height where the writing arm can rest on the table. If the grip or the tilt drifts mid-sheet, finish the row first and reset at the next one.
Expect capitals to look wobbly for longer than lowercase. Capital letters are used less, practiced less, and several of them — B, F, G, Q and Z especially — look nothing like the print letters your child already knows. That is normal, and it is exactly why every sheet puts the big model pair at the top. Praise the letters that sit on the line and keep their shape, and treat the messy ones as tomorrow's plan rather than today's problem.
🗺️ What's Next After the Letters
Once single letters feel comfortable, the next step is joining them: first inside your child's own name, then in short words and simple sentences. Keep the cursive alphabet chart beside these cursive alphabet practice sheets while your child works — the chart shows how each letter is shaped, and these sheets are where the shape becomes a habit. Both pages live in the Older Kids section, alongside the topics for children who have outgrown the preschool pages.
❓ Frequently Asked Questions
Are the cursive practice sheets free?
Yes — all 26 sheets are completely free to print at home. No signup, no account and no email. Print a sheet as many times as your child needs; repetition is how cursive is learned.
What age are these practice sheets for?
They are made for children roughly ages 6 to 8, in grades 1 to 3 — the age when most children start cursive, after printing feels comfortable. A younger child who is keen can try the tracing rows; an older child who never learned cursive can start here too.
Should my child practice uppercase or lowercase first?
Every sheet includes both, so your child can do the whole page. If you would rather split them, do the lowercase row first: lowercase letters appear far more often in real writing, and most share a handful of starting strokes, which makes them quicker to learn. Capitals matter most for names and sentence starts.
How often should my child practice?
A little and often works best — around ten minutes a day, one letter at a time. Repeat a letter on a second day before moving on if it still feels shaky. Most children work through the whole alphabet in four to six weeks of short daily sessions, going in the stroke-family order suggested above.