 💎 FREE DIAMOND DRAWING
Diamond Drawing for Kids How to Draw A Diamond in 6 Easy Steps
Quick Answer
Draw a diamond in six easy steps: a wide trapezoid on top, a big pointed triangle underneath, facet lines inside both shapes, and a sparkly four-pointed star. Color it pale ice blue with a warm yellow sparkle. Made for ages 3 and up — no signup needed, just print and draw.
At a Glance
- Subject: How to draw a diamond
- Ages: 3+
- Steps: 6 steps
- Time: ~10 min
- Difficulty: Easy
- Supplies: Paper, crayons
A diamond looks fancy, but this one is secretly just two shapes stacked — a flat band on top and a pointed triangle underneath — dressed up with a few straight lines and one sparkle. If your child can draw a triangle and a straight line, they can draw this gem.
✏️ Draw Your Diamond in 6 Easy Steps
One step per box — this step by step diamond drawing shows each new part in a different color so kids can see exactly what changed.
Step 1: The Top
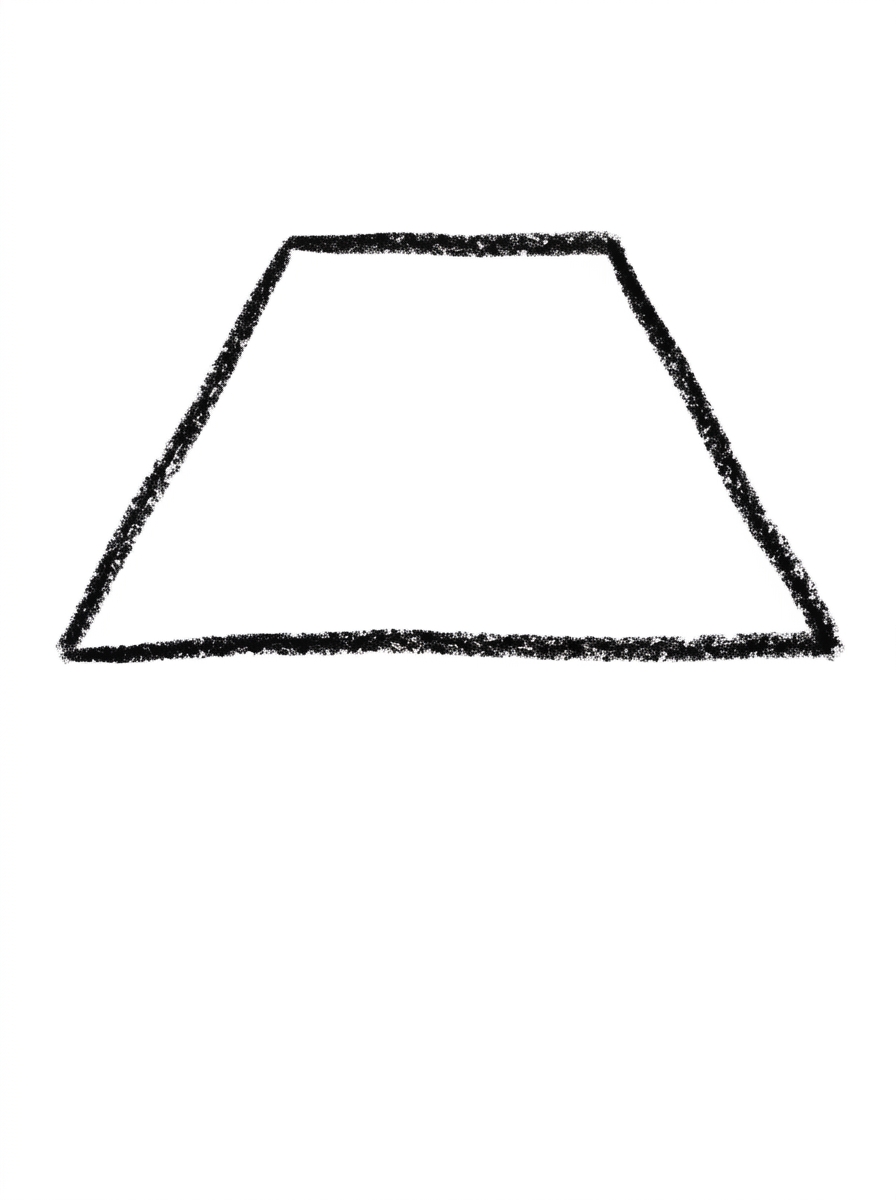
Draw a wide trapezoid — a shape with a short top edge and a longer bottom edge. That's the flat top of the diamond.
Step 2: The Point
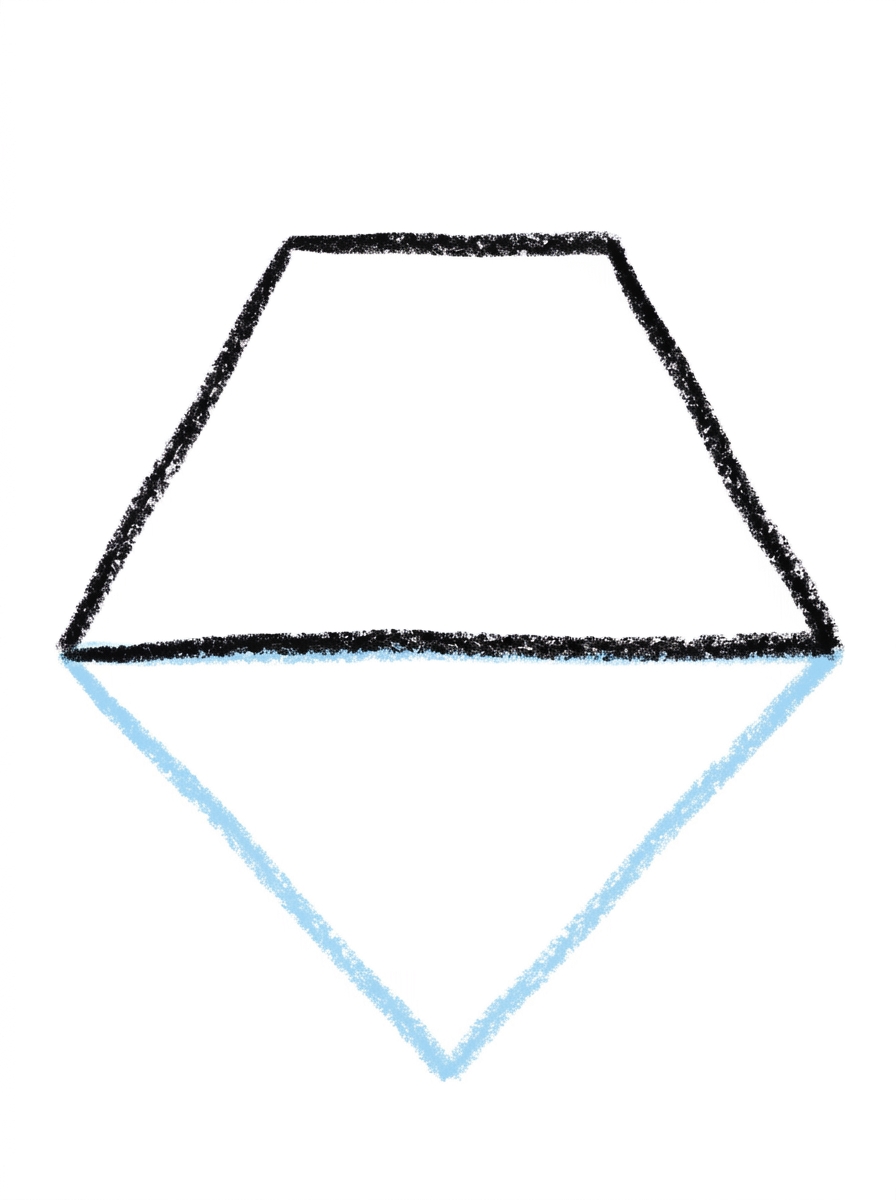
Add a big triangle pointing down under the trapezoid, matching its bottom edge corner to corner. That's the diamond's point.
Step 3: The Facet Lines
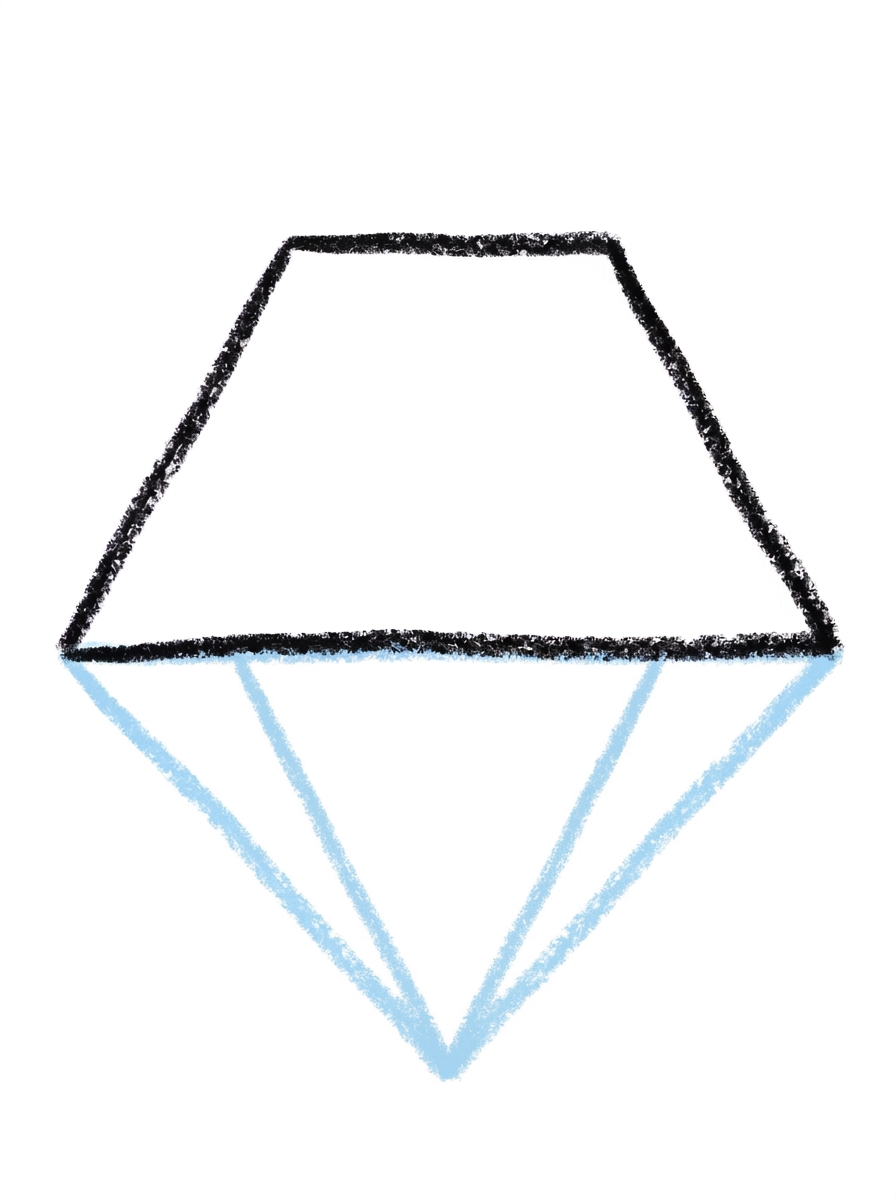
Draw two diagonal lines inside the triangle, one from each top corner down to the point. These lines make the flat faces of the diamond, called facets.
Step 4: The Top Facets
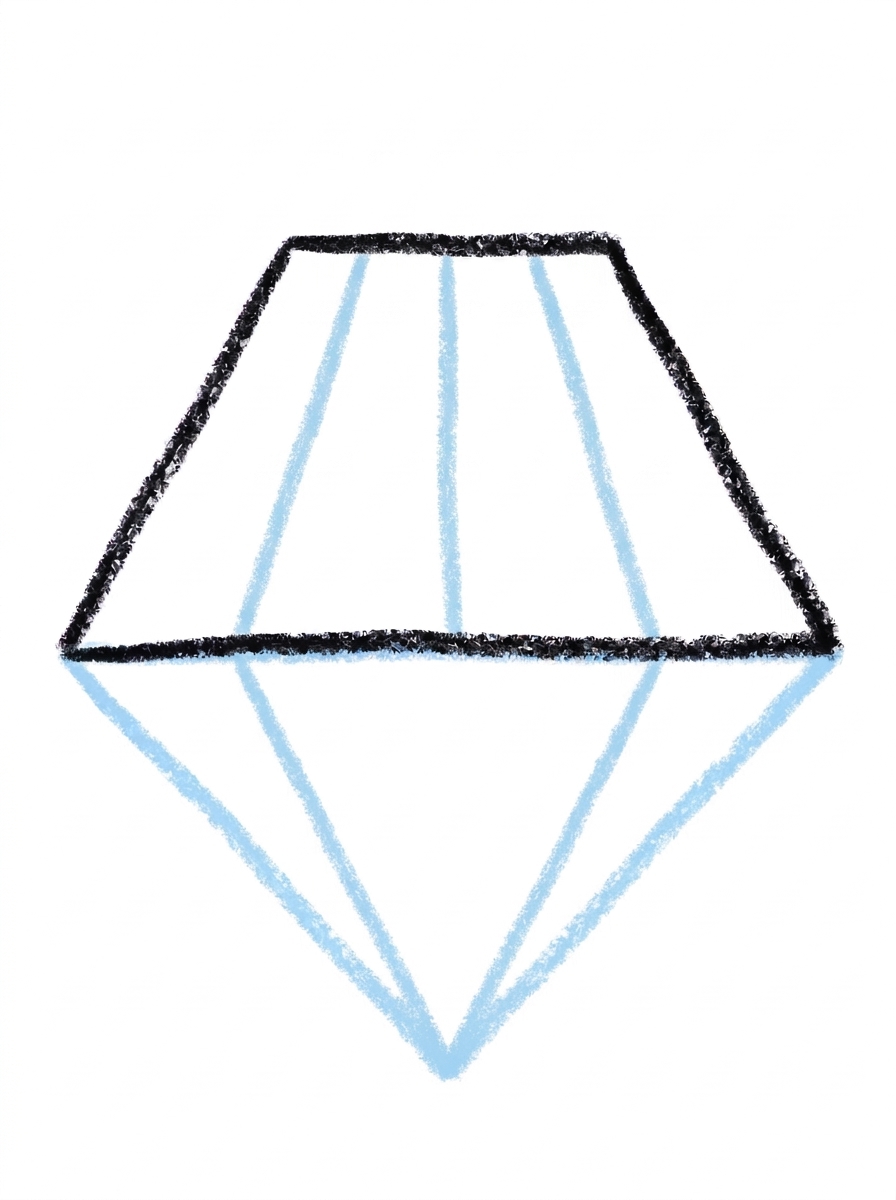
Draw three short vertical lines inside the trapezoid, dividing it into four sections — more facets to catch the light.
Step 5: The Sparkle
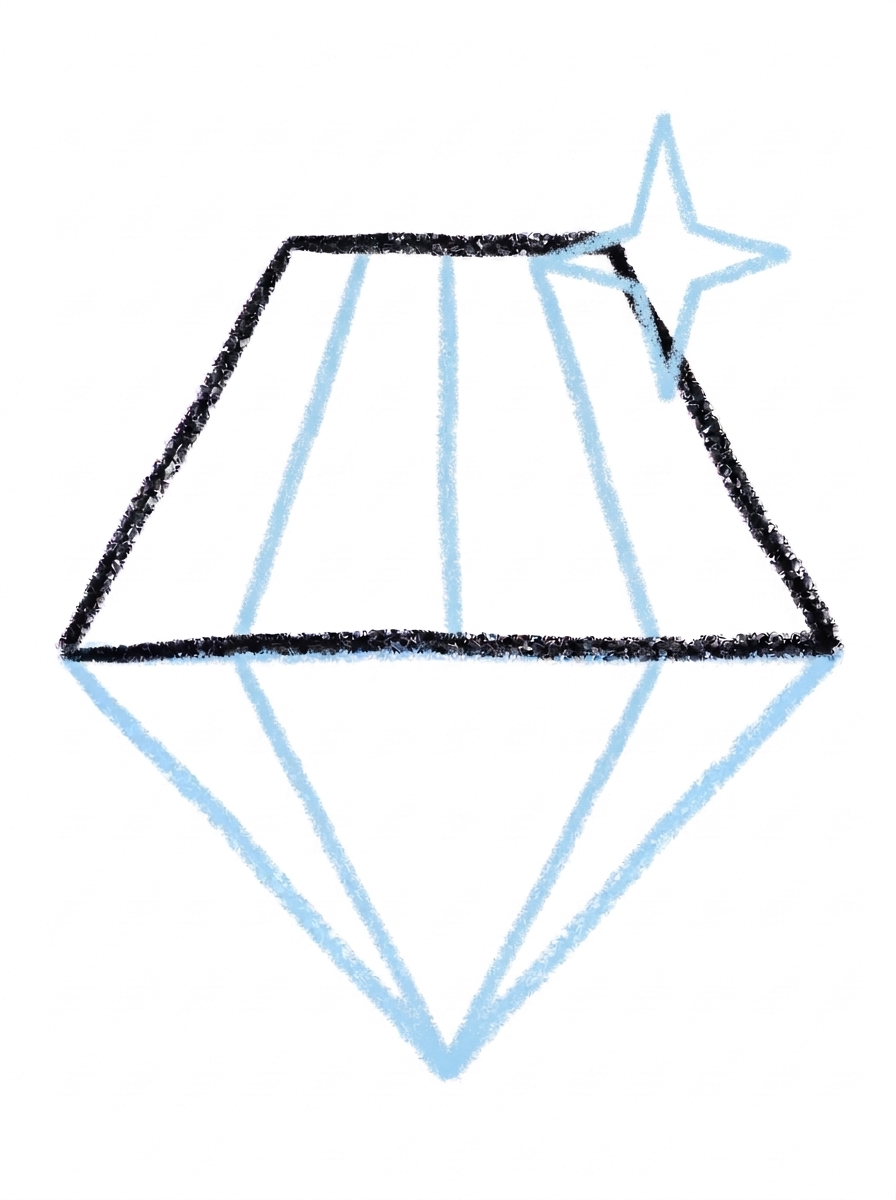
Draw a small four-pointed star at the top-right corner of the diamond. That star is the sparkle!
Step 6: Color It In
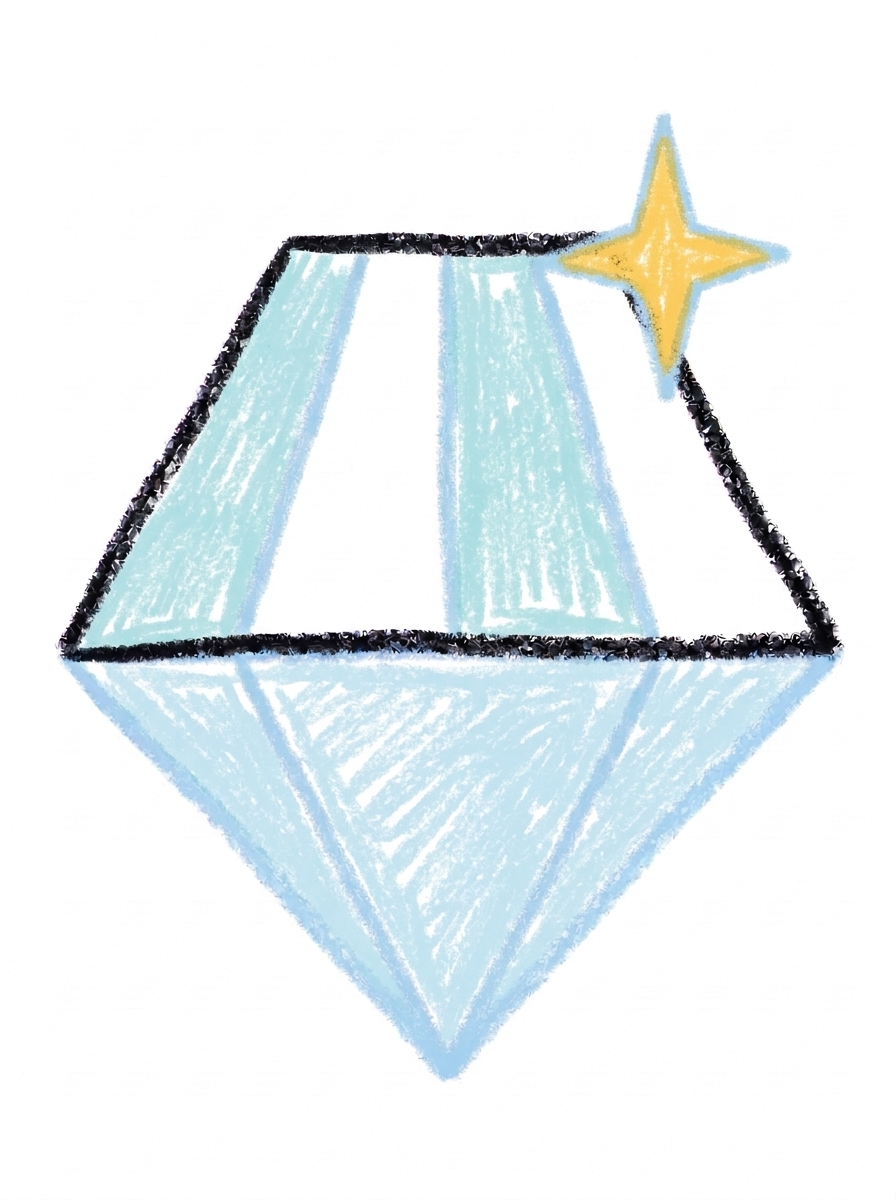
Color your diamond! Pale ice blue, with some facet sections left white, and the sparkle warm yellow. Great drawing!
📊 Diamond Drawing by Age
Every age can join in — just adjust the job.
| Age | What they can do | Tip |
|---|---|---|
| 3-4 | Draw the big triangle point and color the finished diamond pale ice blue. | If the trapezoid feels tricky, a grown-up can draw the flat top band and your child still owns the point and the sparkle. |
| 4-5 | Add the trapezoid top and the two diagonal facet lines inside the triangle. | Say 'corner to corner' out loud in step 2 — matching those corners exactly is the whole trick of this drawing. |
| 6+ | Finish all six steps, including the three vertical lines that split the top into four sections and the four-pointed sparkle star. | Let older kids add a second smaller sparkle or extra facet lines inside the triangle for a fancier cut. |
🖨️ Download Your Free Diamond Drawing Printable
The printable lays out all 6 steps one per box, big enough for little hands — kids draw right alongside each step.
⬇️ Open Free Printable 🖨️ Print🎁 Free printable for ages 3+
💎 Diamond Treasure Page
Give your diamond somewhere fancy to live: draw a treasure chest, a jewelry box, or a crown underneath it and set the diamond right on top. Then decide together whose treasure it is — a pirate's best find, a queen's crown jewel, or the gem your child would buy first if they were rich for a day. Write one sentence about the treasure under the drawing (or dictate it for a grown-up to write).
What You'll Need to Draw A Diamond
All you need is a pencil, an eraser, and crayons or markers. For the colors in the tutorial, have pale ice blue ready for the diamond, white for some of the facet sections, and warm yellow for the sparkle. Regular printer paper or a sketchbook both work, and a ruler is optional — hand-drawn lines look just as gemmy.
What They're Learning
This tutorial practices trapezoids and triangles, matching corners exactly, and drawing straight lines between two chosen points. Kids also divide a shape into four sections (early fraction thinking in disguise), tell diagonal lines from vertical ones, count sections as they go, and finish with a four-pointed star — a shape that takes real hand control to keep even.
Make It Yours
Try a pink diamond or a deep blue one, a ring by drawing the diamond on top of a simple band, a necklace made of a row of diamonds in different sizes, or a second sparkle star in the opposite corner. Older kids can add extra facet lines inside the triangle for a fancier, more detailed cut.
🛒 Our Favorite Drawing Supplies
These are the supplies we reach for in our own home — washable (because kids), quality paper, and enough colors to avoid fights.
As an Amazon Associate, MomYouNeedThis earns from qualifying purchases — at no extra cost to you.
💡 Diamond Drawing Tips for Parents
Step 2 is the make-or-break step: the triangle's top corners must land exactly on the trapezoid's bottom corners. If the triangle starts too wide or too narrow, the diamond looks lopsided. Have your child put a light dot at each bottom corner of the band first, then draw the triangle's two sides from those dots down to a single point below.
In step 4, three lines divide the top band into four sections, and spacing them evenly is the real challenge. Suggest marking three light dots along the band first, spaced like fence posts, then drawing each line down from a dot. If the four-pointed sparkle puzzles them, demonstrate it slowly — it's really two pointed ovals crossing each other.
✏️ Diamond Drawing Step by Step
Most 'how to draw a diamond' results are aimed at older kids shading realistic gems. This one goes the other way: a diamond reduced to the two shapes that make it read as a diamond — the flat band on top and the point below. Everything else is decoration your child adds with straight lines.
That order matters. The band goes down first because the triangle has to hang from it, corner to corner. Once those two shapes are stacked, the drawing already looks like a gem; the facet lines and the sparkle just convince you it's a shiny one.
Because every mark after step 2 is a straight line, this is a gentle early lesson in drawing with intention: lines that start at one point and end at another. Have your child name where each line starts and ends before drawing it, and the facets land where they belong.
See free diamond printable for more.
✏️ One Shape Per Step, Six Steps Total
The order is deliberate: step 1, the wide trapezoid with the long bottom edge; step 2, the big downward triangle sharing that bottom edge corner to corner; step 3, two diagonal lines from the triangle's top corners down to its point.
Step 4 divides the top band with three short vertical lines, making four sections. Step 5 is pure delight — one small four-pointed star at the top-right corner for the sparkle. Step 6 colors everything pale ice blue with white facet sections and a warm yellow sparkle.
There is not a single curve in this entire tutorial, which makes it one of the most forgiving drawings on the site. Wobbly lines just make the gem look hand-cut, and a ruler is welcome but never required.
See free diamond printable for more.
💎 A Gem Made of Straight Lines
The facet lines are what turn two plain shapes into jewelry. A real diamond's flat faces are called facets, and even four sections across the top plus two diagonals in the point are enough for a child's eye to read 'gem' instead of 'triangle with a hat.'
Leave some facet sections white when coloring — that contrast between ice blue and white is what makes the finished drawing look like it's catching light. The warm yellow sparkle at the corner finishes the illusion.
This is also a sneaky geometry page: trapezoid, triangle, diagonal, vertical, and dividing a band into four equal sections are all vocabulary kids meet in early math, learned here with a crayon instead of a worksheet.
See free diamond printable for more.
❓ Diamond Drawing FAQs
What is the easiest way to draw a diamond?
Start with the flat band on top — a wide trapezoid — then hang one big pointed triangle underneath it, matching corner to corner. Straight facet lines inside both shapes do the rest, and one little star adds the sparkle.
What age is this diamond drawing for?
It's made for ages 3 and up. The shapes are simple — a trapezoid, a triangle, and straight lines — and younger kids can draw the point and color while older kids add the facet lines and sparkle themselves.
What supplies do we need?
A pencil, an eraser, paper, and crayons or markers. For colors you'll want pale ice blue, white, and warm yellow for the sparkle.
Is the printable really free?
Yes — every printable on MomYouNeedThis is 100% free, including this diamond drawing tutorial. There is no signup, no email, and no catch — just download, print, and draw.
How do I print it?
Open the PDF and choose Print, then set the scale to 100% (sometimes called Actual Size) so the steps print at full size. The tutorial is designed for regular US Letter paper, and plain printer paper works perfectly.
What is a trapezoid?
A trapezoid is a four-sided shape with a short top edge, a longer bottom edge, and two slanted sides — like a rectangle that spreads out as it goes down. In this drawing it's the flat band across the top of the diamond.
Why does the diamond have lines inside it?
Those lines are facets — the flat faces cut into a real gem so it catches light and sparkles. Two diagonal lines section off the point, and three short vertical lines divide the top band into four sections.
Can my diamond be a different color?
Absolutely — gems come in every color. Try a pink diamond, a deep blue one, or a rainbow diamond with a different color in every facet section. The shapes stay the same; the color is where your child makes it theirs.
📚 Keep Exploring
- ✏️ All 74 Drawing Tutorials 74 free step-by-step drawing tutorials for kids.
- 🎀 Cute Coloring Free cute coloring pages for kids.
- ✏️ Drawing Practice Free printable drawing pre-writing worksheet for toddlers.