 👁️ FREE EYE DRAWING
Eye Drawing for Kids How to Draw An Eye in 6 Easy Steps
Quick Answer
Draw an eye in six easy steps: a big almond outline, a circle iris touching the top and bottom, a smaller pupil with a tiny shine spot, a curved eyelid line with three lashes, then an eyebrow and a thin waterline. Color the iris warm brown. Made for ages 3 and up — no signup needed, just print and draw.
At a Glance
- Subject: How to draw an eye
- Ages: 3+
- Steps: 6 steps
- Time: ~15 min
- Difficulty: Easy
- Supplies: Paper, crayons
Drawing an eye feels like a big-kid skill, but this one is really just circles nested inside a pointed oval. Kids are always amazed that the tiny shine spot — one little circle — is what makes the finished eye look real and sparkly.
✏️ Draw Your Eye in 6 Easy Steps
One step per box — this step by step eye drawing shows each new part in a different color so kids can see exactly what changed.
Step 1: The Eye Outline
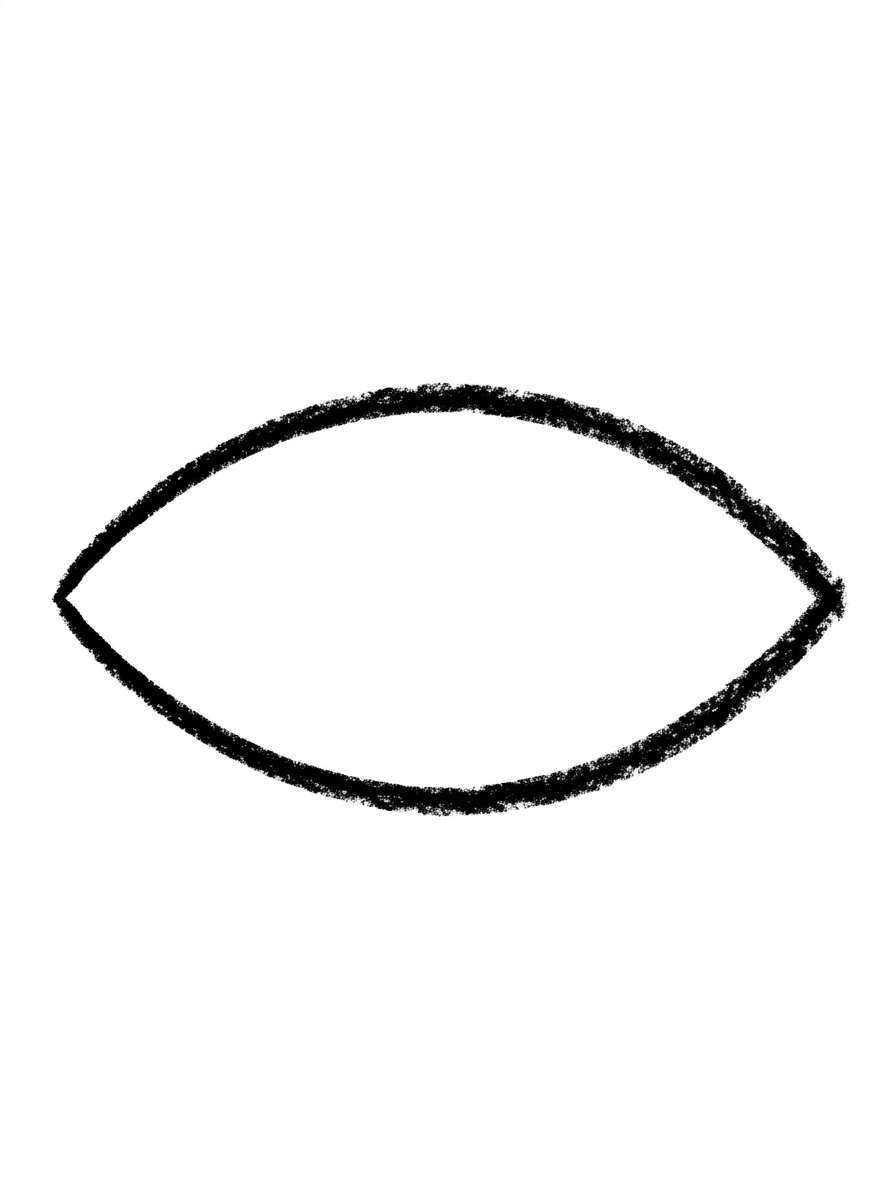
Draw one big almond shape in the middle of your paper, pointy at both ends. This shape is the outline of your eye.
Step 2: The Iris
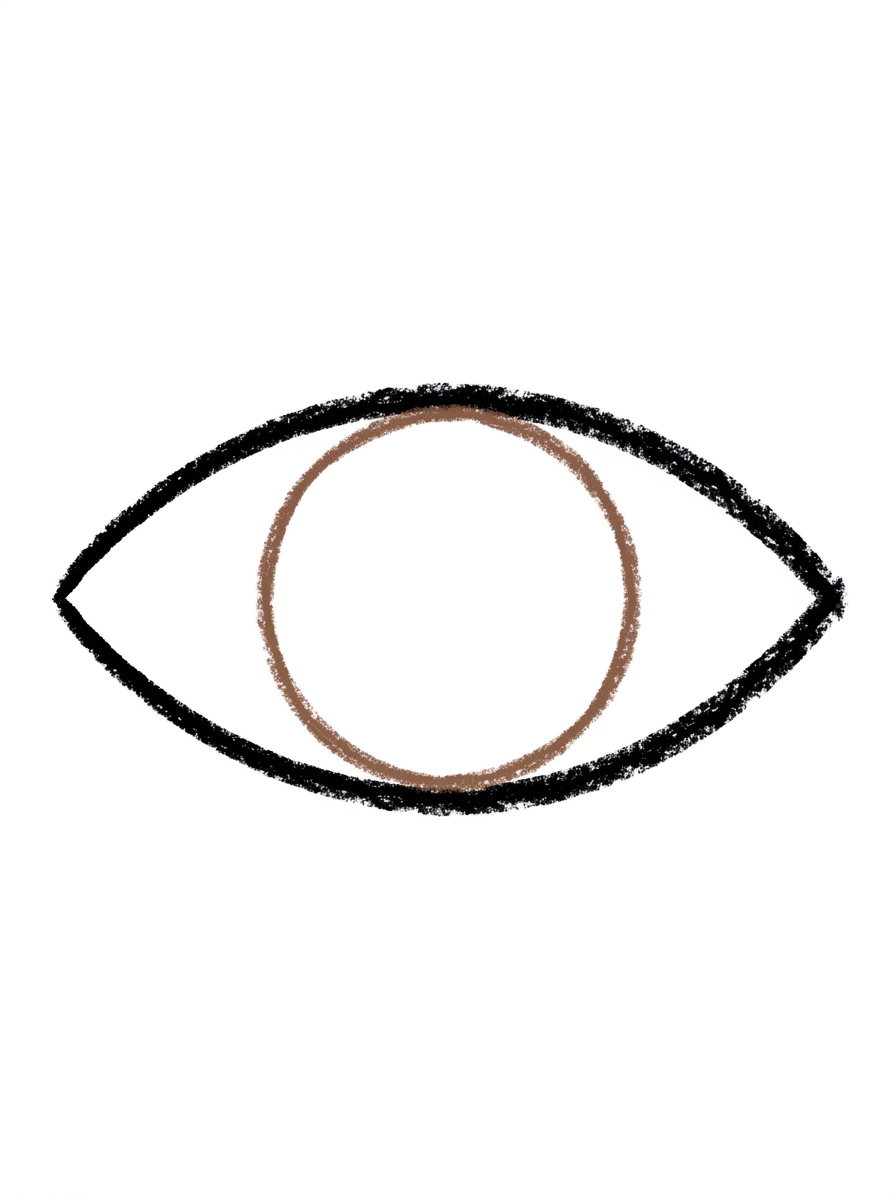
Draw one big circle in the center of the eye outline, big enough to touch the top and bottom edges. This round part is the iris, the colored part of the eye.
Step 3: The Pupil and Shine Spot
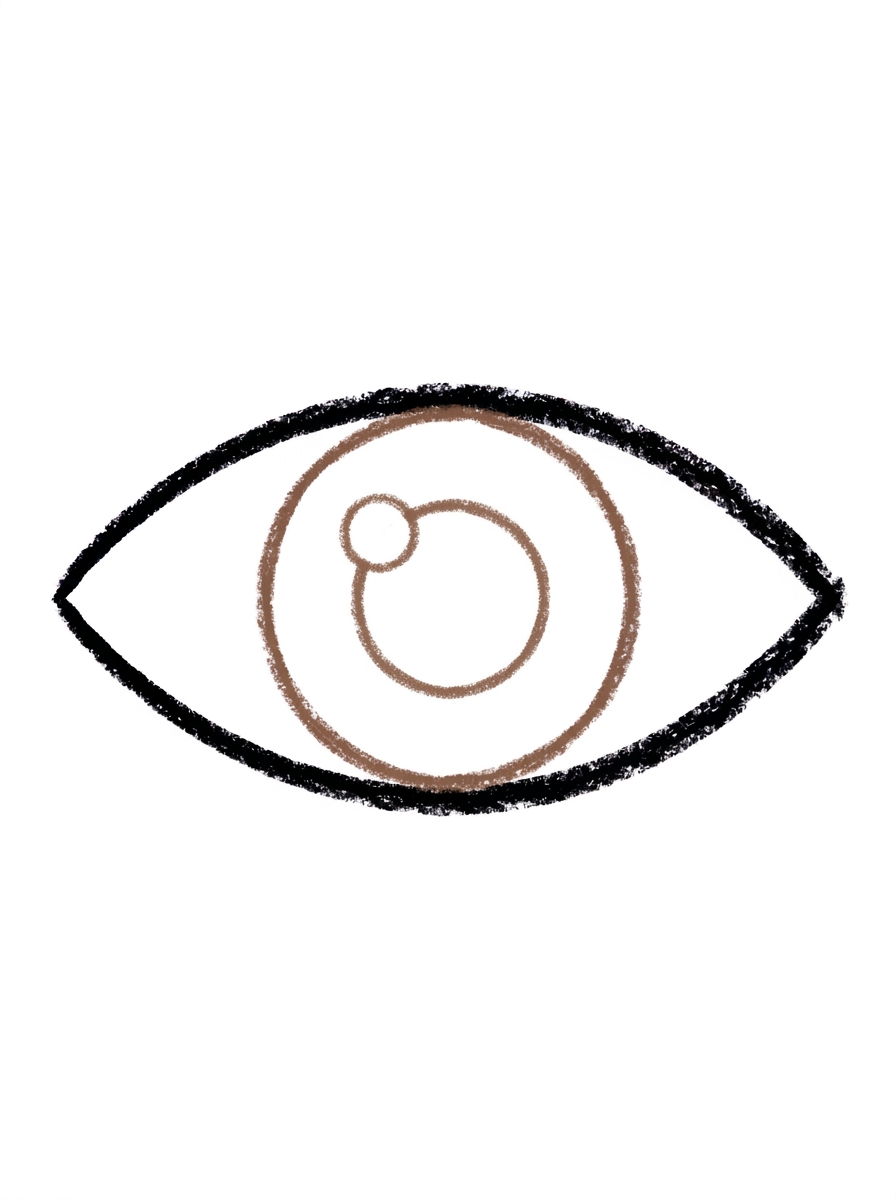
Draw a smaller circle right in the center of the iris for the pupil. Then add one tiny circle at the top left of the pupil — that's the shine spot that makes the eye sparkle.
Step 4: The Eyelid and Lashes
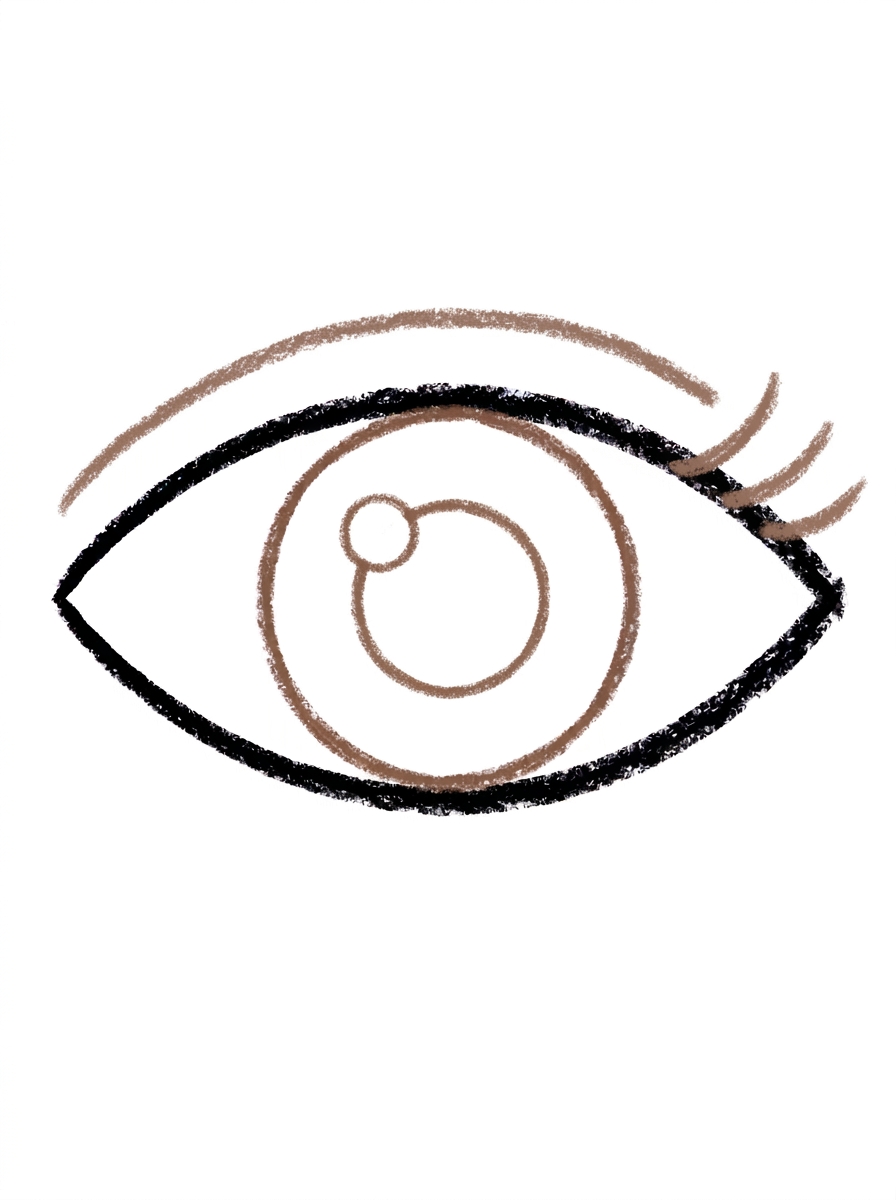
Draw one thick curved line just above the top edge of the eye, following its curve. Then add three short lashes flicking up from the outer corner of the eye.
Step 5: The Eyebrow and Waterline
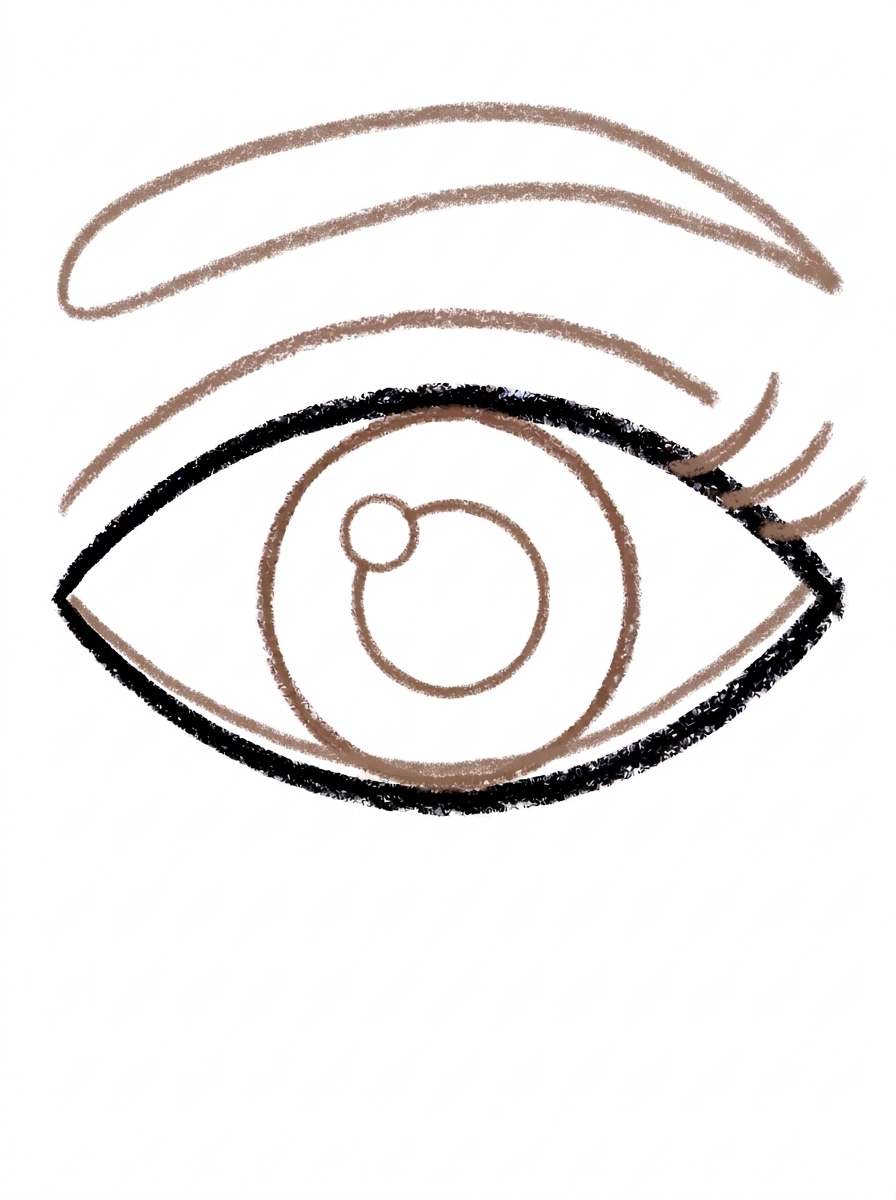
Draw one long curved band floating above the eye for the eyebrow, thicker in the middle and pointy at both ends. Then add one thin curved line inside the bottom of the eye, following the lower edge.
Step 6: Color It In
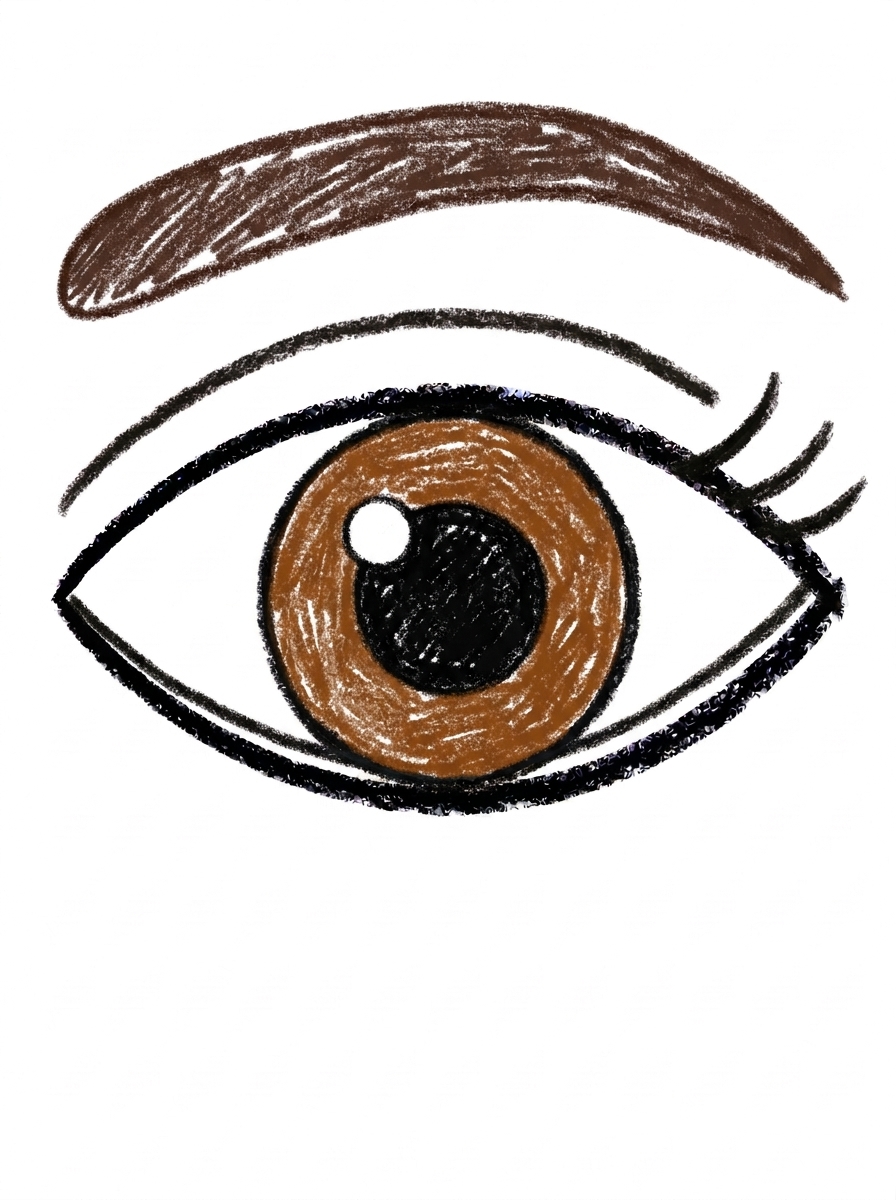
Color your eye! Warm brown for the iris, black for the pupil, eyelid line and lashes, white for the shine spot, and dark brown for the eyebrow. Great drawing!
📊 Eye Drawing by Age
Every age can join in — just adjust the job.
| Age | What they can do | Tip |
|---|---|---|
| 3-4 | Draw the big almond outline and the iris circle, and choose the eye color. | Skip the lashes and waterline for the youngest artists — the outline, iris, and pupil already make a complete eye. |
| 4-5 | Add the pupil with its tiny shine spot and the thick curved eyelid line. | The shine spot is small and easy to forget; point it out before coloring, since it's the detail that makes the eye look alive. |
| 6+ | Complete all six steps, including the three lashes, the floating eyebrow, and the thin waterline. | Offer a mirror after drawing — kids love comparing their drawn eye to their real one and spotting the same parts. |
🖨️ Download Your Free Eye Drawing Printable
The printable lays out all 6 steps one per box, big enough for little hands — kids draw right alongside each step.
⬇️ Open Free Printable 🖨️ Print🎁 Free printable for ages 3+
👁️ Eye Spy Challenge
Turn the finished eye into an 'eye spy' game: draw three eyes on one page — one brown, one blue, one green — with a different number of lashes on each, then ask a family member to find the eye with three lashes, or the only green eye. It turns a drawing exercise into a looking game, and drawing the same eye three times is exactly the repetition that makes the shapes stick.
What You'll Need to Draw An Eye
You need a pencil, an eraser, and crayons or markers. The tutorial colors the iris warm brown with a black pupil, eyelid line, and lashes, a white shine spot, and a dark brown eyebrow — but blue, green, and hazel irises all work if your child wants the eye to match their own.
What They're Learning
This tutorial builds precision circle skills: a big iris circle fitted inside an almond outline, a centered pupil circle, and a tiny shine-spot circle — three sizes of the same shape, each placed deliberately. Kids also practice curved lines that follow an existing shape (the eyelid line, the waterline, the eyebrow band), learn real eye anatomy words (iris, pupil, eyelid, lashes, waterline), and use left-right awareness to put the shine spot and corner lashes on the correct side.
Make It Yours
Color the iris blue, green, or hazel to match family members; draw a matched pair of eyes by moving the iris slightly left or right so they're looking sideways; add a second tiny shine dot for extra sparkle; or go cartoon-style with huge lashes and a rainbow iris. A page of eyes in every color makes a striking wall display.
🛒 Our Favorite Drawing Supplies
These are the supplies we reach for in our own home — washable (because kids), quality paper, and enough colors to avoid fights.
As an Amazon Associate, MomYouNeedThis earns from qualifying purchases — at no extra cost to you.
💡 Eye Drawing Tips for Parents
The iris circle is the step that makes or breaks this drawing: it needs to be big enough to touch the top and bottom edges of the almond outline. A too-small iris floating in white space reads as a button, not an eye — so if your child draws it small, gently suggest a second, bigger try rather than erasing and correcting their work yourself.
Watch the shine spot in step 3. It sits at the top left inside the pupil, and the pupil's circle should stay complete around it. This tiny detail is the one kids point to with pride, so slow down there. For left-handed kids drawing a right-side eye, flipping the whole tutorial (lashes on the other corner) is perfectly fine — eyes come in pairs.
✏️ Eye Drawing Step by Step
This eye drawing is built in two zones: three circles nested inside one almond outline first, then three curved lines placed around that outline. Get the zones in that order and the eye assembles itself.
The inside zone is pure containment — iris inside the almond, pupil inside the iris, shine spot inside the pupil — and each circle is drawn complete, all the way around, even the tiny shine spot. Nothing inside the almond is an arc or a crescent; the unbroken roundness is what makes it read as an eyeball.
The outside zone is where placement matters most. The thick eyelid line runs just above the eye’s top edge, following its curve with a sliver of white between the two lines; drawn right on the edge, it merges into the outline and the eye loses its lid. The eyebrow floats higher still, and the thin waterline is the one outside-zone line that goes back inside, hugging the bottom edge.
See free eye printable for more.
✏️ One Shape Per Step, Six Steps Total
First check on this eye drawing: the outline. The almond should come to a point at both ends — a rounded end turns the eye into an oval with circles in it, and it is the two points that make it an eye.
Next, the pupil: it should sit dead centre in the iris, with an even ring of iris showing all around it. A pupil that drifts toward one side makes the eye look that way — a fine trick when it is done on purpose, and the mistake to catch when it happens by accident.
Last, count the lashes and trace the curves: three short lashes flick up from the outer corner only, the eyelid line floats just above the top edge, and the eyebrow band — thicker in the middle, pointy at both ends — floats above that. If any of the three curves touches the one below it, the layers have collapsed.
See free eye printable for more.
👁️ Sparkly Eye Drawing
One eye is a drawing; two are a character. Draw a second eye beside the first and move only the iris circles — both toward the nose, both toward one side — and the pair suddenly looks in a direction. Nothing else changes: same almond, same pupil, same lashes. It is the clearest demonstration a child gets that placement, not detail, carries expression.
The eyebrow is the second lever. The band from Step 5 is thicker in the middle and pointy at both ends, and redrawing just that band higher, lower or tilted over the same eye changes the mood of the whole face — surprised, calm, stern — while the eye itself stays identical.
Pair the finished eye with a mirror: look at your own eye, find the iris, the pupil and the white shine spot, then compare with the drawing part by part. Kids notice the waterline and the lashes on themselves only after they have drawn them once.
See free eye printable for more.
❓ Eye Drawing FAQs
What is the easiest way to draw an eye?
Start with one big almond shape — pointy at both ends — then put a big circle inside it for the iris. Add a smaller circle for the pupil, a tiny shine spot, and finish with an eyelid line, lashes, and an eyebrow. Each part is one simple shape added in order.
What age is this eye drawing for?
It's made for ages 3 and up, and it grows with kids well: a 3-year-old can manage the outline, iris, and pupil, while older kids enjoy the trickier details like the lashes, waterline, and eyebrow.
What supplies do we need?
A pencil, an eraser, paper, and crayons or markers. For the tutorial's colors you'll want warm brown for the iris, black for the pupil, eyelid line, and lashes, white for the shine spot, and dark brown for the eyebrow.
Is the printable really free?
Yes — every printable on MomYouNeedThis is 100% free, including this eye drawing tutorial. There is no signup, no email, and no catch — just download, print, and draw.
How do I print it?
Open the PDF and choose Print, then set the scale to 100% (sometimes called Actual Size) so the steps print at full size. The tutorial is designed for regular US Letter paper, and plain printer paper works perfectly.
What is the iris and pupil?
The iris is the colored part of a real eye, and in this drawing it's the big circle inside the almond outline, big enough to touch the top and bottom edges. The pupil is the smaller black circle in its center, and the tiny white circle is the shine spot where light reflects.
My child's shine spot breaks the pupil circle. What happened?
Draw the almond with a gap or overlap right through it at step 3 and the pupil's circle line will look broken. The fix is simple: the tiny shine circle sits at the top left of the pupil, and the pupil's own circle should stay complete around it.
Can we use this to practice expressions?
Yes — the eyebrow shape is a great base for character drawing. A high curved eyebrow looks surprised, a lower flatter one looks calm, and tilting both ends changes the expression. It's a fun way to show kids how one line changes a whole face.
📚 Keep Exploring
- ✏️ All 53 Drawing Tutorials 53 free step-by-step drawing tutorials for kids.
- 🎀 Cute Coloring Free cute coloring pages for kids.
- ✏️ Drawing Practice Free printable drawing pre-writing worksheet for toddlers.