 🤖 FREE ROBOT DRAWING
Robot Drawing for Kids How to Draw A Robot in 6 Easy Steps
Quick Answer
Draw a robot in six easy steps: a rounded square head, a bigger rounded square body, two arms, two legs with oval feet, square eyes and an antenna, then color it silver and grey with bright yellow eyes. Made for ages 3 and up, free, no signup needed.
At a Glance
- Subject: How to draw a robot
- Ages: 3+
- Steps: 6 steps
- Time: ~15 min
- Difficulty: Easy
- Supplies: Paper, crayons
Robots are the friendliest possible first drawing — they're built from squares, and squares don't have to be perfect to look right. A rounded square head on a bigger rounded square body, and your child is already halfway to a robot.
✏️ Draw Your Robot in 6 Easy Steps
One step per box — this step by step robot drawing shows each new part in a different color so kids can see exactly what changed.
Step 1: The Head
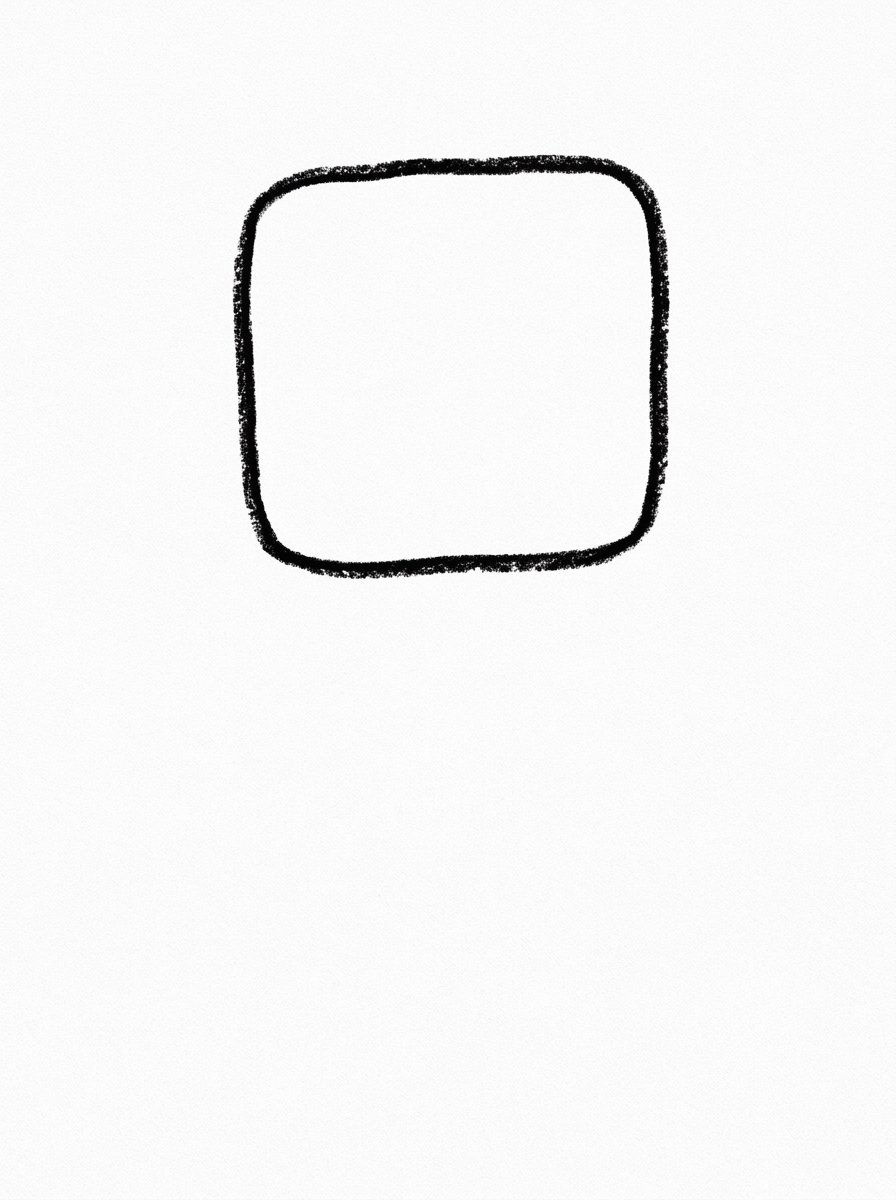
Draw one square with rounded corners. That is the robot's head.
Step 2: The Body
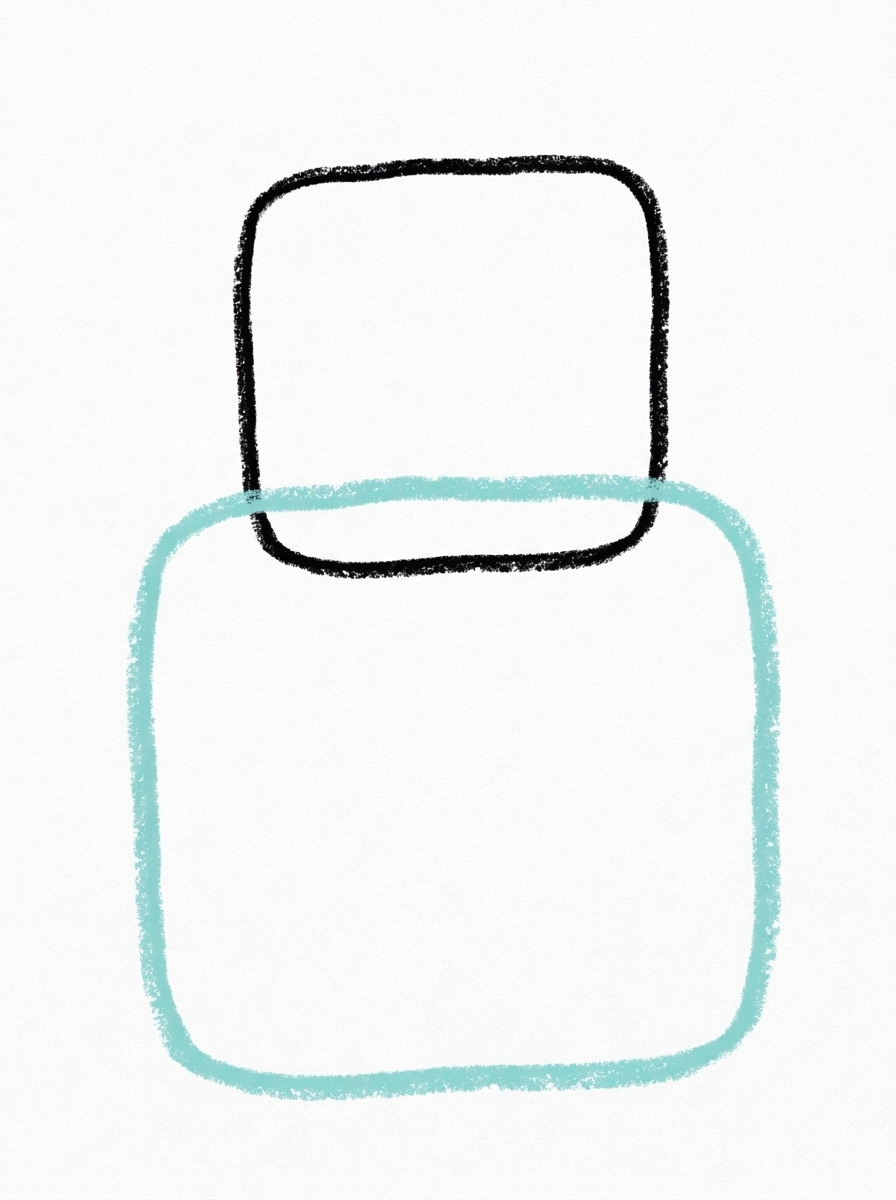
Draw a bigger square with rounded corners under the head, wider than the head. That is the body.
Step 3: The Arms
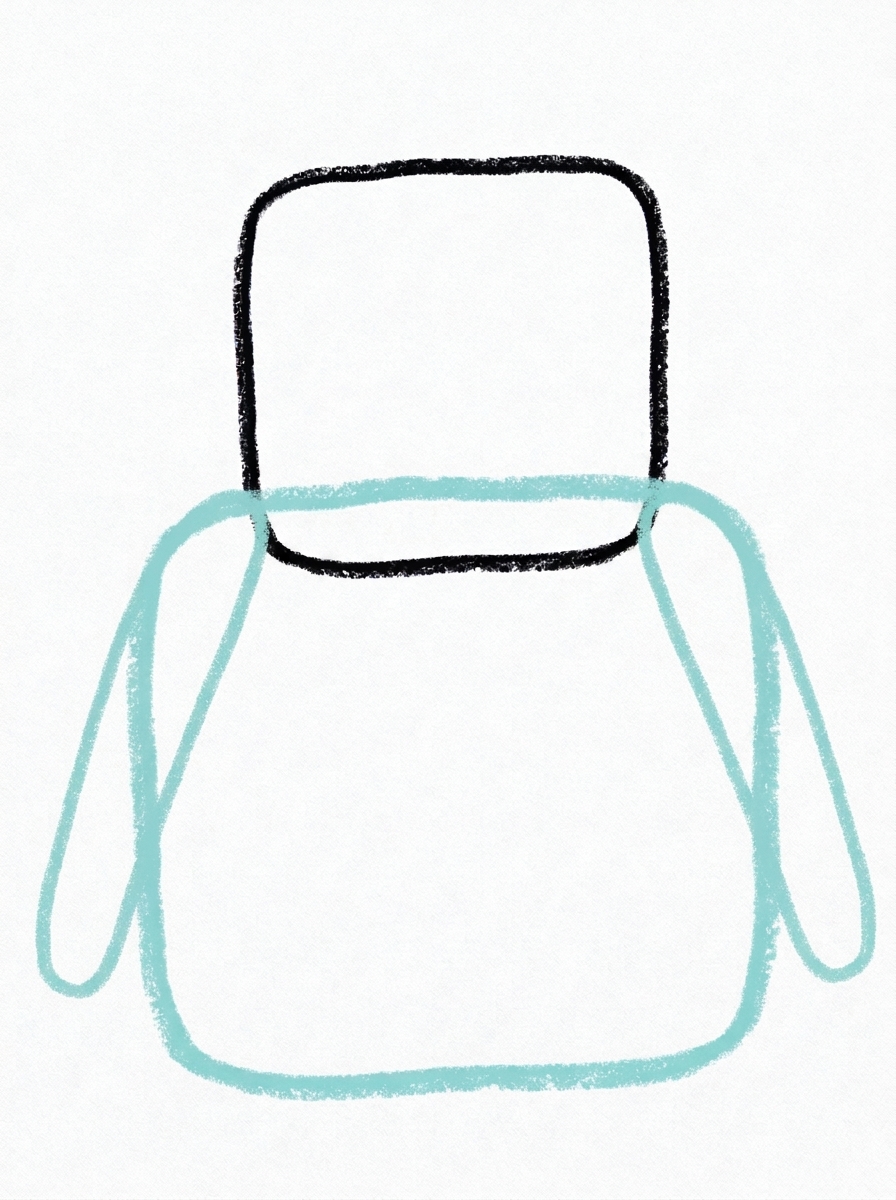
Draw one long arm hanging down on each side of the body.
Step 4: The Legs and Feet
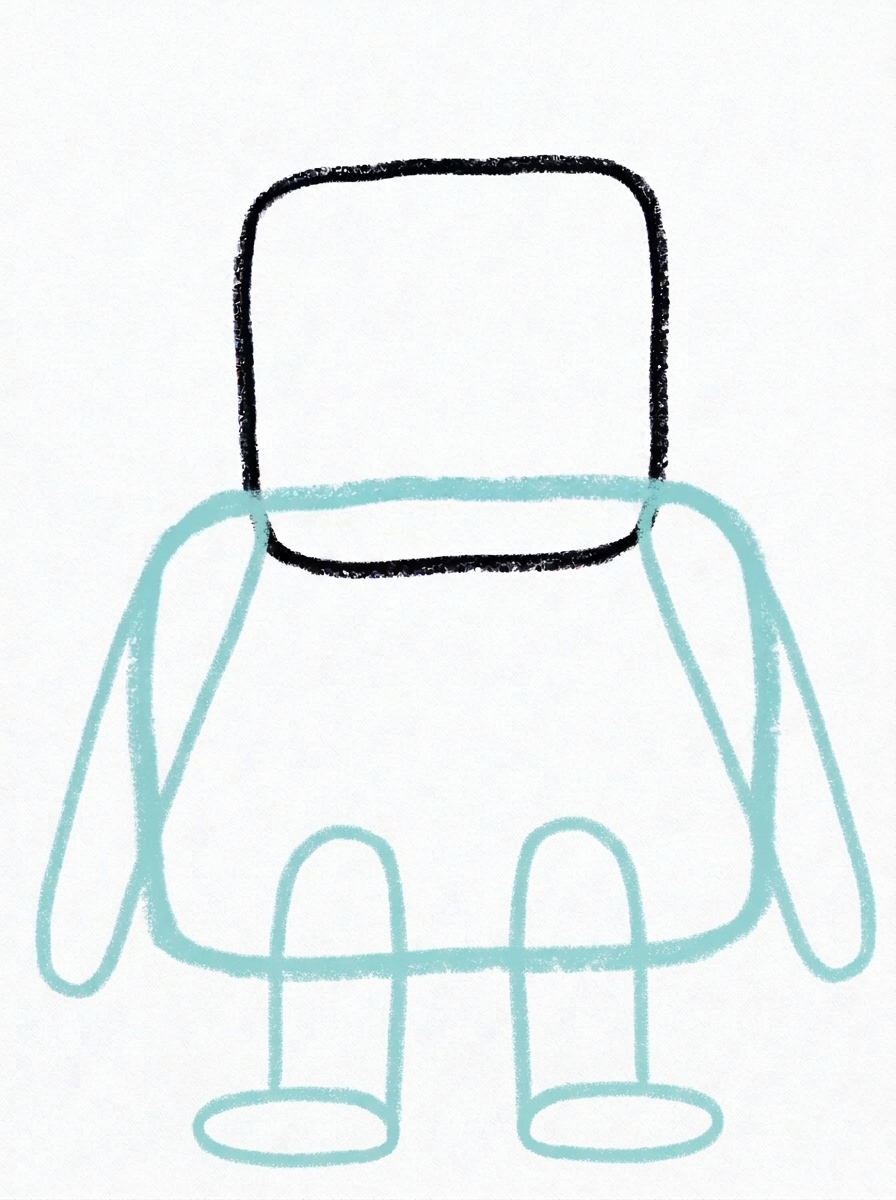
Draw two short legs under the body, with a flat oval foot at the bottom of each leg.
Step 5: The Face and Antenna
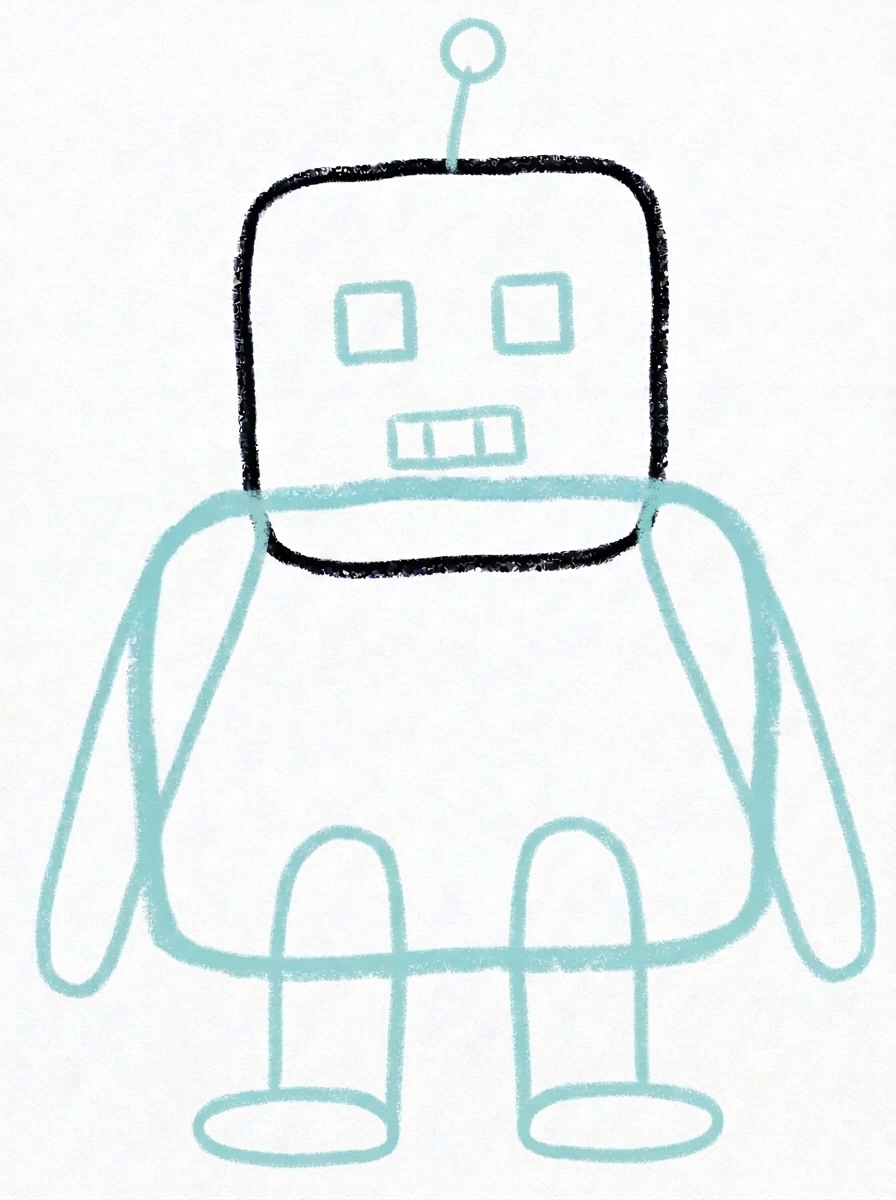
Draw a thin antenna on top of the head with a small circle on top, two square eyes, and one small rectangle under the eyes for the mouth — with two little lines inside it.
Step 6: Color It In
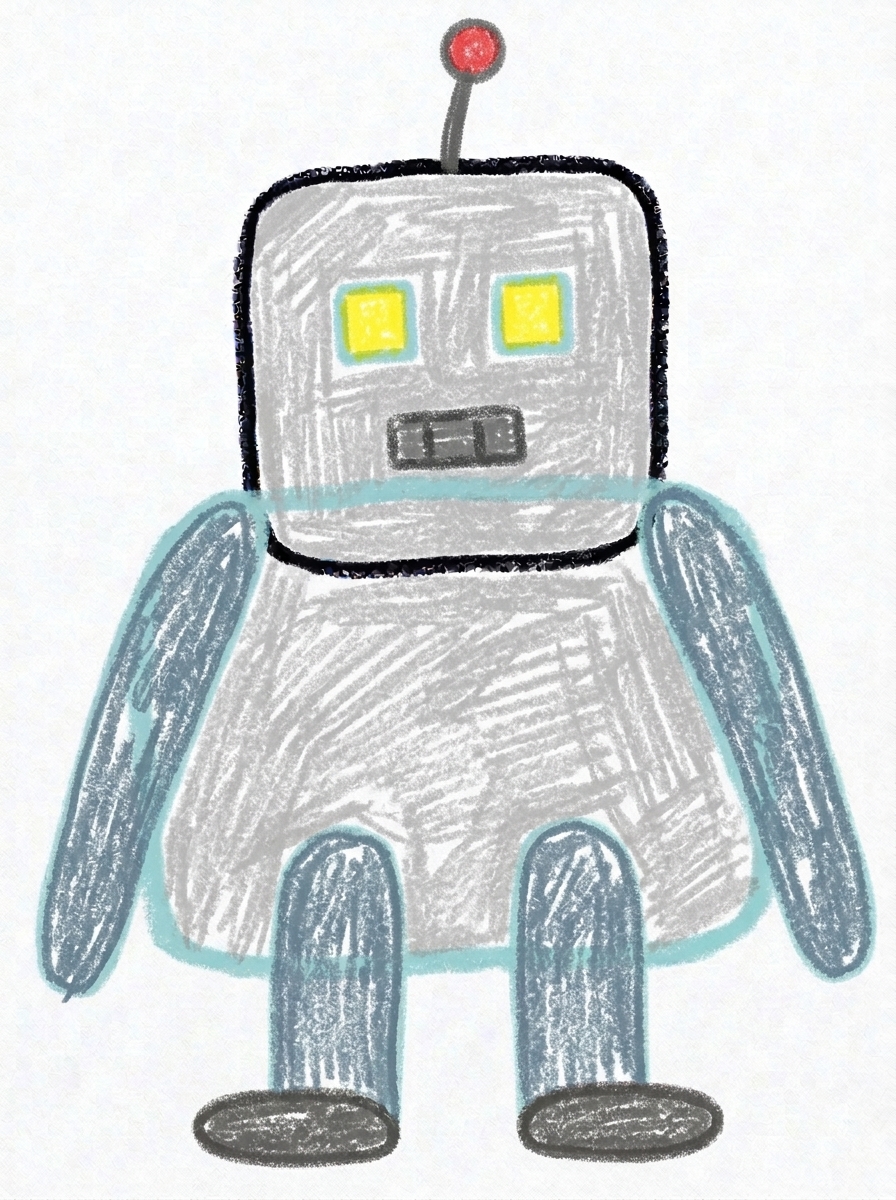
Color the head and body light silver grey, the arms and legs blue-grey, the feet and antenna dark grey — but make the antenna's circle red and the eyes bright yellow.
📊 Robot Drawing by Age
Every age can join in — just adjust the job.
| Age | What they can do | Tip |
|---|---|---|
| 3-4 | Draw the rounded square head and body — corners can be as round as they like — and color the robot in. | Start the head in the top third of the page; the body, arms, and legs all need the space underneath it. |
| 4-5 | Add the arms, the legs, and the flat oval feet, keeping one on each side. | Arms and legs come in pairs — draw the left one, then its twin on the right, before moving on to the next step. |
| 6+ | Finish all six steps, including the antenna with its red circle, the square eyes, and the mouth with two little lines. | Step 5 is the design step: older kids can swap in their own extras — a heart on the chest, dials, or a zigzag mouth. |
🖨️ Download Your Free Robot Drawing Printable
The printable lays out all 6 steps one per box, big enough for little hands — kids draw right alongside each step.
⬇️ Open Free Printable 🖨️ Print🎁 Free printable for ages 3+
🤖 Robot Helper Page
Every robot has a job — decide what yours does. Does it cook pancakes, water the plants, tidy toys, or explore Mars? Draw its workplace around it with the tools it needs, give it a name, and write the name under the drawing (or dictate it for a grown-up to write). For an extra challenge, draw a tiny robot pet using the same steps, smaller and squarer.
What You'll Need to Draw A Robot
All you need is a pencil, an eraser, and crayons or markers. For the colors in the tutorial, have light silver grey ready for the head and body, blue-grey for the arms and legs, dark grey for the feet and antenna, red for the antenna's circle, and bright yellow for the eyes. Regular printer paper or a sketchbook both work.
What They're Learning
This tutorial practices squares with rounded corners, size comparison (the body must be bigger and wider than the head), and pairs — two arms, two legs, two square eyes. Step 5 adds small-shape placement: an antenna line with a circle, and a rectangle with two lines inside it. Kids also practice top-down planning, leaving room below the head for everything the robot still needs.
Make It Yours
Try a gold robot with a yellow body and orange details, a space robot surrounded by stars and a planet, a baby robot drawn smaller with a bigger head, or a robot holding a flower in one hand. Drawing a row of three robots in different colors makes a fun robot-family picture — and each one still only takes six steps.
🛒 Our Favorite Drawing Supplies
These are the supplies we reach for in our own home — washable (because kids), quality paper, and enough colors to avoid fights.
As an Amazon Associate, MomYouNeedThis earns from qualifying purchases — at no extra cost to you.
💡 Robot Drawing Tips for Parents
Leave room at step 1: the head should sit in the top third of the page, because the body, arms, and legs all stack underneath it. The other setup that matters is step 2 — the body must be visibly wider than the head. If it comes out the same width, the robot looks like a stack of boxes; widen it and it instantly reads as a sturdy machine.
Step 5 packs in the smallest details, so slow down there: antenna first (thin line, circle on top, right in the middle of the head), then the two square eyes at the same height, then the little rectangle mouth under them. If the eyes end up different sizes, that's charming, not wrong — but if one is much higher than the other, the robot looks surprised, and a quick level-up erase is worth it.
✏️ Robot Drawing Step by Step
Robots are the friendliest possible subject for a nervous beginner, because they're built from squares — and a slightly wobbly square still looks completely right on a robot. There are no curves to master and no proportions that can really fail.
This tutorial stacks the robot from the top down: head first, then the body, arms, and legs, with all the fun details — antenna, eyes, mouth — saved for step 5. Saving details for last means the robot already stands on its own before any fiddly bits arrive.
Work through the steps in order and let your child check each picture. If they want to stop and color after step 4, that's fine too — a plain robot is still a robot, and the face step will wait for next time.
See free robot printable for more.
✏️ Squares, Squares, and More Squares
Step 1 is one square with rounded corners for the head, drawn in the upper part of the page. Step 2 adds the body: a bigger rounded square under the head, wider than the head. That size contrast — small head, big body — is what makes it read as a sturdy little machine instead of a snowman.
Step 3 hangs one long arm down each side of the body, and step 4 gives it two short legs, each ending in a flat oval foot. Flat feet matter: they're what make the robot look like it's standing rather than floating.
Step 5 is the personality step — a thin antenna with a small circle on top, two square eyes, and one small rectangle mouth with two little lines inside it. Step 6 colors it light silver grey and blue-grey, with dark grey feet, a red antenna circle, and bright yellow eyes.
See free robot printable for more.
🤖 Friendly Robot Drawing
This robot is a friend, not a movie villain, and the design choices show it: rounded corners everywhere, a small head with big square eyes, and a neat little mouth. Rounded corners are doing quiet emotional work — sharp corners read 'machine,' softened corners read 'toy.'
The single red circle on the antenna is the drawing's exclamation point. Everything else is grey and blue-grey, so that one red dot (and the bright yellow eyes) give kids a 'ta-da' moment at coloring time.
Robots are also a brilliant prompt for stories. Once drawn, every robot gets a job and a name within minutes — that storytelling spillover is half the value of the page, so leave time for it.
See free robot printable for more.
❓ Robot Drawing FAQs
What is the easiest way to draw a robot?
Start with a square with rounded corners for the head, then a bigger rounded square under it for the body. Add one arm on each side, two legs with flat oval feet, then square eyes, a rectangle mouth, and an antenna with a circle on top.
What age is this robot drawing for?
It's made for ages 3 and up. The shapes are all preschool-friendly — rounded squares, ovals, and rectangles — and younger kids can do the head, body, and coloring while older kids add the face details and antenna themselves.
What supplies do we need?
A pencil, an eraser, paper, and crayons or markers. For colors you'll want light silver grey and blue-grey, dark grey, red for the antenna's circle, and bright yellow for the eyes.
Is the printable really free?
Yes — every printable on MomYouNeedThis is 100% free, including this robot drawing tutorial. There is no signup, no email, and no catch — just download, print, and draw.
How do I print it?
Open the PDF and choose Print, then set the scale to 100% (sometimes called Actual Size) so the steps print at full size. The tutorial is designed for regular US Letter paper, and plain printer paper works perfectly.
Why does the robot have square eyes?
Because robots are machines, and machine parts are boxy. The square eyes are also much easier for little hands than round ones — four short straight lines, and they match the square head perfectly.
What is the stick on the robot's head?
That's its antenna — pretend it picks up signals, messages, and very important beeps from robot headquarters. The red circle on top is the receiver, and it's the one bright part that makes the whole robot pop.
Can my robot be a different color?
Absolutely — a gold robot, a pink robot, or a full rainbow robot all work. Keep the antenna's circle one strong color and the eyes bright, and any body color looks like a real machine.
📚 Keep Exploring
- ✏️ All 74 Drawing Tutorials 74 free step-by-step drawing tutorials for kids.
- 🎀 Cute Coloring Free cute coloring pages for kids.
- ✏️ Drawing Practice Free printable drawing pre-writing worksheet for toddlers.